How to use the Dispatch Tab
- Gord More (Unlicensed)
- Navjot Kaur (Unlicensed)
This article will explain how to dispatch Shipments.
Table of Contents
How to open a Dispatch Tab
How to un-dock a Dispatch Tab
How to dispatch a shipment
How to dispatch a group of shipments
How to view shipments
How to view a multi-package and/or multi-product shipment
How to hide columns
How to set the conditions fields
How to filter shipments
How to turn filter(s) off
How to hide the dispatch and settings tab
Toolbar Buttons
Hide Unhide Toolbar
Right Click Menu
Go back to the IDS Core Tutorial Home Page
How to open a Dispatch Tab
To open an Dispatch Tab, please do the following:
- Select "Dispatch" from the menu drop-down.
- Then click on "Dispatch".

- This will open a new Dispatch Tab.
- To open another Dispatch Tab, repeat steps above.
How to un-dock a Dispatch Tab
Undocking tabs allows you to drag tabs to different monitors.
To undock a Dispatch Tab, please do the following:
Place your mouse over the label of the tab you wish to undock.

Then press and hold down your left mouse button.
Then drag your mouse down towards the bottom of the screen.
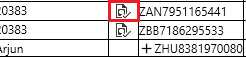
This will undock the tab from IDS Core. You will know its been done correctly as the top of the tab will look like this:
You can now drag the tab anywhere on your screen and/or move it to another monitor.
You can minimize, maximize or close the tap by clicking the icons on the top right hand side of the tab
If you need to resize the tab, place your mouse on the bottom right hand of the tab
How to dispatch a Shipment
To dispatch a shipment, please do the following
- Select the shipment you wish to dispatch.

- Then click in it's the "Driver" column.
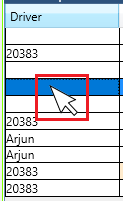
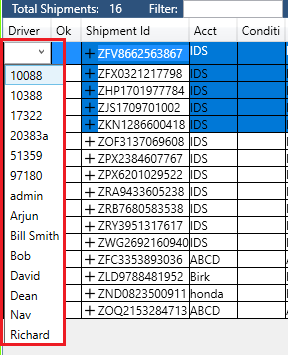
- This will open a drop-down containing all your drivers.
- To select the driver do one of the following:
- Type in the driver's user id.
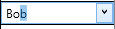
- Start typing the first few letters of the user id to jump further into the dropdown
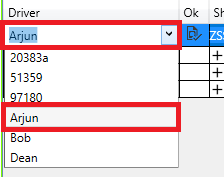
- Use the drop-down's horizontal scroll bars to find and then click the driver.
- Type in the driver's user id.
- Continue this process for all the shipments you wish to dispatch.
- When you are ready to make the assignments live:
- Highlight all your shipments that are ready.
- Then click the "Assign Driver" button.
- Or click one of the "Assign Driver" check boxes.
- This will dispatch the shipment to the selected driver and the shipment will be removed from the Dispatch Board.
- You can find that trip in Drivers Board under driver's name.
How to dispatch a group of shipments
To dispatch a group of shipments at one time, please do the following:
- Drag your mouse over the shipments you want to dispatch.
- This will highlight your shipments
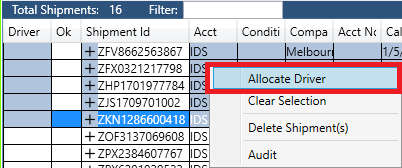
- Right click the highlighted shipments.
- Select "Allocate Driver"
- The top shipment's driver field will now display the driver dropdown.
- Select your driver from this dropdown
- You will now see all your selected shipments assigned to your driver.
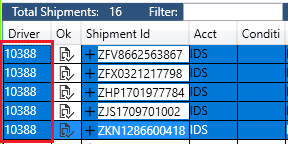
- Then click the "OK" check box on your top shipment.
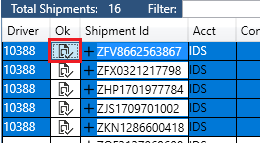
- This will dispatch all the shipments to your driver.
- The shipments will now disappear off your Dispatch tab and will appear onto your Drivers tab.
How to view shipments
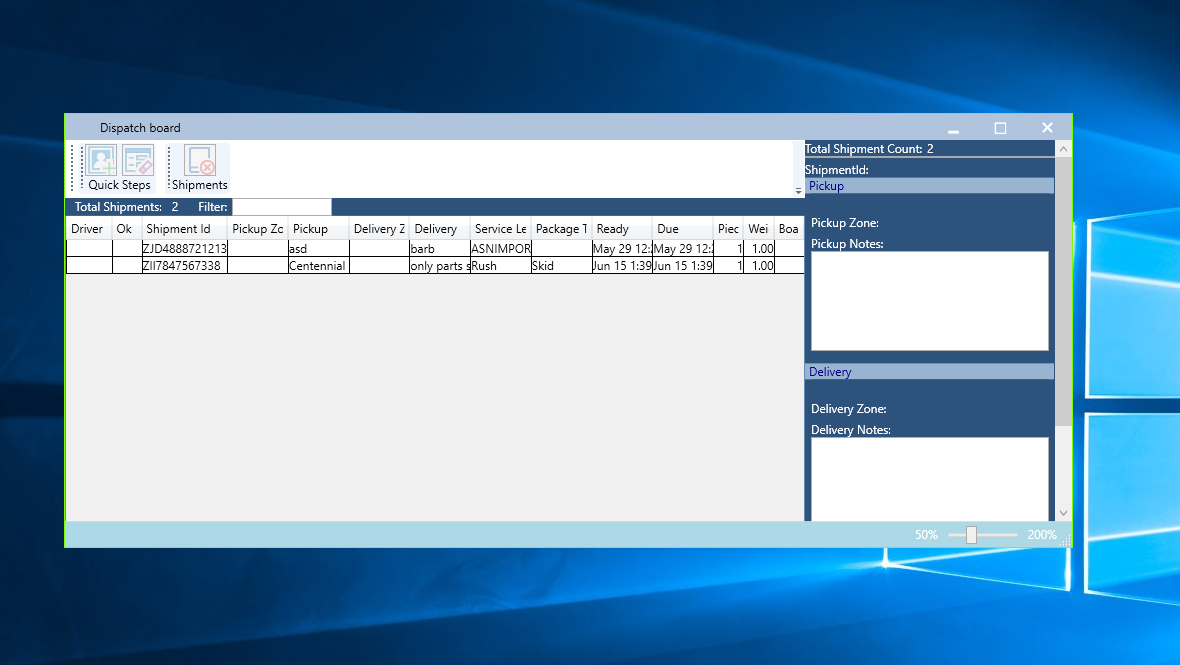
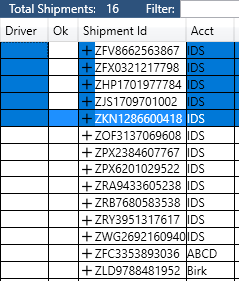
- Across the top of the Dispatch Tab, you will see the following:

- Total trips - the total number of shipments currently on the Dispatch Tab.
- The "Filter" field works as follows:
- Type into the filter field.
- Only shipments containing what you typed will be shown.

- To sort by a column:
- Single click the column header to sort by ascending order. When you do this, an up arrow will appear in the column header
- Double click the column header to sort by descending order. When you do this, a down arrow will appear in the column header
- Single click the column header to sort by ascending order. When you do this, an up arrow will appear in the column header
- To rearrange the columns, simply:
- click the column header and hold the mouse button down

- keeping the mouse button down, drag

- then place the column header where you want it.

- then release the mouse button

- click the column header and hold the mouse button down
- To scroll vertically, use the vertical scroll bar located on the right hand side of the screen.
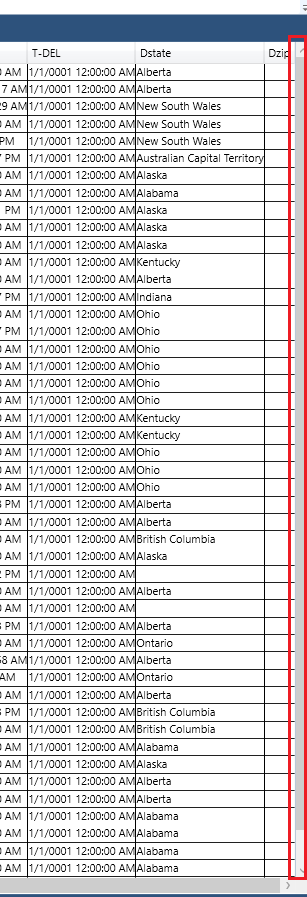
- To scroll horizontally use the horizontal scroll bar located on the bottom of the screen.

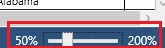
- To zoom in or out, use the zoom bar located on the bottom right hand side of the screen.
- If you double click on a shipment, it will open that shipment in the Shipment Entry Tab.
How to view a multi-package and/or multi-product shipment
For shipments that have multiple package types and/or products contained in a package, you can:
- Click on the + symbol beside the shipment id
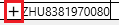
- This will allow you to see all the packages for that shipment.
- Click the + symbol beside the package type.
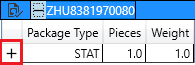
- To view the contents of a package.
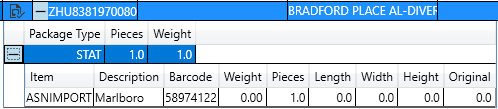
Please Note
If there is no + beside the Shipment ID or the Package Type, then the shipment was not created with extra package types or contents
How to Hide Columns
To change which columns are shown on a Dispatch tab, please do the following:
- Click on "View Settings"
- Then untick or tick a column in the "Choose visible columns for this tab" section
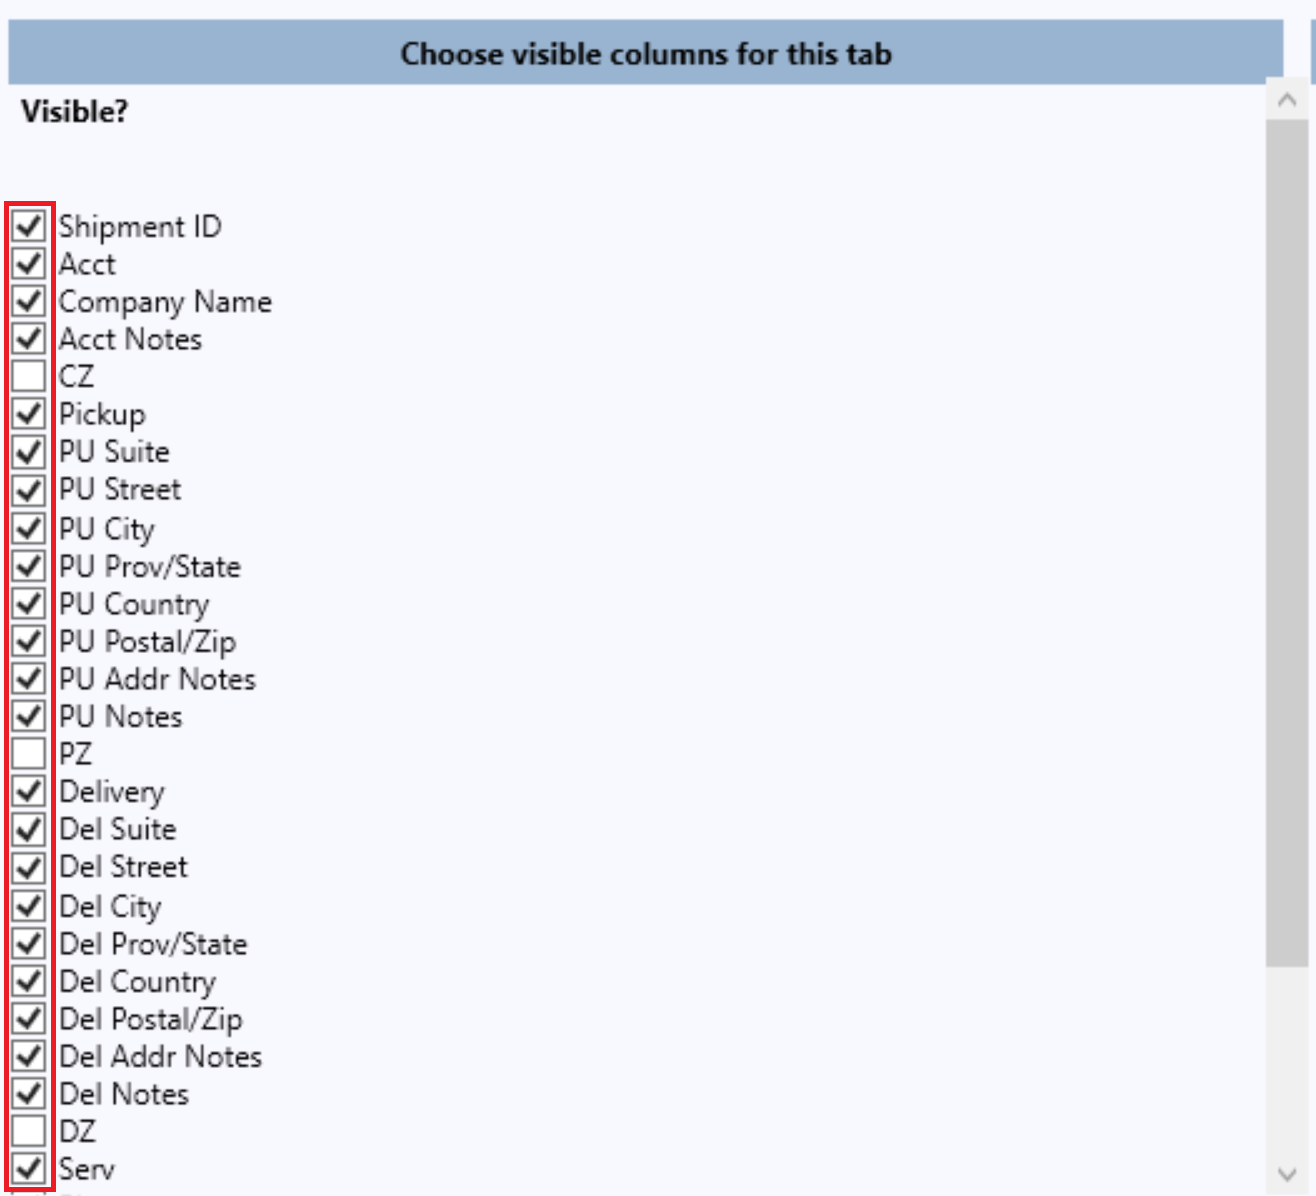
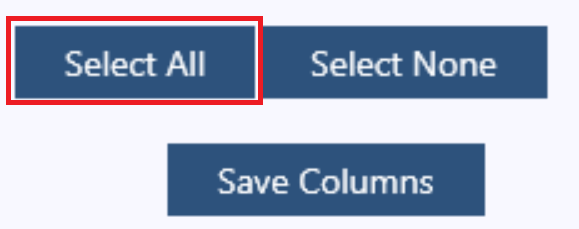
- To select all columns, click the "Select All" button
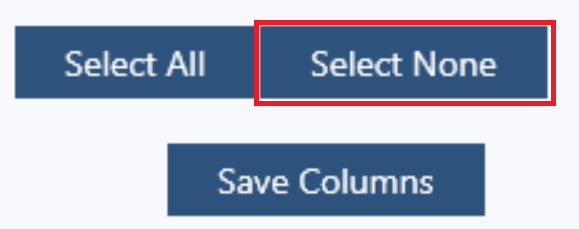
- To untick all the columns, click "Select None" button
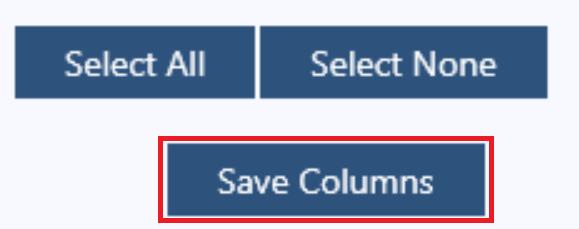
- When you have made your changes, click "Save Columns"
- This will bring you back to the Dispatch Screen with your changes completed.
- You will also now see a "Dispatch" and "Settings" tab across the top that will allow you to switch between the Dispatch Tab and its "Settings" tab.
How to set the Conditions Fields
To set when the Conditions fields displays Warn, Critical and Beyond, like this:
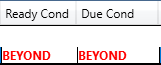
Then you need to edit your Service Levels.
Please read this help article: Service Levels
How to Filter Shipments
To filter what shipments are shown on the Dispatch Tab, please do the following:
- Click on "View Settings"
- On the right hand side of the "Settings" tab you will see a section labelled "Set Filters for this tab"

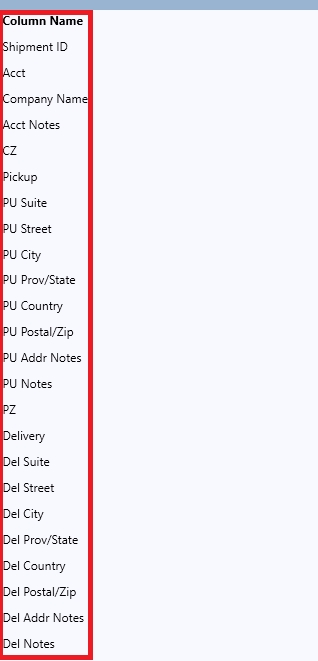
- In this section, you will see all the Dispatch tab's column's listed.
- Beside each column name, you will see the following fields

- Beside a single column label, click on the "Condition" dropdown. For example, we selected the "PU Prov/State" column
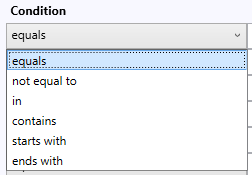
- "Equals" means shipments must have the exact value to be shown.
- "not equal to" means shipments must not have that exact value to be shown.
- "in" means shipments must have the whole word in a comma-delimited text ('bob' IN 'bob,frances,ajax') to be shown.
- "contains" means the shipments must that value to be shown.
- "Starts with" means the shipments must start with the value to be shown.
- "Ends with" means the shipments must end with the value to be shown.
- Select a condition. For example, we selected "Equals"
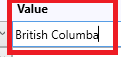
- Enter in a value into the "Value" field. For example, we entered in "British Columbia"
- you can enter in multiple values by separating each with a comma. For example, "British Columbia,Alberta"
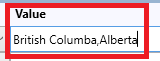
- you can enter in multiple values by separating each with a comma. For example, "British Columbia,Alberta"
- Then tick the "Active" tick box.
- Our example now looks like this:

- Then click on the "Apply Filters" button located on the bottom of the screen.
- This will bring you back to the Dispatch tab with the filter applied to your shipments.
- For example, our Dispatch tab will now only show shipments with a "Pick Up Province or State" equal to "British Columbia"

How to turn filter(s) off
To turn off an existing filter(s), please do the following:
- Click on "View Settings"
- Then in the "Set filters for this tab" section on the right hand side of the screen.
- Untick the "active" check box for any filter you want to turn off
- Before

- After

- Before
- Then click the "Apply Filters" button located on the bottom of the screen
How to hide the Dispatch and Settings Tab
If you have hidden column(s) or created a filter on a Dispatch tab, you will see the following across the top:
To hide these tabs, please do the following:
- Click on "View Settings"
- Click on the "Close" button located on the top right hand side of the screen
- This will close the "Settings" tab and bring you back to the Dispatch board.
- You will now see the "Dispatch" and "Settings" tabs have been removed
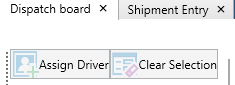
Toolbar Buttons
 - Assigns highlighted shipments to the selected driver
![]() - Clears the selection
- Clears the selection
 - Deletes the highlighted shipments.
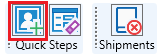
 - Brings you to the settings tab
 - Opens up the this help article for Dispatch tabs.
Hide Unhide Toolbar
By default, the toolbar is visible. To hide the toolbar, double click any white part of the toolbar.
To hide the toolbar, double click the Toolbar anywhere that is white
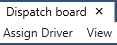
If the toolbar is hidden, it will look like this:
To unhide the toolbar, click on "view", then click on "Show Toolbar"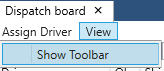
Right Click Menu
When you right click in the Dispatch Tab, you will see the following menu: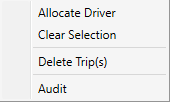
- Allocate Driver - assigns the highlighted shipment to the selected driver.
- Clear Selection - clears the selection.
- Delete Trip(s) - deletes the highlight shipments.
- Audit - opens up the audit screen for the highlighted shipment.