How to Search Shipments
- Gord More (Unlicensed)
- Rowan Simms-Riddell
- Navjot Kaur (Unlicensed)
This article will explain how to Search for shipments in the Search Tab.
How to open a Search Shipments tab
How to create a search
To find a shipment by ID
To find a shipment by client reference
How to view results
How to mass edit shipments
Toolbar Buttons
Right Click Menu
Go back to the IDS Core Tutorial Home Page
How to open a Search Shipments tab
To open a "Search Shipments" tab please do the following:
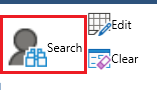
- Click on "Search" from the menu

- This will open a "Search Shipments" tab
(if a "Shipment Entry" tab is not open, a new "Shipment Entry" tab will also open)
How to Create a Search
To create a search, please do the following:
- In the "Select Dates" section, select the date range for the shipment(s) for which you want to find. To do this, please do the following:
- Select the "From" date
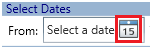
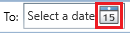
- Select the "To" date
- Select the "From" date
- Leave "Show as Local Time" ticked. This is used by companies that work over multiple time zones.
- (optional) in the "Filter" section, you can further refine your search by:
- "Start" status

- "End" status

- "Package Type"

- "Service Level"

- Call Taker Id

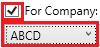
- Company
- Tick the tick box first.
- Then select the Company from the dropdown
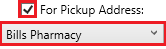
- By Pick Up address
- A company must be selected first (see above)
- Tick the tick box
- Then select the Pick Up address from the dropdown
- "Start" status
- Then click the 'Search' button.
To find a Shipment by ID
To find a shipment by its' ID, please do the following:
- In the "Or Search by Shipment ID or Client Reference" section
- tick the box beside "Shipment ID"
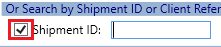
- Then enter the ID into the "Shipment ID" field
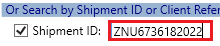
- Then click the 'Search' button.
To find a Shipment by Client Reference
To find a shipment by its' Client Reference, please do the following:
- In the "Or Search by Shipment ID or Client Reference" section
- tick the box beside "Client Reference"

- Then enter the reference into the "Client Reference" field

- Then click the 'Search' button.
How to View Results
After creating a search (see the above 3 sections in this article), your results will appear on the bottom of the screen. The following explains how to review these results.
- Across the top of the Search Results section, you will see the following:

- Total trips - the total number of shipments returned for your search criteria.
- Between the ( and ) is the amount of time the search took to complete on the server.
- The "Filter" field works as follows:
- Type into the filter field.
- Only shipment in the results section containing what you typed will be shown.

- To sort by a column:
- Single click the column header to sort by ascending order. When you do this, an up arrow will appear in the column header

- Double click the column header to sort by descending order. When you do this, a down arrow will appear in the column header

- Single click the column header to sort by ascending order. When you do this, an up arrow will appear in the column header
- To rearrange the columns, simply:
- click the column header and hold the mouse button down

- keeping the mouse button down, drag

- then place the column header where you want it.

- then release the mouse button

- click the column header and hold the mouse button down
- To scroll vertically through the results, use the vertical scroll bar located on the right hand side of the screen.
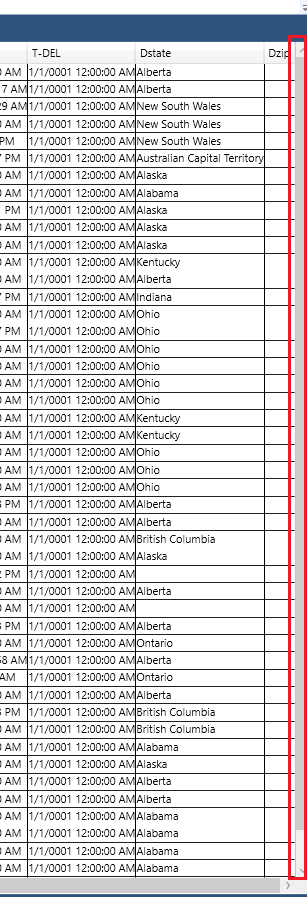
- To scroll horizontally through the results, use the horizontal scroll bar located on the bottom of the screen.

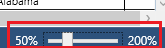
- To zoom in or out, use the zoom bar located on the bottom right hand side of the screen.
- If you double click on a shipment, it will open that shipment in the Shipment Entry Tab.
How to Mass Edit Shipment
Once you have created your search, you can mass edit the resulting shipments by doing the following.
- In the Search Result sections, select and highlight the shipment(s) you would like to edit.
- Then right click your mouse.
- Then click "Edit Selected"
- This will open the following pop up.
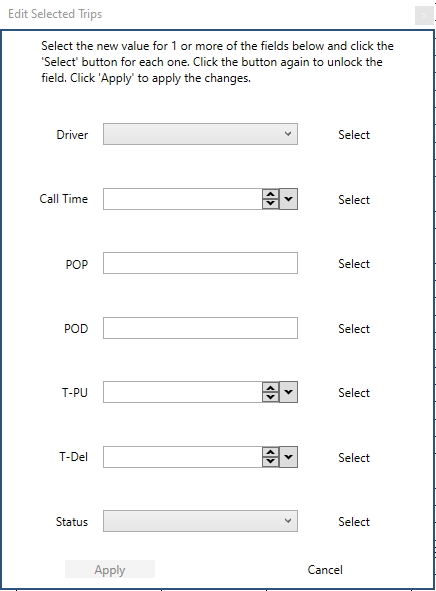
- Then in any of the fields/dropdowns, select the change you would like to make.
- Then click the "Select" beside the field/dropdown that you changed.

- When done correctly, "select" will change to "Selected".

- You can change multiple fields at one time.
- When done click "Apply"

- If you need to cancel before applying your changes, just click "Cancel'

Toolbar Buttons
Across the top of the Search tab, you will see the following toolbar

Most of the toolbar has been discussed above. The remainder of the toolbar buttons are described below.  - click to search based on the criteria created.
![]() - click to clear the search screen and start a new search.
- click to clear the search screen and start a new search.
 - click to open up a highlight shipment in the Shipment tab.
 - click to open up this page in the Online Manual.
Right Click Menu
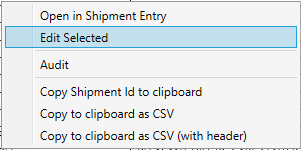
If you right click anywhere in the Search Results section of the screen, you will see the following menu options.
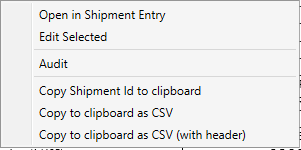
- Open in Shipment Entry - Will open a selected shipment in the Shipment Entry tab.
- Edit Select - please see section above How to Mass Edit Shipment
- Audit - Will open the selected shipment's audit screen.
- Copy Shipment ID to clipboard - Will copy the Shipment ID for the selected shipment to the Window's clipboard.
- Copy to clipboard as CSV - Will copy the selected shipment(s) to the Window's clipboard as a CSV file.
- Copy to clipboard as CSV (with header) - Will copy the selected shipment(s) to the Window's clipboard as a CSV file with the column headers.