How to Use The Dispatch Boards
- Devyn Caterer (Unlicensed)
- Navjot Kaur (Unlicensed)
- Gord More (Unlicensed)
This article describes how to Dispatch Shipments in IDS 2 Dispatch PC Client.
To Jump to a Section in this article, click on a link below:
If you double click on any shipment, it will appear in the Search and Edit Tabs, so you can edit the shipment
How to Create Dispatch Boards
The first thing you will need to do is create a Dispatch Board.
1. To create a Dispatch Board, click on 'Dispatch' from the top of the screen.
2. Then click on 'New Dispatch Window'.
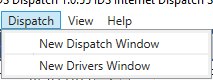
3. This will open a new Dispatch Window.
3. You can drag the created Dispatch Board anywhere on your screen as well as onto another monitor. Simply place your mouse at the top of the Dispatch Board. For example here:

Then hold your left mouse button down and drag to where you want to place the Dispatch Board.
4. You can then filter the Dispatch Board to only show certain shipments and/or certain fields by clicking on the Dispatch Board's Setting Tab. For more information, please read: How to use the Dispatch Boards Settings Tabs
5. If you do filter the Dispatch Board, please ensure to read the article on using the Unmatched Trips Tab: How to use the Unmatched Trip Tab
6. You can create Multiple Dispatch boards by clicking on "Open New Dispatch Board" again.
7. Your created Dispatch Boards will automatically reopen when you log back in.
Click to go back to the top of this article.
How to Dispatch Shipments
This article describes how to Dispatch Shipments in IDS 2 Dispatch.
There are two ways to assign shipments to a driver.
The first way is to:
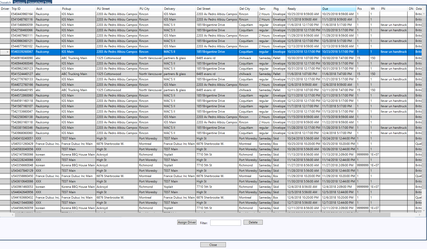
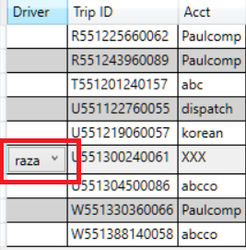
- Double Click in the "drivers" column for the shipment you wish to assign.

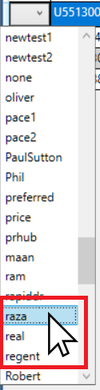
- This will activate the driver dropdown
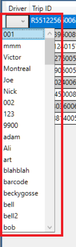
- To select a driver from the dropdown, you can:
- start to type the name of the driver.
- use the scroll bar located to the right of the dropdown.
- use your middle mouse wheel (if you have one).
- When you have found the driver, left click to select that driver
- You will now see the selected drivers name in the driver's column for that shipment.
- Repeat steps 1 to 5 for all the shipments you wish to assign.
- When you have finished, then highlight all the shipments from above, by doing one of the following:
- holding down the "Ctrl" key, then selecting each shipment.
- holding down the "shift" key, then selecting the top record, then selecting the bottom record.
- If its just 1 shipment, just select it.
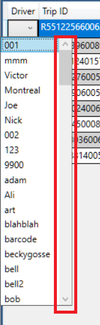
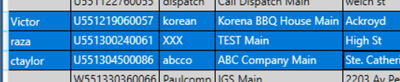
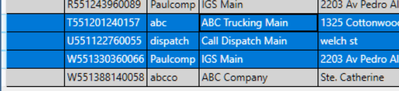
- When all the shipments have been selected, they will be highlighted in blue.
- Then click the "Assign Driver" button on the bottom of the screen.
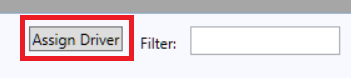
- The highlighted shipments will then be removed from the Dispatch Board.
The second way to dispatch is by doing the following.
- You will need to have created a Driver's Board. Click here on creating and using the drivers board.
- Highlight one or more shipments in the Dispatch board by,
- holding down the "Ctrl" key, then selecting each shipment.
- holding down the "shift" key, then selecting the top record, then selecting the bottom record.
- If its just 1 shipment, just select it.
- So that the shipments are highlighted in blue.
- Then put your mouse cursor on top of the highlighted shipments
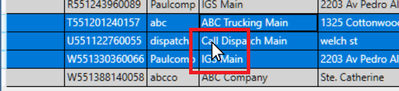
- Then hold down your main mouse button and drag the shipments to the Drivers Board.
- Keeping your main mouse button down, still on the drivers board, drag the shipments to the driver you wish to assign the shipment to.
- Each driver has a gray colored row beside their name, place your mouse cursor in this row
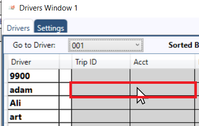
- Each driver has a gray colored row beside their name, place your mouse cursor in this row
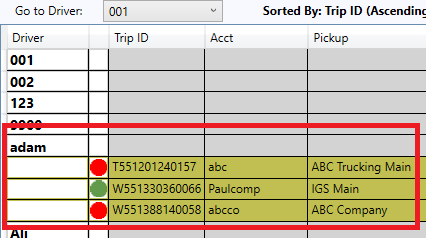
- Then let go of your main mouse button.
- The shipments will then appear in the drivers board assigned to that driver.
- They will disappear off the dispatch board.