How to Set a Custom Default Printer for the IDS Dispatch
- Gord More (Unlicensed)
- Navjot Kaur (Unlicensed)
Owned by Gord More (Unlicensed)
Last updated: Mar 01, 2019 by Navjot Kaur (Unlicensed)
The following Article describes how to set a Custom Default Printer for the IDS 2 Dispatch.
You only need to do this if you would like the IDS 2 Dispatch not to Default to your main default printer, but for it to default to a custom printer such as a label (waybill) printer.
Step-by-step guide
Windows 10
If your computer is running Windows 10, please follow these steps. If not, please skip. If you don't know what version of windows is on your computer, please see this article: Click Here.
- Click on your Windows Icon in the lower left handside of your Window's Desktop.

- Then type "Settings" and press Enter on your keyboard.
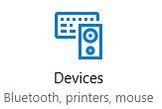
- From the Settings Screen, click on "Devices"
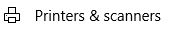
- On the left side of the Devices Screen, click on "Printers & scanners"
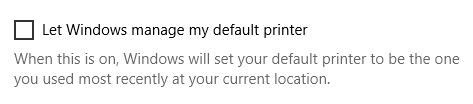
- Make sure "Let Windows manage my default printer" is un-checked.
- For your main printer, NOT! the printer you want to use (default) with the IDS 2 Shipping Portal, but for the printer you would like all your other programs (word, office, etc) to default to, click on that printer in the list of available printers.
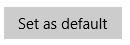
- Then click on "Manage".
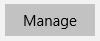
- Then click on "Set as Default"
- You are now done. You can close the screen and continue onto the next steps.
All Users
- Login to IDS Dispatch
- On the "Enter New Trip" Screen, click on the "Select Printer" button located in the top right hand side of the screen.
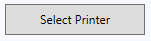
- From the list of printers, select the printer you would like the IDS 2 Shipping Portal to default to when printing shipping labels.

- Then press "OK".
- You are now done.
, multiple selections available, Use left or right arrow keys to navigate selected items