Address Book
- Navjot Kaur (Unlicensed)
- Gord More (Unlicensed)
In this article, we will describe how to use the Address Book tab in IDS Core
Table of Contents
How to open the Address Book
How to create a new address for an account
How to search for addresses
How to edit addresses
How to delete addresses
How to group address
How to Import Addresses
Toolbar Buttons
Hide Unhide Toolbar
Right Click Menu
Hot Keys
Go back to the IDS Core Tutorial Home Page
How To Open the Address Book
To open an Address Book tab, please do the following.
- Click on "Customers" from the top of the screen.
- And then click "Address Book".
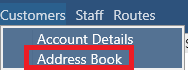
- A new Address Book Tap will open.
How To Create a New Address for an Account
To create a new address, please do the following.
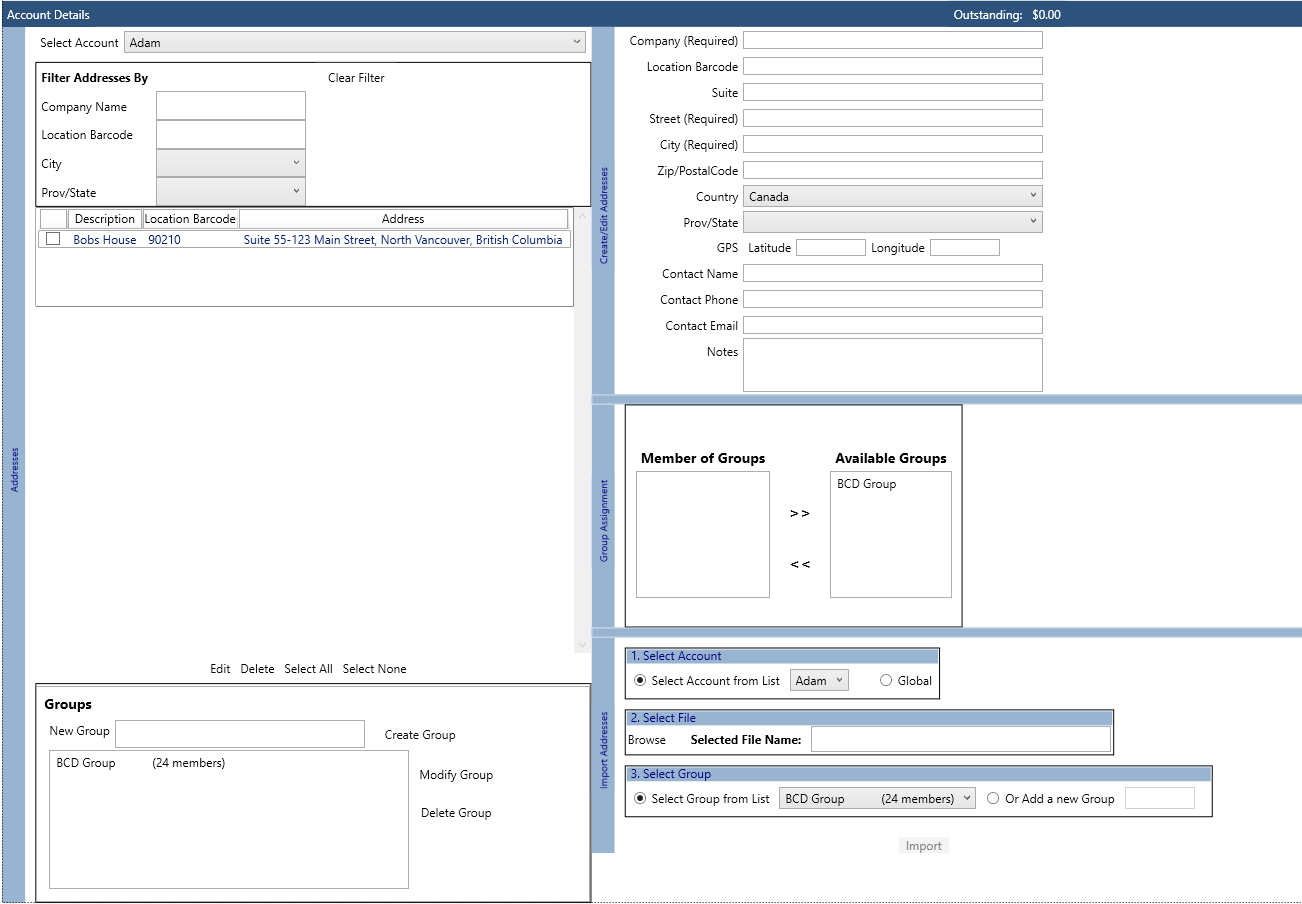
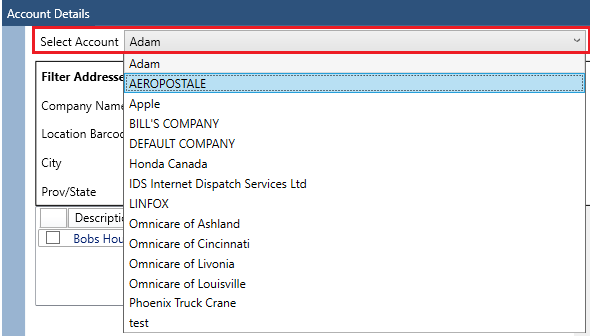
- The first step is to select which Customer Account will have the new address. To do this use the "Select Account" dropdown located on the left hand side of the screen.
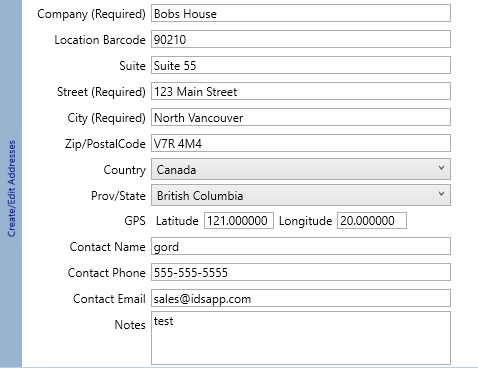
- Then on the right side of the screen enter in the new address detail.
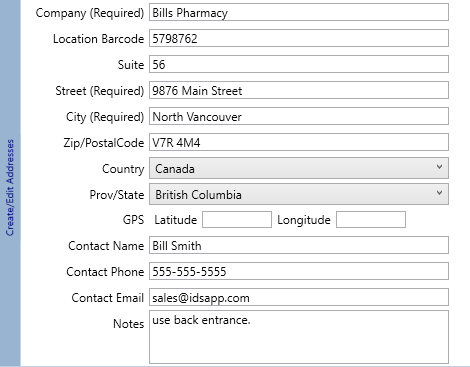
- The "Location Barcode" is the unique barcode assigned to this address. This works with many features found in IDS Mobile.

- (optional) GPS is the unique GPS coordinates for the address. This works with many features found in IDS Mobile

- (optional) Notes appears in the "Shipment Entry" tab Address Notes section. This is useful to pass address based information onto the call taker and dispatcher

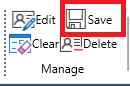
- Then click the "Save" button located in the toolbar.
How to Search for Addresses
To search for an address, please do the following.
- The first step is to select which Customer Account contains the address.
- You will now see all the address for this Customer Account
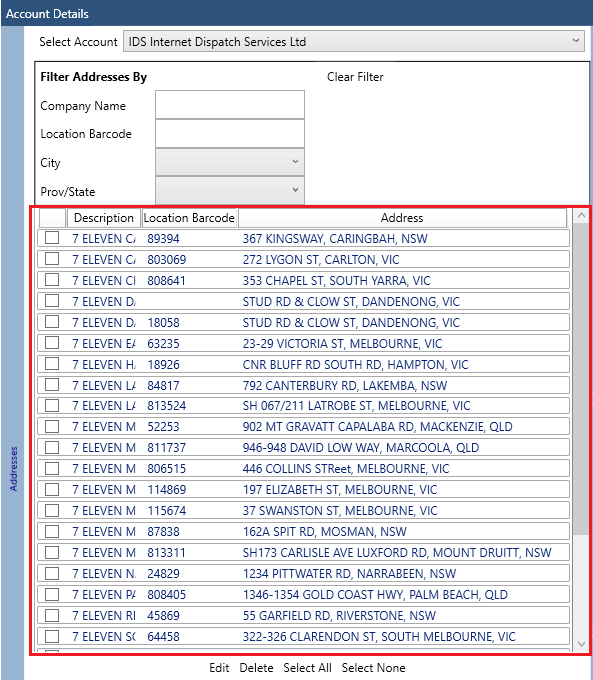
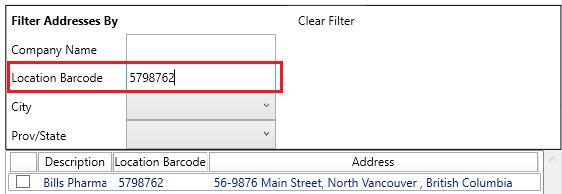
- Across the top of the address list you can see the "Filter Address by" section
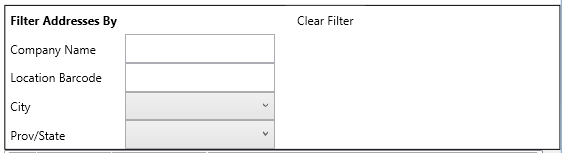
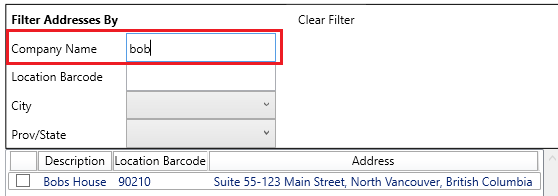
- To find an address by the company name, type the name into the "Company Name" field
- To find an address by the location barcode, type the name into the "Location Barcode" field
- To find an address by the city, select the city in the "City" dropdown.
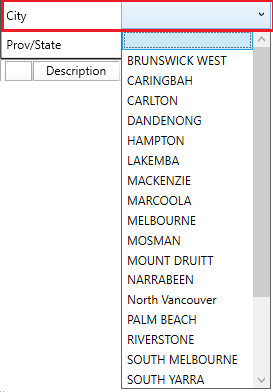
- To find an address by the province or state, select the city in the "Prov/State" dropdown.
How to Delete Addresses
After searching and finding the address you wish to edit (see above to learn how to search for address),
- You can then:
- Double click the address (for a single address)
- Or tick the box beside the addresses you wish to delete
- Or click "Select All" button to select all the addresses list in the address list

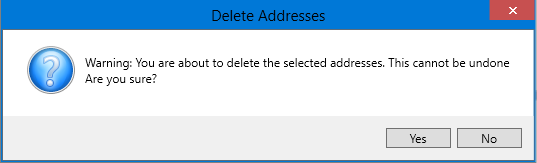
- The click the "Delete" button

- Then click "Yes" in the "Delete Address" pop up.
How to Edit Addresses
After searching and finding the address you wish to edit (see above to learn how to search for address),
- You can then:
- Double click the address
- Or select the address, then click the "edit" button located at the bottom of the Address list.

- This will load the address into the "Create/Edit Addresses" Section
- Make your needed changed.
- Then click the "Save" button to save your changes.
How to Group Addresses
The "Groups" section is located on the bottom of the tab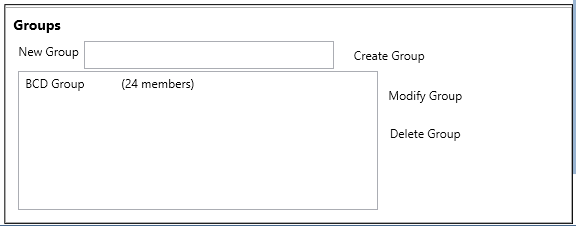
Please Note: Address Groups are associated with a customer account.
Meaning all addresses in a group must be for the same customer account.
To create a new group, do the following:
- Type the name of the new group into the "New Groups" field.

- Then click the "Create Group" button

- A pop up will appear when the group has been created.
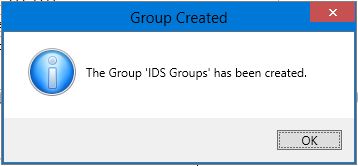
- Click "Ok" in the above pop up.
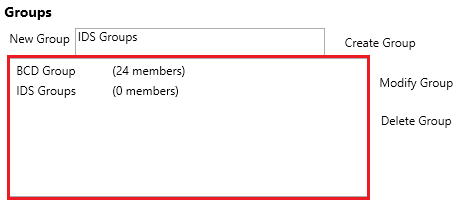
- Your new group will appear in the Group's List
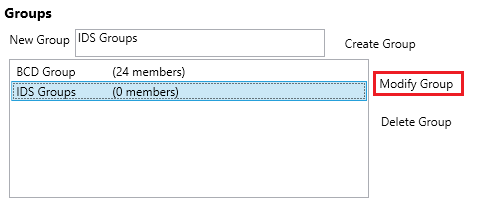
To modify your group by adding or removing addresses to the group, please do the following
- Select the group you wish to modify from your list of groups
- Then click the "Modify Group" button
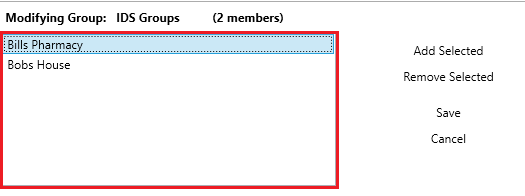
- The screen will change to show:
- a new title section of "Modify Group:"

- a list of new buttons
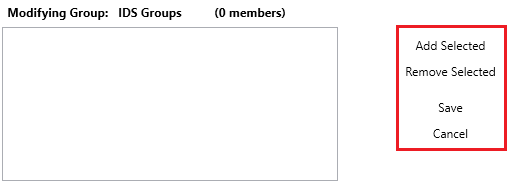
- Any existing addresses already included in the group.
- a new title section of "Modify Group:"
- To add address, search for your addresses (see above on how to search for addresses)
- Then:
- Tick the tick box beside the addresses you want to include

- You can also click "select all" to select all the addresses visible in the address list
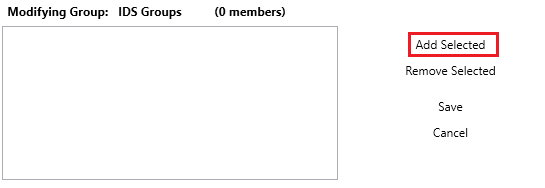
- Tick the tick box beside the addresses you want to include
- Once you have selected your address, click "Add Selected"
- Your selected address Company Name will now appear in list of addresses for that group
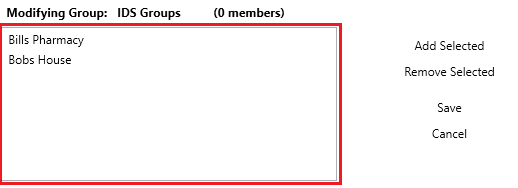
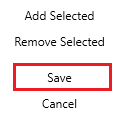
- Then click the "Save" button
- To remove address from a group, select the group, then click "Modify Group"
- From the list addresses in the group, select the addresses you wish remove
- Then click the "Remove Selected" button
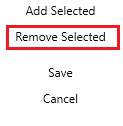
- The select addresses will disappear.
- The click "save"
- To delete a group, highlight the group
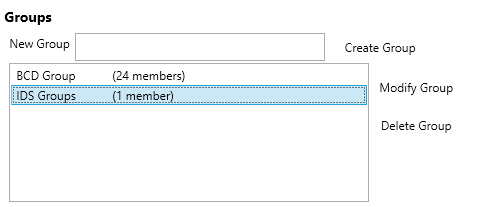
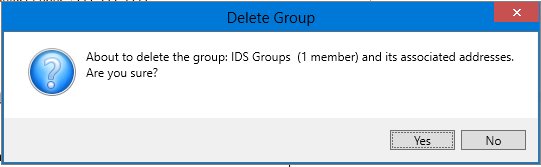
- The click the "Delete Group" button

- The click "Yes" in the "Delete Group" pop up
How to Import Addresses
Before you can began, you will need to have a file ready to be imported.
This file must:
- be a Comma Delineated File (CSV) File.
- The file format will be as follows:
- Address Name – this is the Company Name aka Pick Up Name for the address. (required)
- Location Number – this is the Location Barcode for the address. (required) If you dont plan to use a barcode, please do still enter in a unique, for each address record, sequential number in this field.
- Street Address – this is the Street address for the address. (required).
- Unit/Suite – this is the Unit or Suite number for the address. (not required).
- City – this is the City for the address (required).
- State/Prov – this is the State for the address (required).
- Country – this is the Country for the address (required).
- Postal Code/Zip – this is the Postal Code for the address (required).
- Email Address – this is the Email Address for the address (not required).
- The first row of the CSV must contain the above as headers.
- An example of how the first few rows of the CSV file would look when opened in notepad would as as follows:

With the file ready to go, please go to the "Import Addresses" section of the Address Book tab.
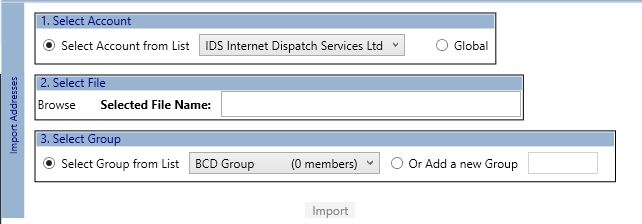
- In the "Select Account" Section, do 1 of the following:
- Select the button beside "Select Account from List", then select the Customer Account whose addresses you are importing. This will mean the imported address can only been seen when selecting that customer account.
- Select the button beside "Global". This will mean every customer account will see all the imported addresses.

- In the "Select File" section
- Click on the "Browse" button.
- Then use the Windows Browser pop up to find and select your CSV Address file.
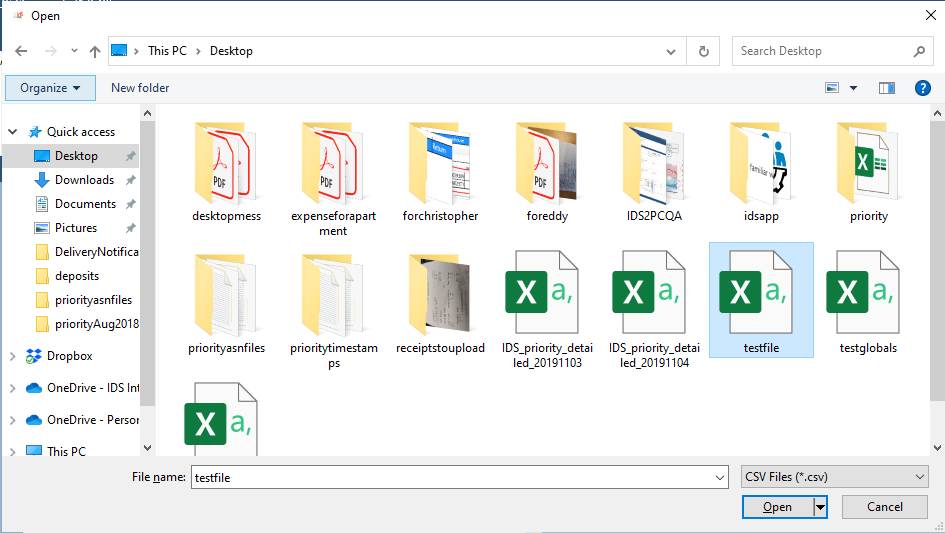
- Then click "Open"
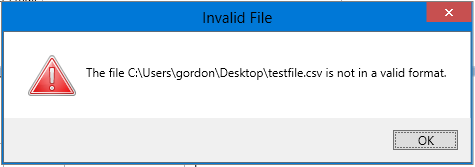
- If you receive the following error, then your CSV file format is not correct. Please go back and check the file. It must be an exact match.
- If the CSV file format is correct, then you will see the file name in the "Selected File Name" field.

- In the "Select Group" group section do 1 of the following:
- Select the button beside "Select Group From List". Then select an existing Group Name from the dropdown.
- Select the button beside "Or Add a New Group". Then type in a unique name into the field.
- Groups allow you to:
- Keep track of your imports.
- Create shipments en-mass by selecting a "Group" in the Shipment Screen (if this functionality has been turned on for your company).
- Imported Addresses will be visible:
- in their group.
- And outside of their group.
- If you are unsure how to proceed, then:
- select the button beside "Or Add a New Group"
- Enter a unique name.
- Imported Addresses will be visible:
- Then click the "import" button.
- When the import has been completed you will see the following pop up.

- You are done.
Toolbar Buttons
 - Edits the selected address
![]() - Clears the screen
- Clears the screen
 - Saves changes
 - Deletes selected addresses
Hide Unhide Toolbar
By default, the toolbar is visible. To hide the toolbar, double click any white part of the toolbar.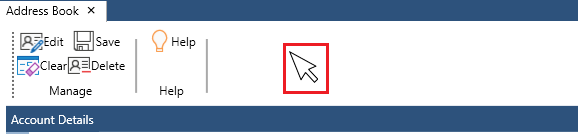
If the Toolbar is hidden, it will look like this:

To unhide the toolbar, click on "view", then click on "Show Toolbar"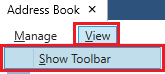
Right Click Menu
If you right click anywhere in the address list, you will see this menu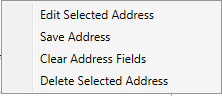
- Edit Selected Address - will edit the selected address.
- Save Address - will save changes to the address.
- Clear Address Fields - will clear the address fields from the right hand side of the screen.
- Deleted Selected Address - will delete the selected address.
Hot Keys
The first thing you must do is hide the toolbar (see above).
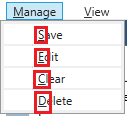
To see your hot keys, look at the top left hand side of the screen.
You will see under each drop-down there is a letter that has been underlined.

If you press the "alt" button on your keyboard and one of the above letters, a drop-down will appear.
For example if you press "alt" and m at the same time, the Trip drop-down will appear.

In the dropdown, you see under each option a letter has been underlined.
If you now press one of those keys, you will trigger the function.
For example, if you now press c, you will clear the screen
To be clear, to clear the screen you would:
- Press "alt" and m at the same time.
- Then you would press c