Claims
- Gord More (Unlicensed)
- Devyn Caterer (Unlicensed)
This screen allows a driver to "claim" a shipment and/or mark the shipment as picked up.
- The shipment can be sitting in the IDS PC Client's Dispatch Screen.
- The shipment can be assigned to another driver.
- The shipment be assigned to the same driver that is making the claim. This allows a driver to quickly scan a group of shipments to mark them as Picked Up.
- Delivered (verified), Posted, Invoiced, Deleted and Scheduled Shipments cant be claim scanned.
If the shipment has not been marked as Picked Up, then a claim scan will also update the Shipment's status to Picked Up. If the Shipment has already been marked as Picked Up, then the shipment will stay as Picked up.
From the IDS 2 App's menu, select "Claims".
You will now see this screen.
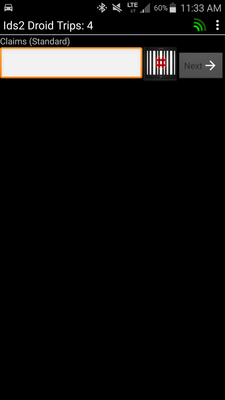
This screen works by scanning a barcode. This article walks you through the steps of using a phone's onboard camera to scan a barcode. However, if your company does a high volume of shipments, IDS strongly recommends the use of a phone with an onboard laser scanner. Currently, (February 2017) IDS recommends the Zebra/Motorola/Intermec TC-55. For more details on the TC-55, please click here.
Click the Scan button: 
If this is the first time the phone has been used with the IDS 2 App for scanning, Android will show a few security permission pop ups, press "allow" or "ok" as needed to all pop ups to allow the IDS 2 App access to the phone's camera.
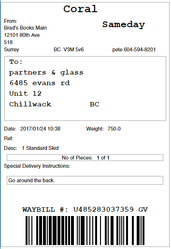
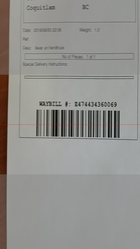
Then point the camera at the barcode on the IDS Waybill. (This can also work with 3rd Party barcodes, please contact support for more details).
When the phone has successfully scanned the barcode, the barcode capture screen will disappear and return you back to the claim screen displaying the barcode that you just captured.


If you need to claim more shipments, simply click the button and repeat.
If you made a mistake, simply tap the barcode to remove it.
When you are finished scanning all your shipments, click the "Next" button ![]()
This will bring you to the next screen
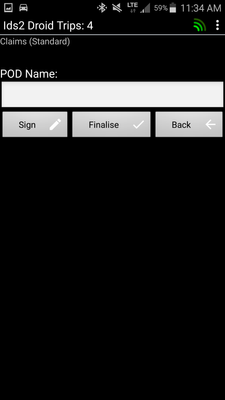
If you have chain of custody requirements, you can enter in a POD Name and click the "Sign" button to capture the Driver's name and signature making the claim scan. If not, you do not need to enter in a POD or a Signature.
 clicking this button will return you back to the previous screen.
When you are ready, click  to finish the claim.
All shipment's whose barcodes you scanned will now be claimed and assigned to the driver. They will now appear in the drivers Pick Up / Deliveries Screen (also known as the Trip List Screen) with a status of Pick Up needing to be Delivered.
When the driver is done, dont forget to use the menu to return back to the Pick Up / Deliveries Screen (also known as the Trip List Screen).