IDS App 2 Metro - Returns
The Returns Screen is to be used by a driver when they are picking up a return package from the store location.
From the Menu, select "Returns"
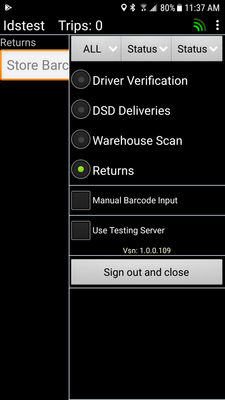
Scan the Store Barcode
Do Note: The field at the top of the Screen says, "Store Barcode"

Return Shipments for that store will appear
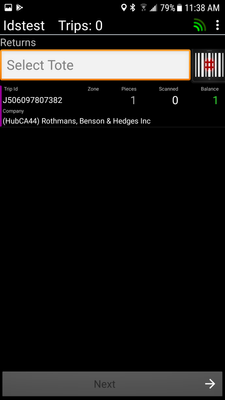
Do Note: The field at the top of the Screen says, "Selecet Tote"
The screen will look this (you may have more than 1 result)

Do Note: The field at the top of the Screen says, "Assigned Barcode"
Tap one of the Return Shipments.
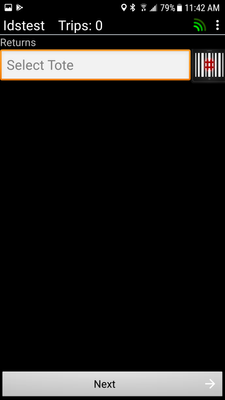
Affix a barcode onto that 1 box/tote.
Then scan that barcode.
Continue this process for all Returns for that Store Location.
When done, click the "Next" button located on the bottom of the screen.
Capture a Proof of Pick Up (POP)
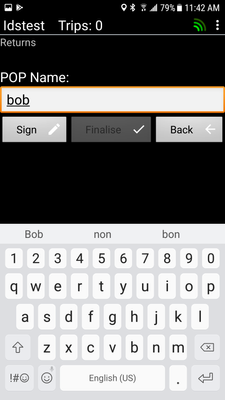
Capture a Signature
Then click "Finalise"
The shipment will then appear in your DSD Screen
To deliver the Return Shipment at the Warehouse, do the following:
From the Menu, select "DSD Deliveries"
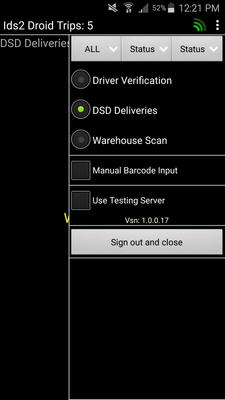
This will load all shipments that are due for delivery.
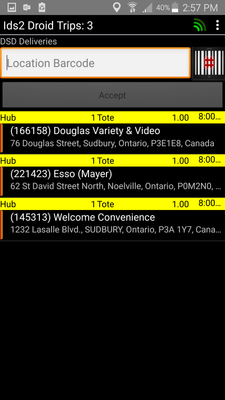
From this screen, scan the location barcode for your delivery location. This will then show all totes for delivery at this location.
If you tap a shipment, you will see the following pop up.
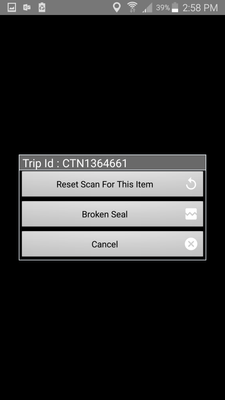
From this screen you can reset your scans, mark a tote as having a broken seal or cancel to go back.
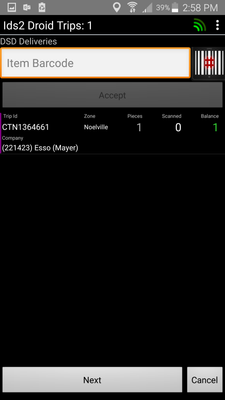
Back on this screen (after scanning location barcode)
Scan the barcode(s) on the Tote(s) that are due for delivery.
If you scan a tote for another location, you will see a pop up that says, "Item not for this location." Just press cancel to close the pop up.
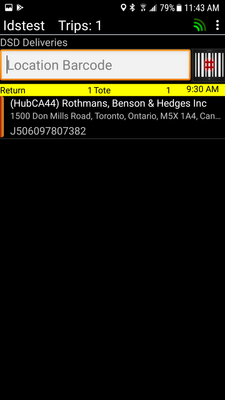
As you scan all the tote's barcodes, they will disappear off the screen and will look like this:
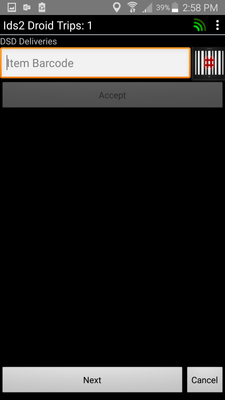
If you still have a tote on the screen, take a moment to find it. When you find it, re-scan the barcode on the tote. If you cant find it, still continue, that will mark the shipment as "Undeliverable" and send an email to Metro Logistic's Head Office saying that the tote is missing.
Now press the Next button on the bottom of the screen.
You will now see this screen, which will confirm what totes have been scanned and ones that have not been scanned.
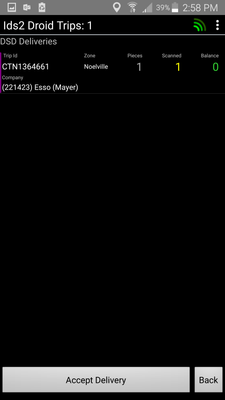
If you have made a mistake, press the back button to re-scan totes.
When you have finished, press Accept Delivery.
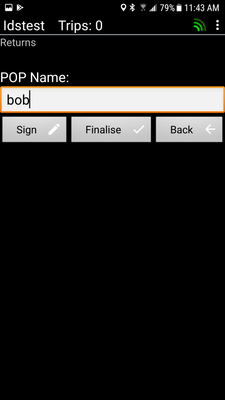
You will now see this screen.
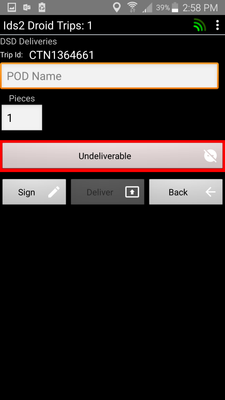
Enter in the POD Name of the Receiver.
Then press the Sign button.
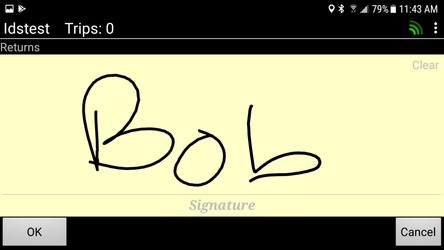
You will now see this screen.
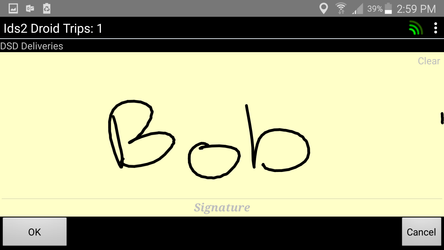
Have the receiver sign the screen, then press ok.
You will now be back on this screen
The Delivery Button will now be clickable. Click it to finish the delivery.