This artilce will describe how you can edit your Zone to Zip - Postal Code Relationships.
If you need to edit your Zones, please see this article: How to Create Edit Zones
Note: Every IDS client will have set up IDS or will need to set up IDS in their own unique way. There is no Industry Standards for Zones, so please be aware that you will have different Zones.
Since we will building a relationship between our Shipment's Zip - Postal Codes, you can use the following resources to map your zones:
Step-by-step guide
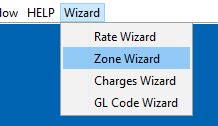
- Logged into IDS's PC Client as an Admin, locate the Wizard Dropdown in the top left hand side of the IDS PC Client.

- If you don't see "Wizard", then you are not logged in as an "admin."
- Click on the "Zone Wizard"
- You will now see this screen.
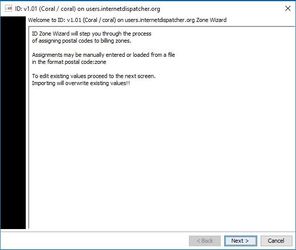
- Locate and press the "Next" button 1 time.
- You will now see a screen that looks like this.
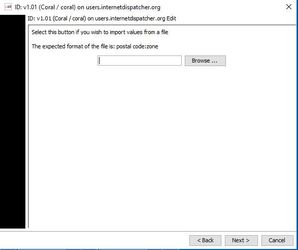
- From this screen you can import a file that contains the relationship between Zone to Zip - Postal Codes.
This file needs to be a Text File, .txt.
This file needs to be: Postal Code/Zip:Zone. For Example, V7R 3P1:NVan or 90210:BHill
One line of the file will contain 1 relationship between Zone to Zip - Postal Codes
The delimiter must be a full colon : Comma , will not work.
The Zones in the file MUST be already created. Zones are Case Sensitive. To create zones, please see this article: How to Create Edit Zones
Related articles