The following Article describes how to set a Custom Default Printer for the IDS 2 Dispatch.
You only need to do this if you would like the IDS 2 Dispatch not to Default to your main default printer, but for it to default to a custom printer such as a label (waybill) printer.
...
- Click on your Windows Icon in the lower left handside of your Window's Desktop.

- Then type "Settings" and press Enter on your keyboard.
- From the Settings Screen, click on "Devices"

- On the left side of the Devices Screen, click on "Printers & scanners"
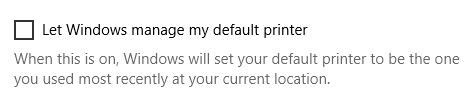
- Make sure "Let Windows manage my default printer" is un-checked.
- For your main printer, NOT! the printer you want to use (default) with the IDS 2 Shipping Portal, but for the printer you would like all your other programs (word, office, etc) to default to, click on that printer in the list of available printers.
- Then click on "Manage".
- Then click on "Set as Default"

- You are now done. You can close the screen and continue onto the next steps.
...
- Login to IDS Dispatch
- On the "Enter New Trip" Screen, click on the "Select Printer" button located in the top right hand side of the screen.

- From the list of printers, select the printer you would like the IDS 2 Shipping Portal to default to when printing shipping labels.
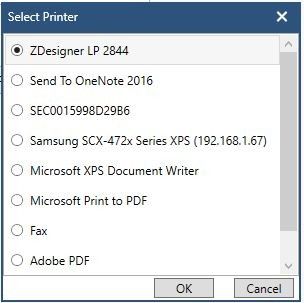
- Then press "OK".
- You are now done.
...