The following article describes how to enter in New Trips aka Shipments into IDS 2 Dispatch.
| Info |
|---|
Please Note. Every company sets up IDS in their own unique way. Please use the screenshots in this article as a reference. |
Tick Boxes
Beside the following fields, you will special tick boxes:
...
- Click on the "Enter New Trip" tab

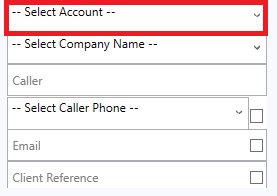
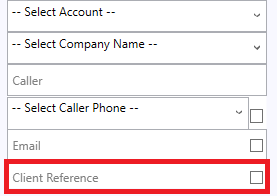
- Select or Enter in the client account
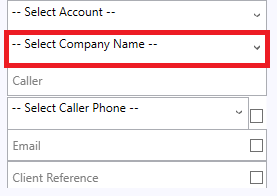
- Select or Enter in the Company Name
- Enter the Callers name

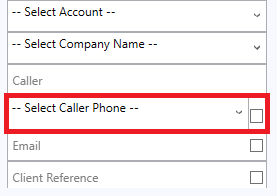
- Select or Enter in the Caller's Phone
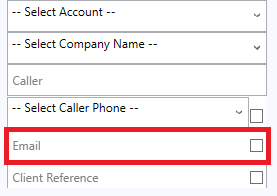
- Enter in Email to Invoice
- Enter in Client Reference if required
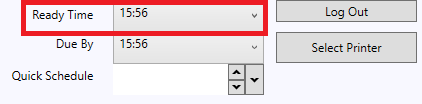
- Select "Ready Time", this is also known as Pick Up time by:
- Clicking in the dropdown and scrolling down to the time for when you wish the shipment to be picked up.
- Clicking in the dropdown and then typing in the time. When you type in the time, you will notice that the dropdown jumps down to the time you have typed in.
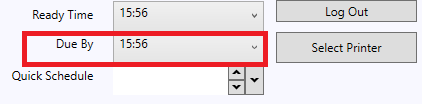
- Select "Due By" time, this is also known as Delivery time by:
- Clicking in the dropdown and scrolling down to the time for when you wish the shipment to be delivered.
- Clicking in the dropdown and then typing in the time. When you type in the time, you will notice that the dropdown jumps down to the time you have typed in.
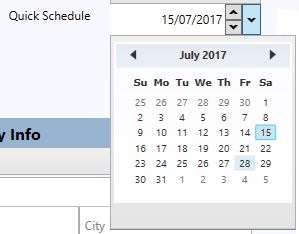
- Quick Schedule Only use this if the shipment is not to be Dispatched/Picked Up until a future date. Don't use this if you want the shipment to be Picked Up today.
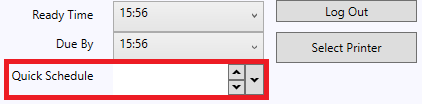
- The date format for Quick Schedule is Day/Month/Year
- The fastest way to select a date, is to click the large down arrow located on the right hand side of this field:

- Then select a date from the pop up calendar
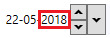
- Or you can manually edit the field:
- To change the day, click on the day in the field:

- To change the month, click on the month in the field.

- To change the year, click on the year in the field.
- Using your keyboard's up and down arrow keys or clicking on the up and down arrows on the screen changes the date by day:
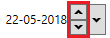
- To change the day, click on the day in the field:
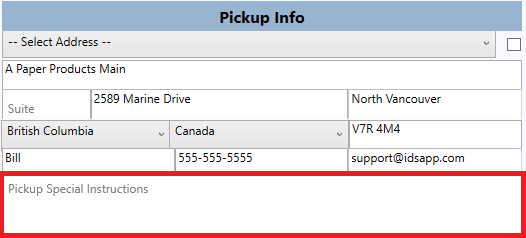
- For Pick Up info, you can do the following.
- To save time and help keep your address book clean of duplicate entries, you can find and reuse previously entered addresses by:
- Clicking on the "Select Address" dropdown in the Pickup Info section.

- Then either:
- Scroll down to the address you wish to use.
- Or type in the Name of the Company. When you do this, you will see the focus box jump down to what you are typing.
- Clicking on the "Select Address" dropdown in the Pickup Info section.
- If this is a new address and you can't find the address in the dropdown as described above (point 11. a. i.), then simply fill the address fields.
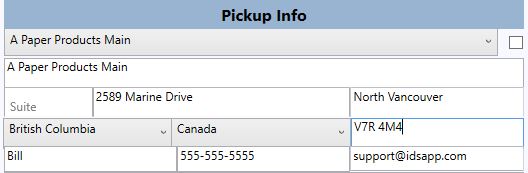
- In the "Pickup Special Instructions" field, type in any special pickup instructions for this shipment.
- To save time and help keep your address book clean of duplicate entries, you can find and reuse previously entered addresses by:
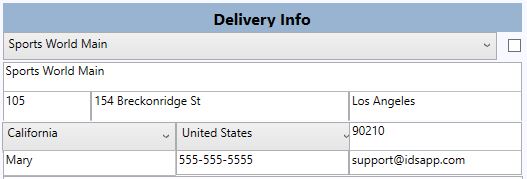
- For Delivery Info, you can do the following
- To save time and help keep your address book clean of duplicate entries, you can find and reuse previously entered addresses by:
- Clicking on the "Select Address" dropdown in the Pickup Info section.

- Then either:
- Scroll down to the address you wish to use.
- Or type in the Name of the Company. When you do this, you will see the focus box jump down to what you are typing.
- Clicking on the "Select Address" dropdown in the Pickup Info section.
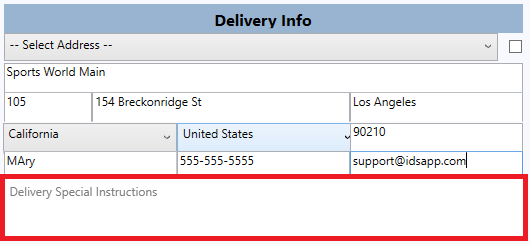
- If this is a new address and you can't find the address in the dropdown as described above (point 12. a. i.), then simply fill the address fields.
- In the "Delivery Special Instructions" field, type in any special delivery instructions for this shipment.
- To save time and help keep your address book clean of duplicate entries, you can find and reuse previously entered addresses by:
- Select Package Type using the Select Package Type dropdown.

- Enter in the Piece Amount.

- Enter in the Weight.

- Select Service Level using the Select Service Level dropdown.

- Enter in the delivery charge(s).
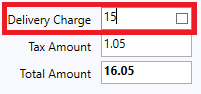
The Tax Amount and Total Amount will be automatically calculated and entered based on your companies preferences.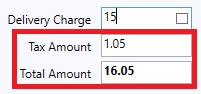
- Select shipment options (Every company sets up IDS in their own unique way. Please use this screenshot as a reference, your list will be different).
- You may use the Estimate button to receive an estimate based on the options you selected.

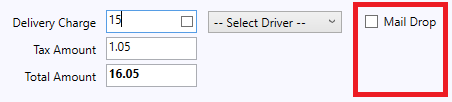
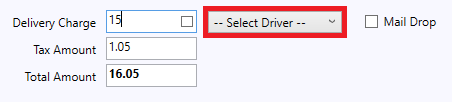
- Select Driver if you want to immediately dispatch the shipment when Ship Now is pressed.
- Ship Now places the shipment on the Dispatch Board or immediately to the Drivers Board if a Driver was selected.

For reference please Click on Dispatch from 'Enter New Trip' or 'Search & Edit Trips'? to learn more.