...
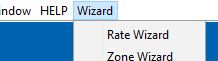
- Logged into IDS's PC Client as an Admin, locate the Wizard Dropdown in the top left hand side of the IDS PC Client.

- If you don't see "Wizard", then you are not logged in as an "admin."
- Select the "Rate Wizard."
- Click the "Next" button to proceed to the Service Level screen.

- The Service Level Screen looks like this:

- Depending on the set up the "Valid for selected packages (select none to ignore package)." may not be visible. This is a free option that can be implement. To enable this option email support at support@idsapp.com.
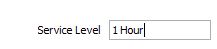
- To create a new Service Level, type in the new Service Level's name into the "Service Level" field.
- Ignore the "Del Hrs:" field.
- If the Service Level not to appear on IDS's online "Ship Now" screen (This is where your customers go online to enter in a new shipment) after a certain time, then enter in that cut off time using the 24 hour clock into the "Cutoff Hrs (eg:1300 = 1pm)" field.

Note: This is only an option. The cut off time should not be entered if customers are allowed to enter shipments at anytime of the day.
The time is based on your Time Zone, NOT the IDS Server Time Zone. - To add a color for this Service Level on the IDS PC Client's Dispatch Board (meaning all shipments of this Service Level on the IDS PC Client's Dispatch Board will have a background color), tick the box beside "Dispatch Color" AND click the circle beside the tick box.
Note: When the box beside "Dispatch Color" is first ticked, the circle will change to red. Clicking the circle will open the color palette to select a color shown on the "Dispatch Board".. - This will open up a color palette.

- Select the color you wish to use for this Service Level, then press "OK."
- Note: Setting colors for service levels is just an option. Do not tick the color selection box if a color is not needed for the service level.
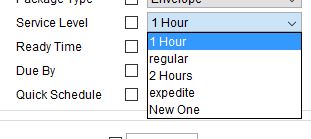
- Package Types can be linked to a Service Level. When customers enter an order using the "Ship Now" screen, only Package Types associated with the selected Service Level will be available.
Note: The "Valid for selected packages" is an option. Contact support at support@idsapp.com if this option is needed and is not visible. This is a free option that can be implemented by contacting support at support@idsapp.com.
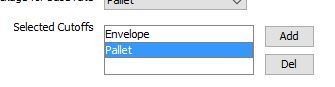
Note: When this option is set all Service Levels must have linked Package Types. - From the "Select package for base rate" Dropdown, select a package type. DO NOT select Child Package Types.
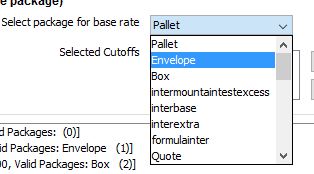
- Then press the Add button located to the right of the "Select Cutoffs" field


- Repeat steps 15 and 16 for every package type to be linked with this Service Level.
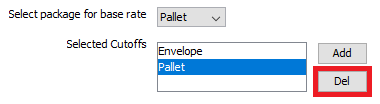
- To correct a Package Type entered in error, highlight that package type in the "Selected Cutoffs" field.
- Then click the Del button to the right of the "Selected Cutoffs" field.

- When done, double check that no Package Types have been missed or entered in error..
- If everything is good, click on the Add button located to the left of the existing Service Levels

- Now press the "Update Services NOW" button located on the top right hand side of the pop up.
Note: The "Update Services Now" button can never be clicked to often. However, if the "Update Services Now" button is not clicked all entries will not be saved
. - For this new Service Level to appear in IDS's Trip Entry Screen, you need to restart IDS's PC client.
...
- Logged into IDS's PC Client as an admin, locate the Wizard Dropdown in the top left hand side of the IDS PC Client.
- If you don't see "Wizard", then you are not logged in as an "admin"
- Select Rate Wizard
- Click on "Next" to move to the Service Level screen.
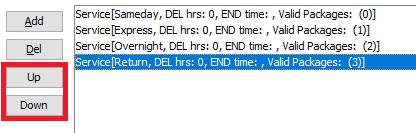
- This is the Service Level Screen:
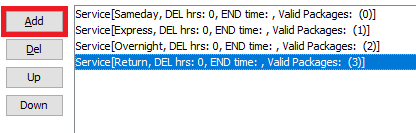
- The Service Level just created appears at the bottom of the list. Highlight the service level to be moved.

- Use the up and down buttons to move the service up or down in the list. Remember, this is the same order of service levels as found in the Service Level dropdown in the Trip Entry Screen. Change here appear in the Service Level Dropdown in the Trip Entry Screen.

Now press the "Update Services NOW" button located on the top right hand side of the pop up.
Note: This button can never be clicked too often. However, if the button is not clicked all entries will not be saved. SO press it.Restart IDS.
Now the Trip Entry screen Service Level Dropdown list order will reflect the above changes.