...
- Click on the "Accounts" tab

- To find the existing account to edit, you will be using the section labelled "accountsAccounts"
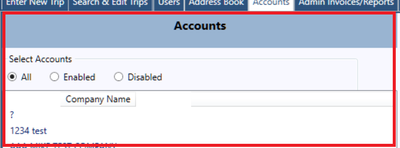
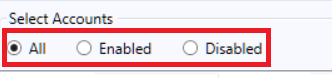
- To filter the account list in the Account Section, you can check the following fields.
- All - will show you all Customer / Accounts.
- Enabled - will only show you Customer / Accounts that are enabled and open.
- Disabled - will only show you Customer / Accounts that are disabled and closed.

- To further filter the account list, if you scroll to the bottom of the page, you will see this filter box.


- Type into this field part of the Account / Company name to filter the list.
- When you find the Customer Account, you can do 1 of the 2 actions:
- Double click on the Account.
- Single click on the Account, then click the "Edit" button located on the bottom of the screen.


- This will populate the fields in the "Create/Edit Account" Section of the screen.
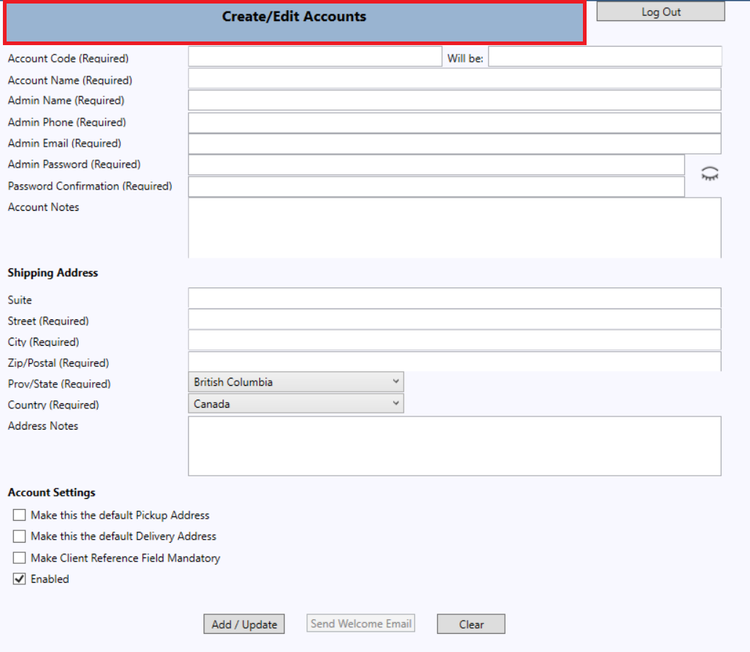
The following fields can be edited in the following manner:
- The Account Code field can not be edited. This field is locked when you first saved this account. If you must changed change the account code do the following:
- Untick "Enabled" on the bottom of the screen.
- Click the "Add / Update" buttom button located on the bottom of the screen.
- Then create a new Customer / Account.
- Enter in the Account Name.
- Unlike the Account Codes, Account Names have no restrictions and can be changed in the future.
- Account Names will be visible to your clients.


- Enter in the Account's Admin Name.
- The first part of this name will make up part of the login your customers will use to login to their Online Shipping Portal (which allows them to enter in new Shipments, Track and Trace Shipments).


- The first part of this name will make up part of the login your customers will use to login to their Online Shipping Portal (which allows them to enter in new Shipments, Track and Trace Shipments).
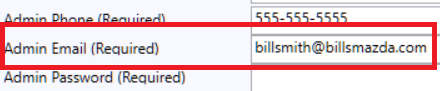
- Then enter in the Account's Admin's main phone number.


- Then enter in the Account's Admin's email address.
- When you save this account for the first time, this email address will be used to send this person a "Welcome Email" with their login credentials for the Online Shipping Portal (which allows them to enter in new Shipments, Track and Trace Shipments).
- Will be used when you click the button labelled "Send Welcome Email" located on the bottom of this screen.

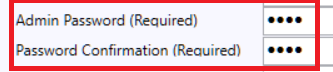
- Now enter in their password
- This will be used by your client to login to the Online Shipping Portal (which allows them to enter in new Shipments, Track and Trace Shipments).
- You will have to enter the password twice.
- Once in the field labelled "Admin Password (Required)"
- The second time in the field labelled "Password Confirmation (Required)"

- If you need to see what you typed into these 2 fields ( "Admin Password (Required)" and "Password Confirmation (Required)"). Click the eye icon.

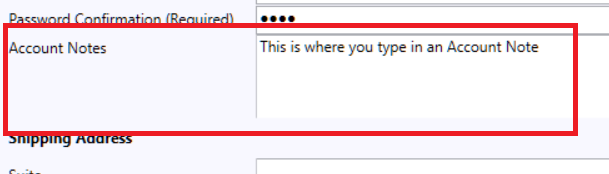
- If there is any Account Notes you would like to attach to this Customer, type those notes into the "Account Notes" field.

- In the "Shipping Address" section, type in this Account's main Shipping Address.

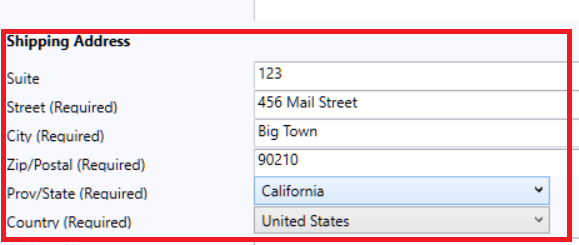
- If there is a note that you wish to appear in the "Enter New Trip" tab anytime this address is used, type that note into the "Address Notes" field.


- The "Account Settings" section has a few options. They are:

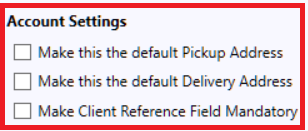
- "Make this the default Pickup Address", will make the "Shipping Address" the default Pick Up address in the "Enter New Trip" tab when you create a new trip for this account.
- "Make this the default Delivery Address", will make the "Shipping Address" the default Delivery address in the "Enter New Trip" tab when you create a new trip for this account.
- "Make Client Reference Field Mandatory", will make the "Client Reference" field in the "Enter New Trip" tab mandatory for any new shipment created for this account.
- If you need to "disable" this account because they are no longer a customer, untick the "Enabled" field

- Then click the "Add/Update" button.

