...
On the Android Mobile device you wish to install the app on, please go to this webpage: https://www.idsapp.com/metrocc/
On this page, long press the download link

When you do this, you will see the following pop up menu. Click on “Download Link”

On the next pop up, click on “Download Anyway”

Once the app has downloaded onto your mobile device, click on “Open”

On the next pop up, click on “Install”

On the following screens, click on “Allow” etc. Note. Depending on your phone and android version, your pop ups maybe different, or in a different order. Just remember to click on “allow” on any pop up that appears.


If you see a pop up saying “Install for unknown apps”.

Then click “Allow from this source”

Then click the back arrow.

This will bring you to the login page.

You are done.
...
Find the App in your app page
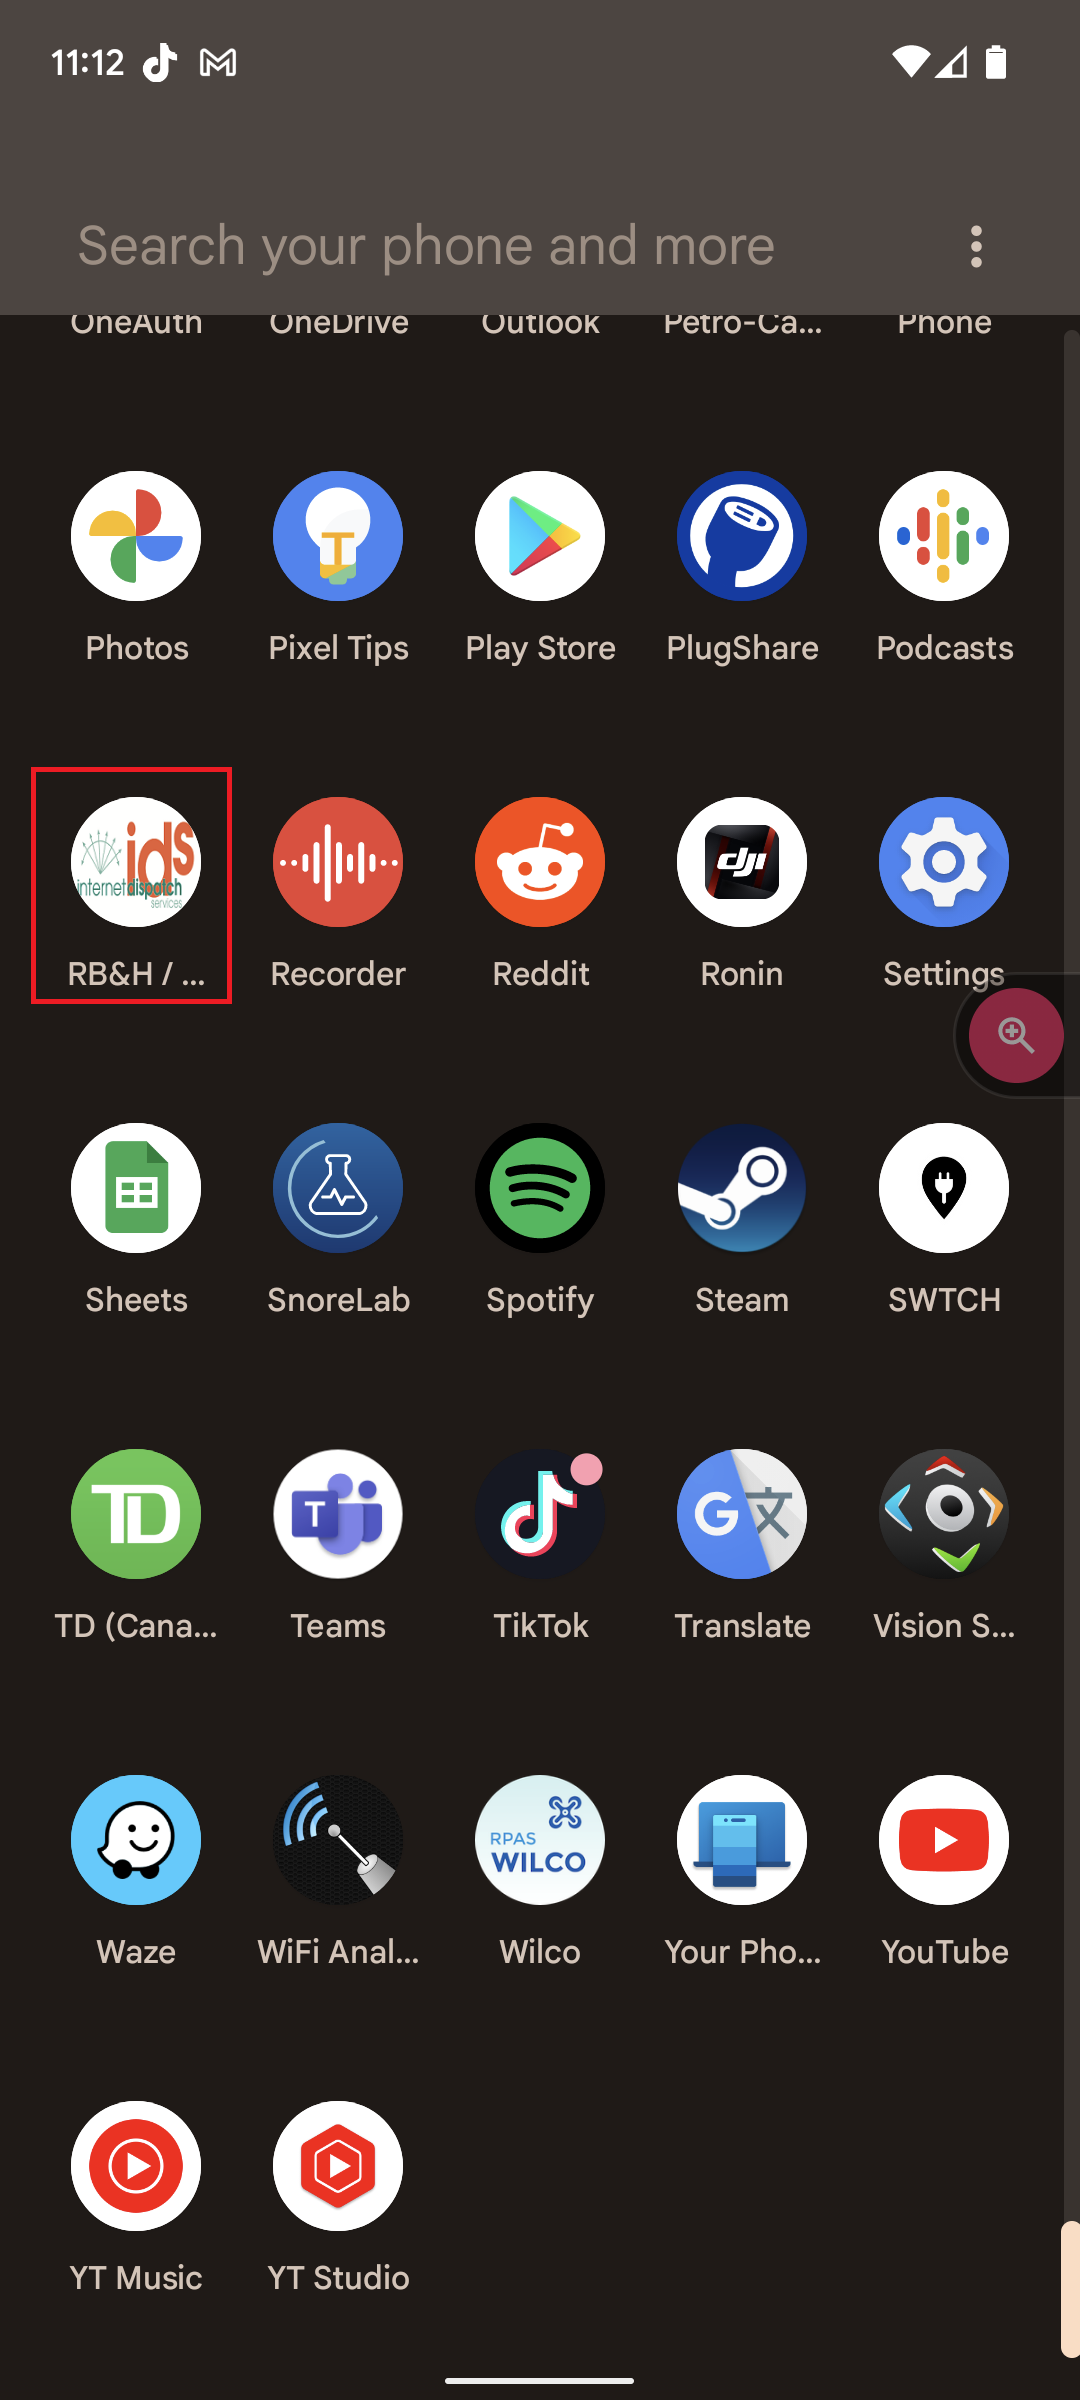

Click to open. This will bring you to the login page.
Enter in your username and password.
Then click on “Sign In”
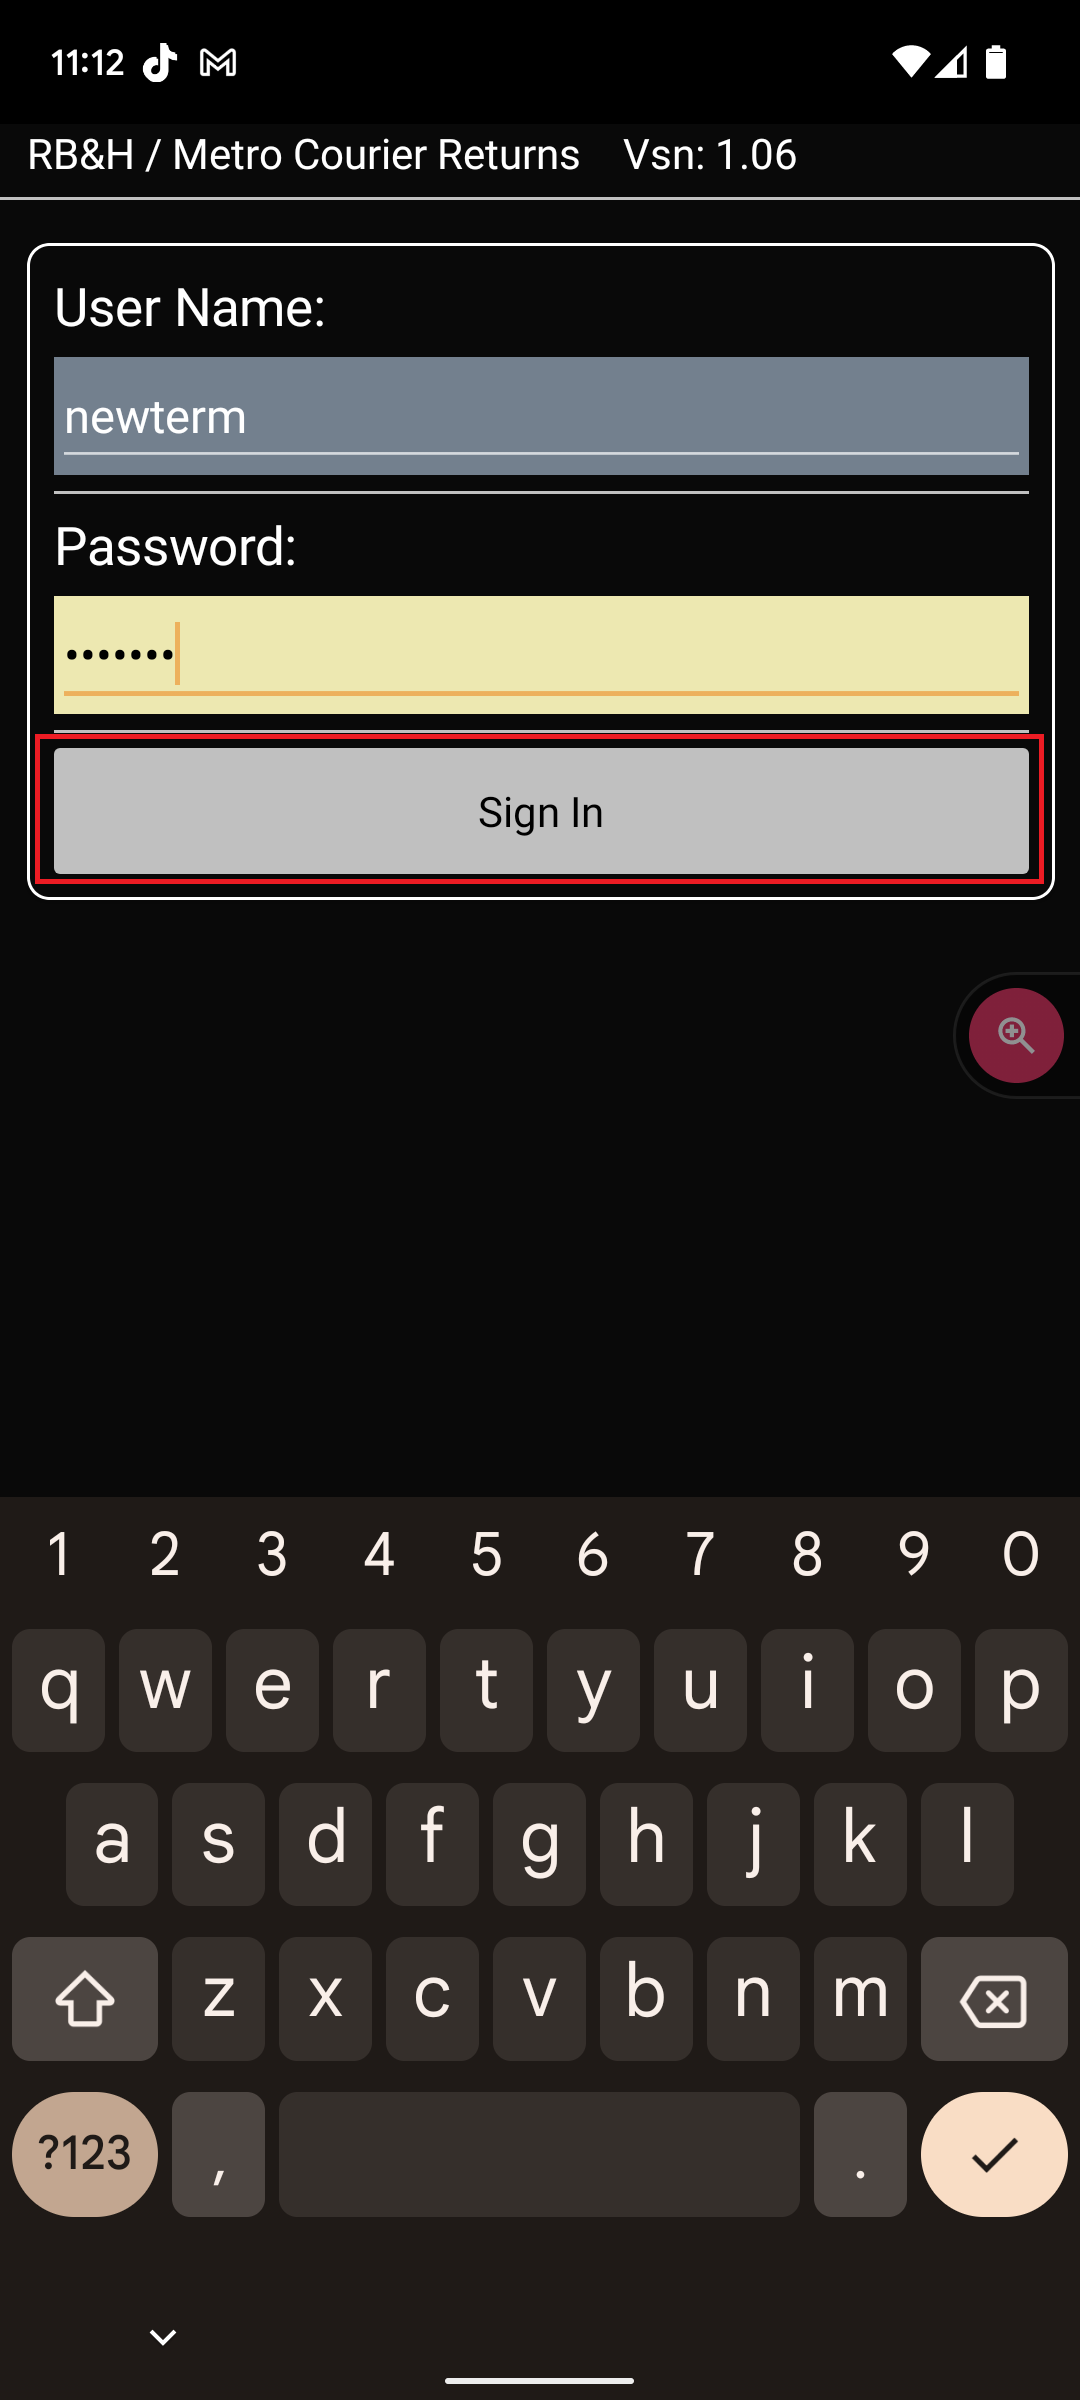

If you see an error that says, “Error - Invalid credentials”, that means your typed in username and/or password was not correct. Try again. If it still doesnt work, please contact your admin to see if they can reset your password.
If the screen says, “No Internet Connection”, then your phone is not connected to a stable data connection. Please reconnect your mobile device.
...
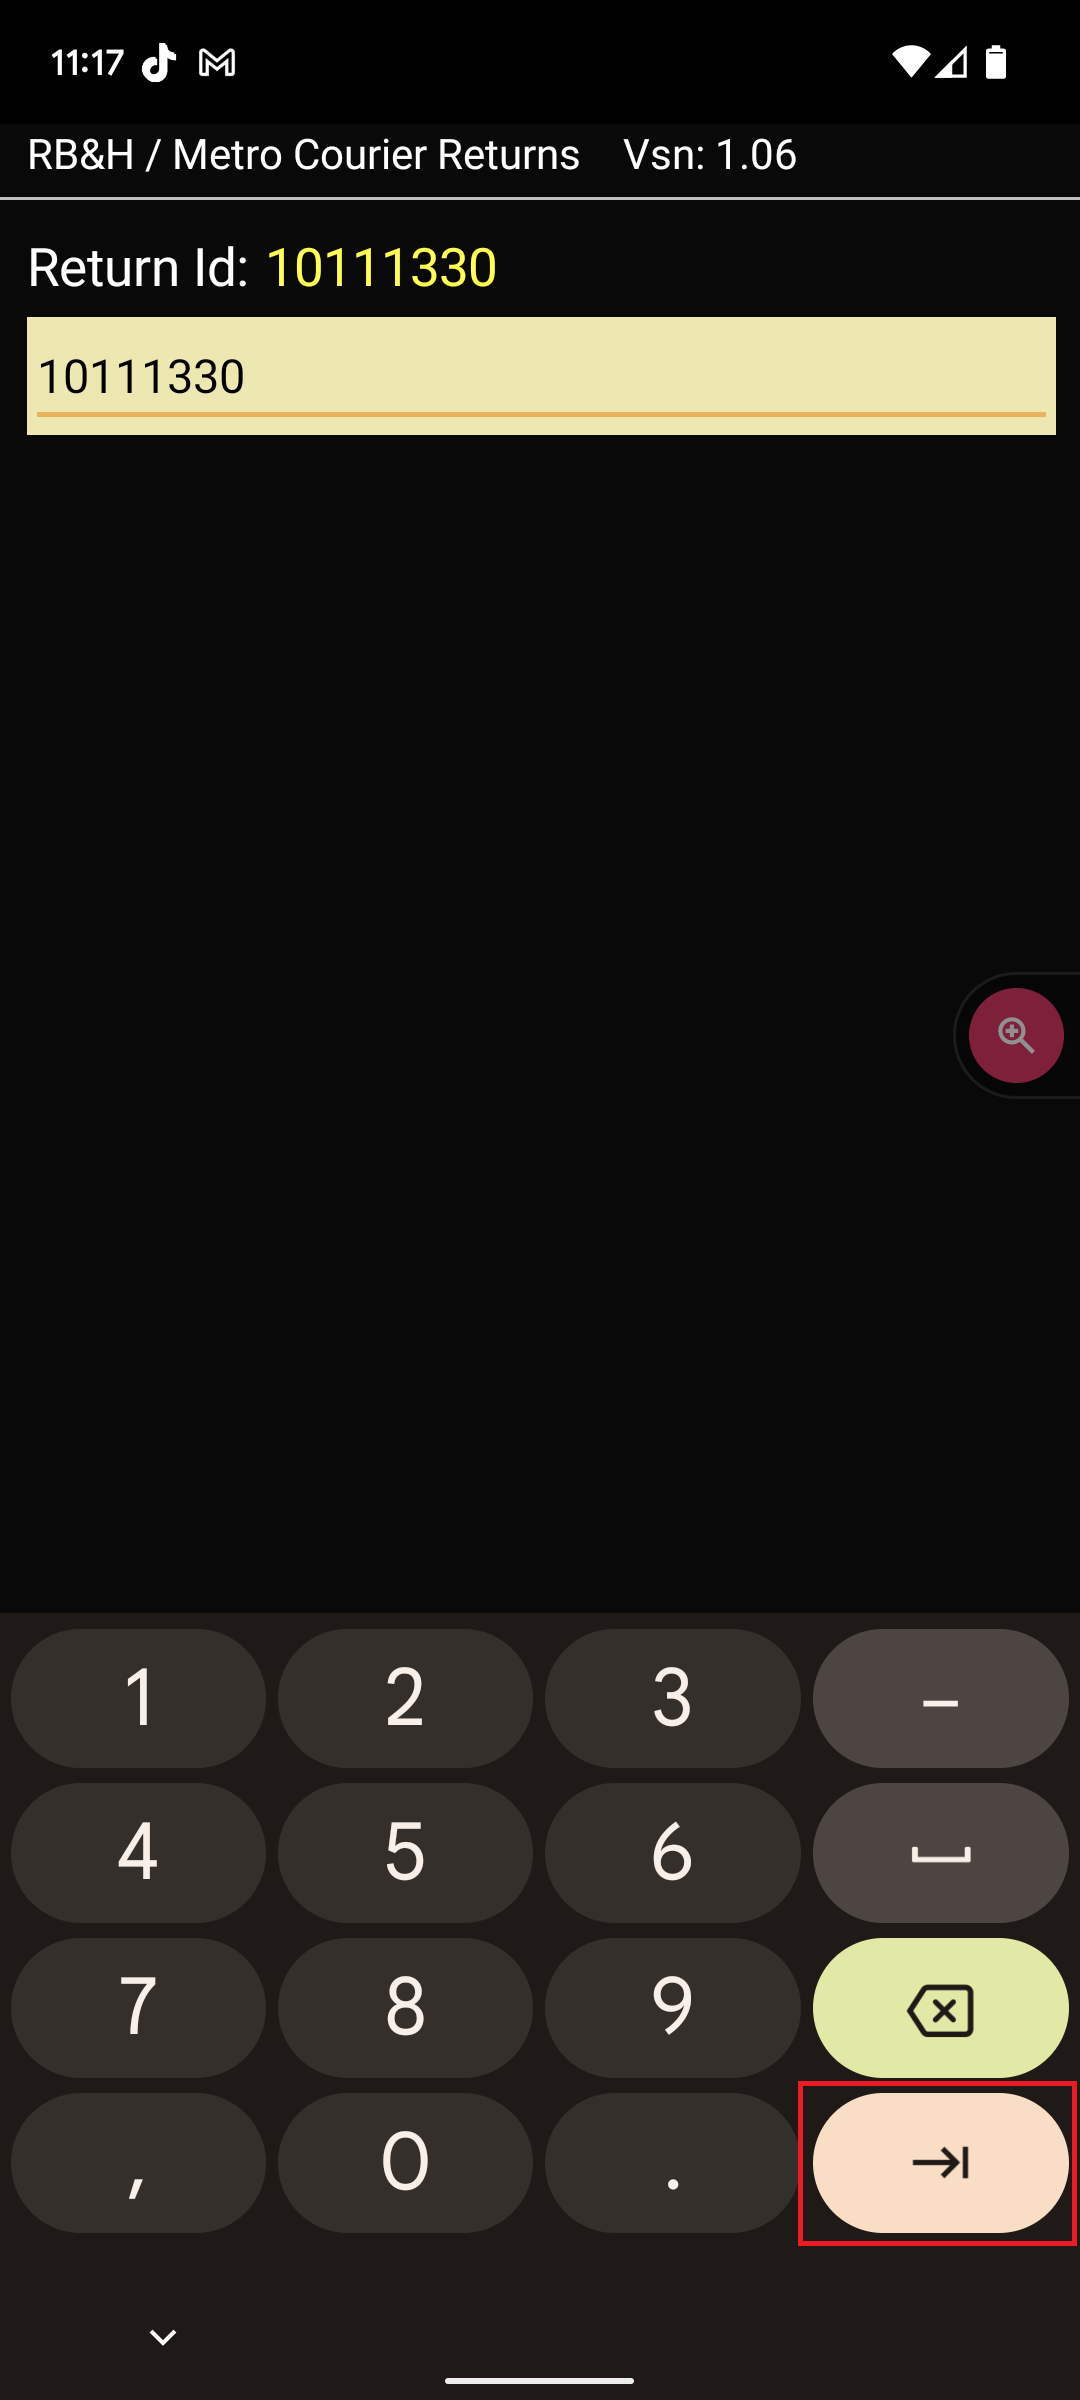
Once you have logged in, you will see this screen.

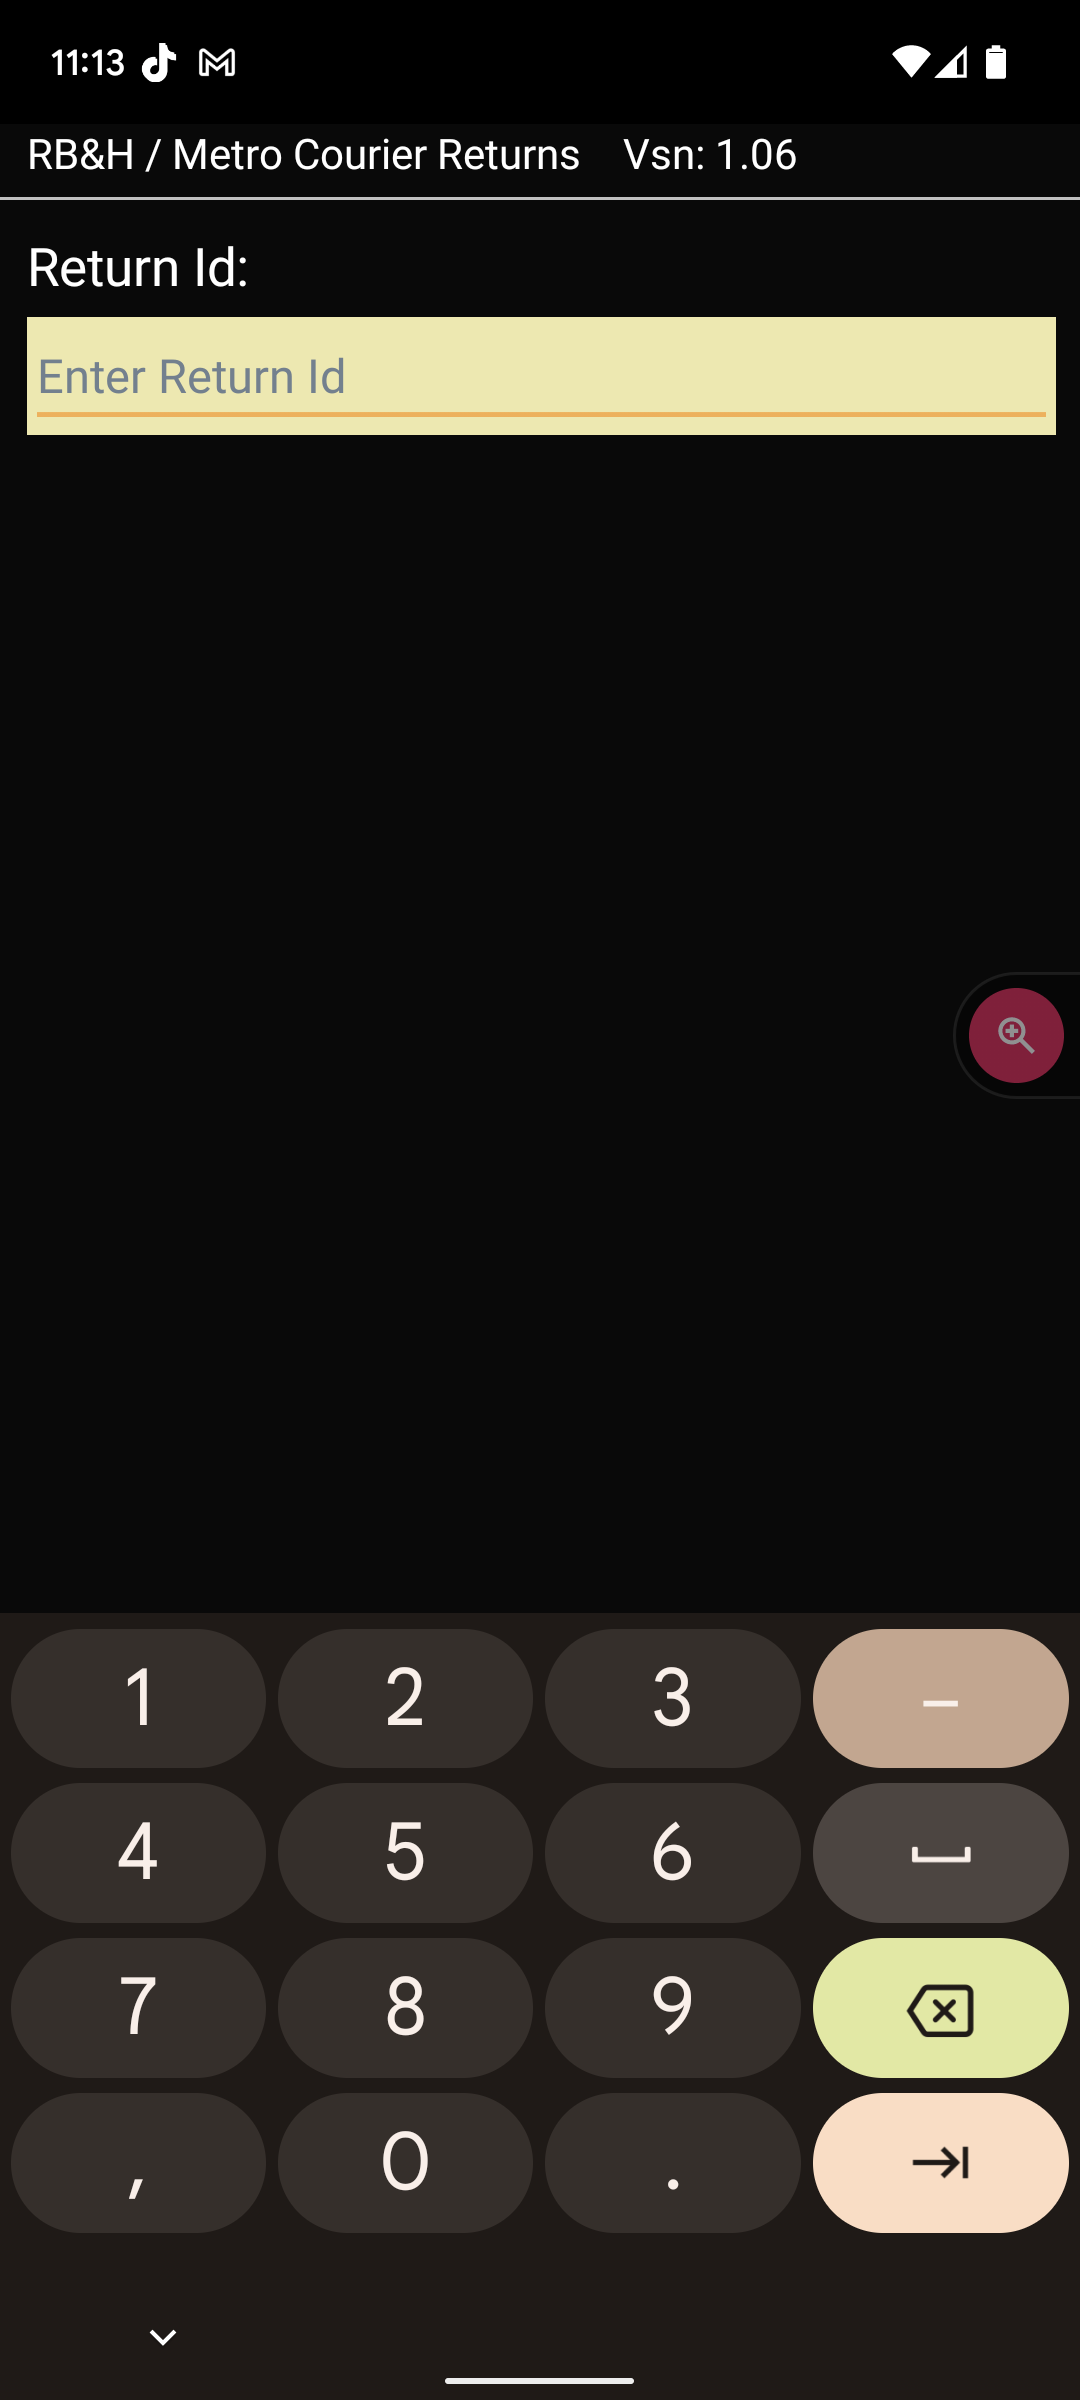
Enter in a Return ID. Please note:
If the Return ID written on the box looks like this: 59182 (6 digits), then add 3 zeros infront when you type in the Return ID. For example 59182 would look like 00059182
Some of the Return IDs will look like this: 10123456, starting with '1'. These are also legit.

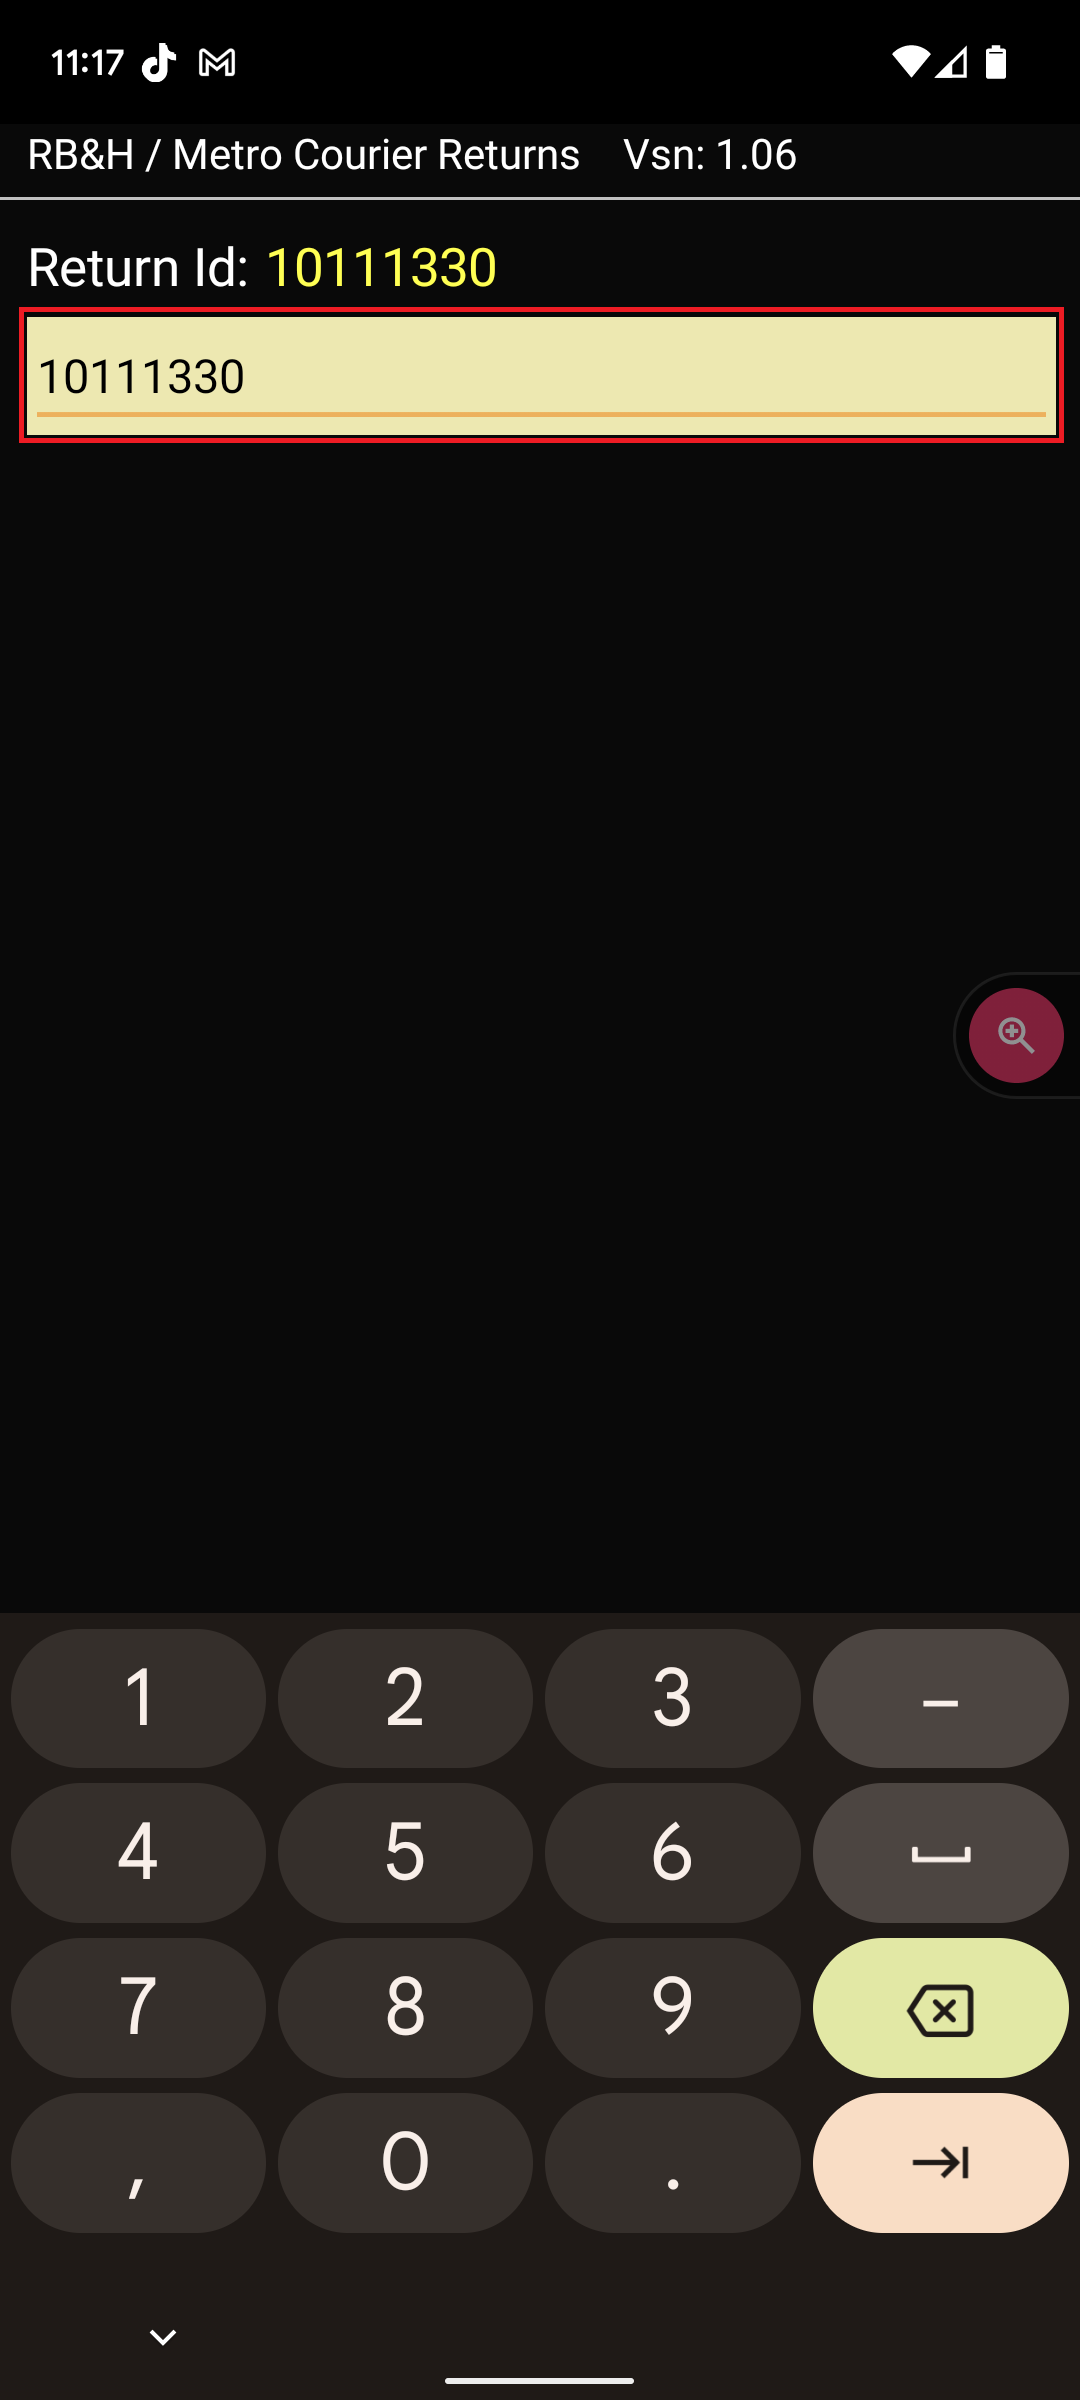
Then click the right arrow.

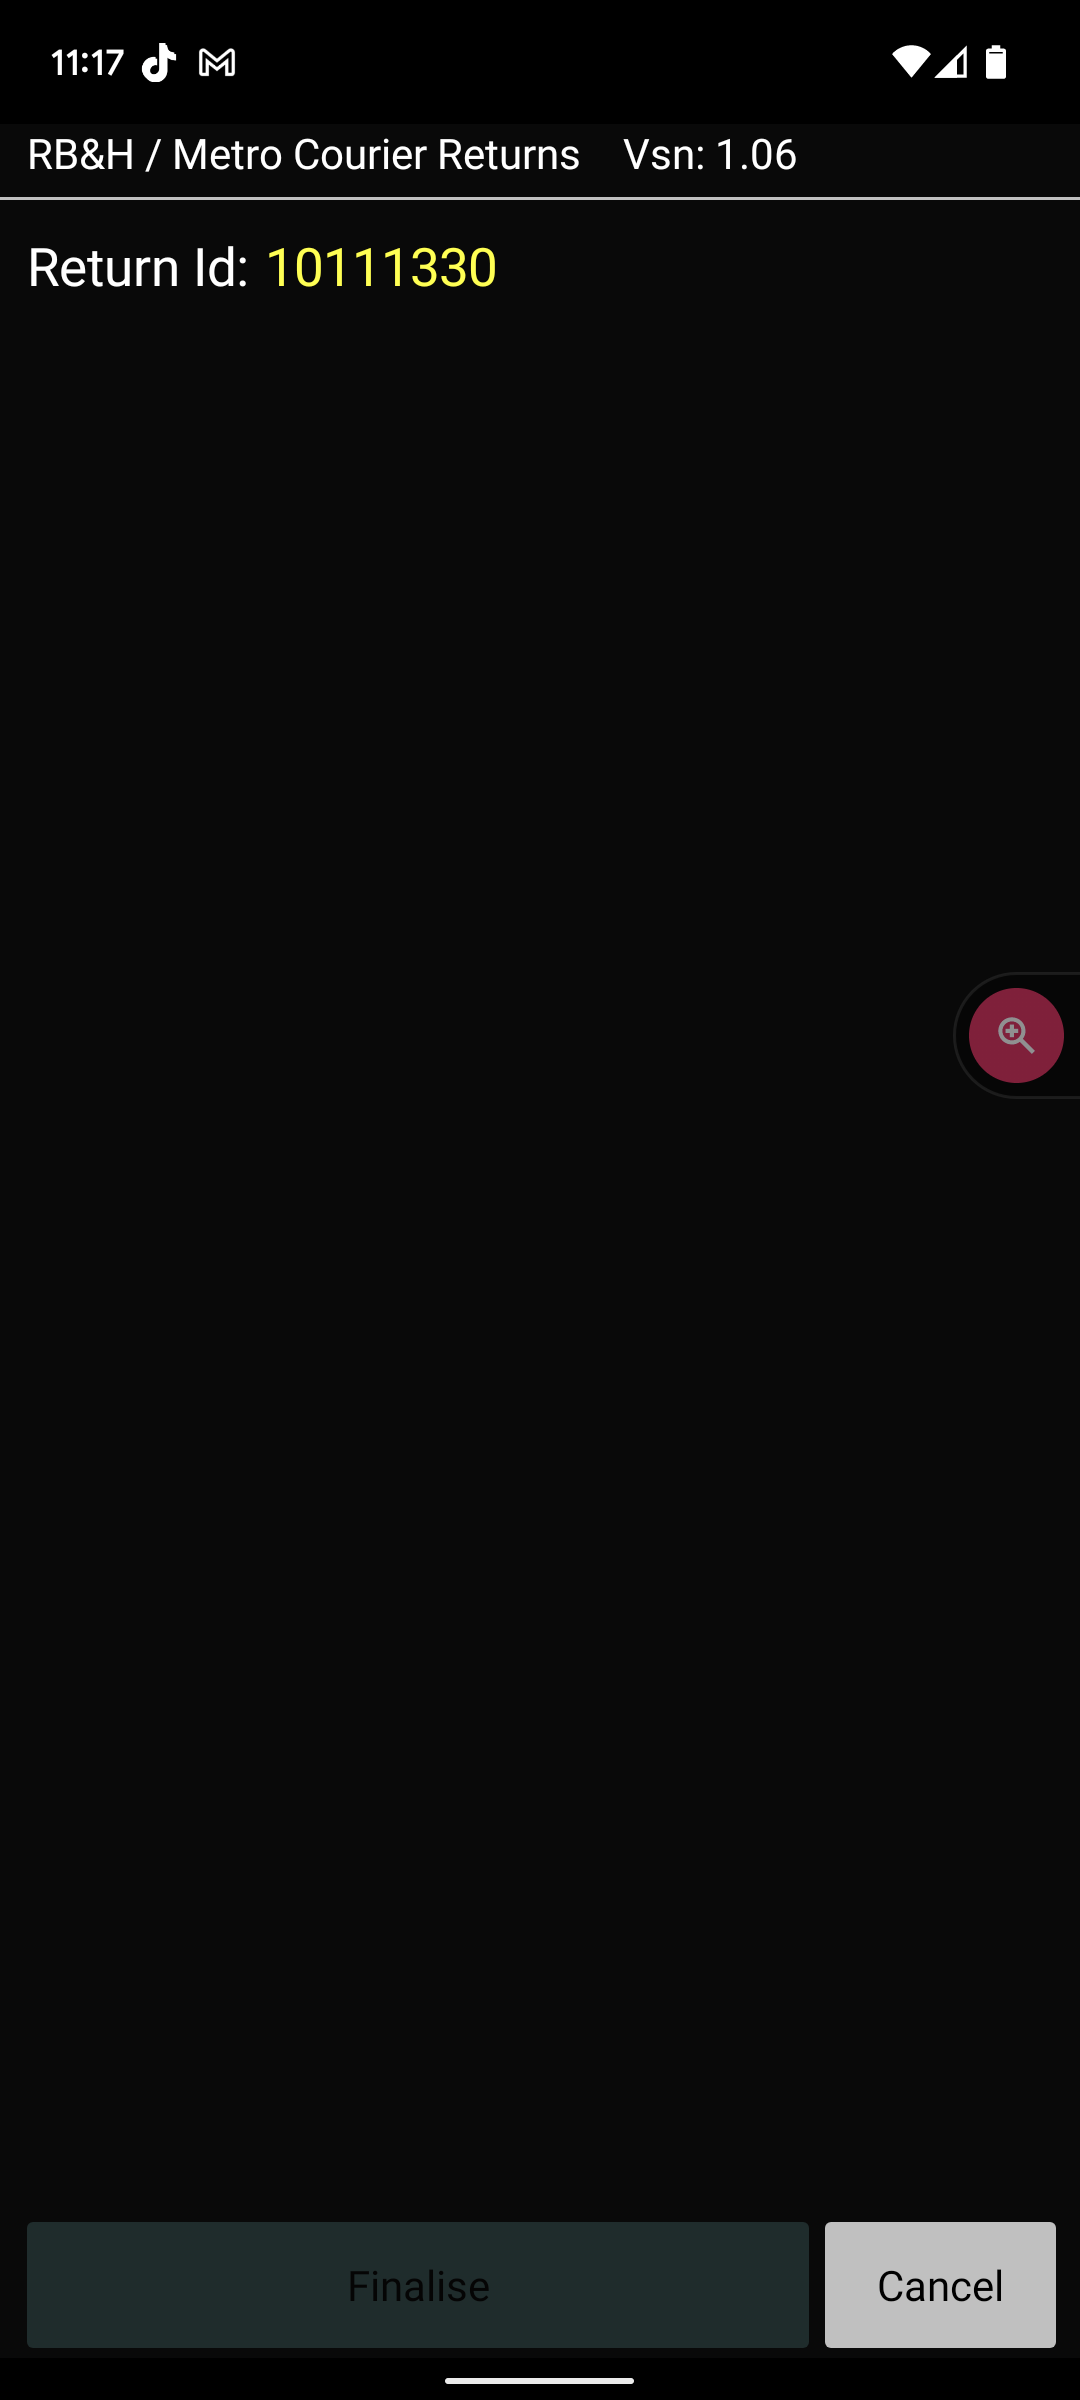
The app will pause as:
The Return ID is sent to the Server.
The Server then looking for a shipment with:
A Service Level of “CWD Shipment”
In a status of New or Dispatched
Excluding shipments with a status of Picked Up or Verified.
This can take a few seconds.
If there are a number of shipments that match the Return ID, the screen will go black as the shipments are downloaded onto the device.

If you see this screen

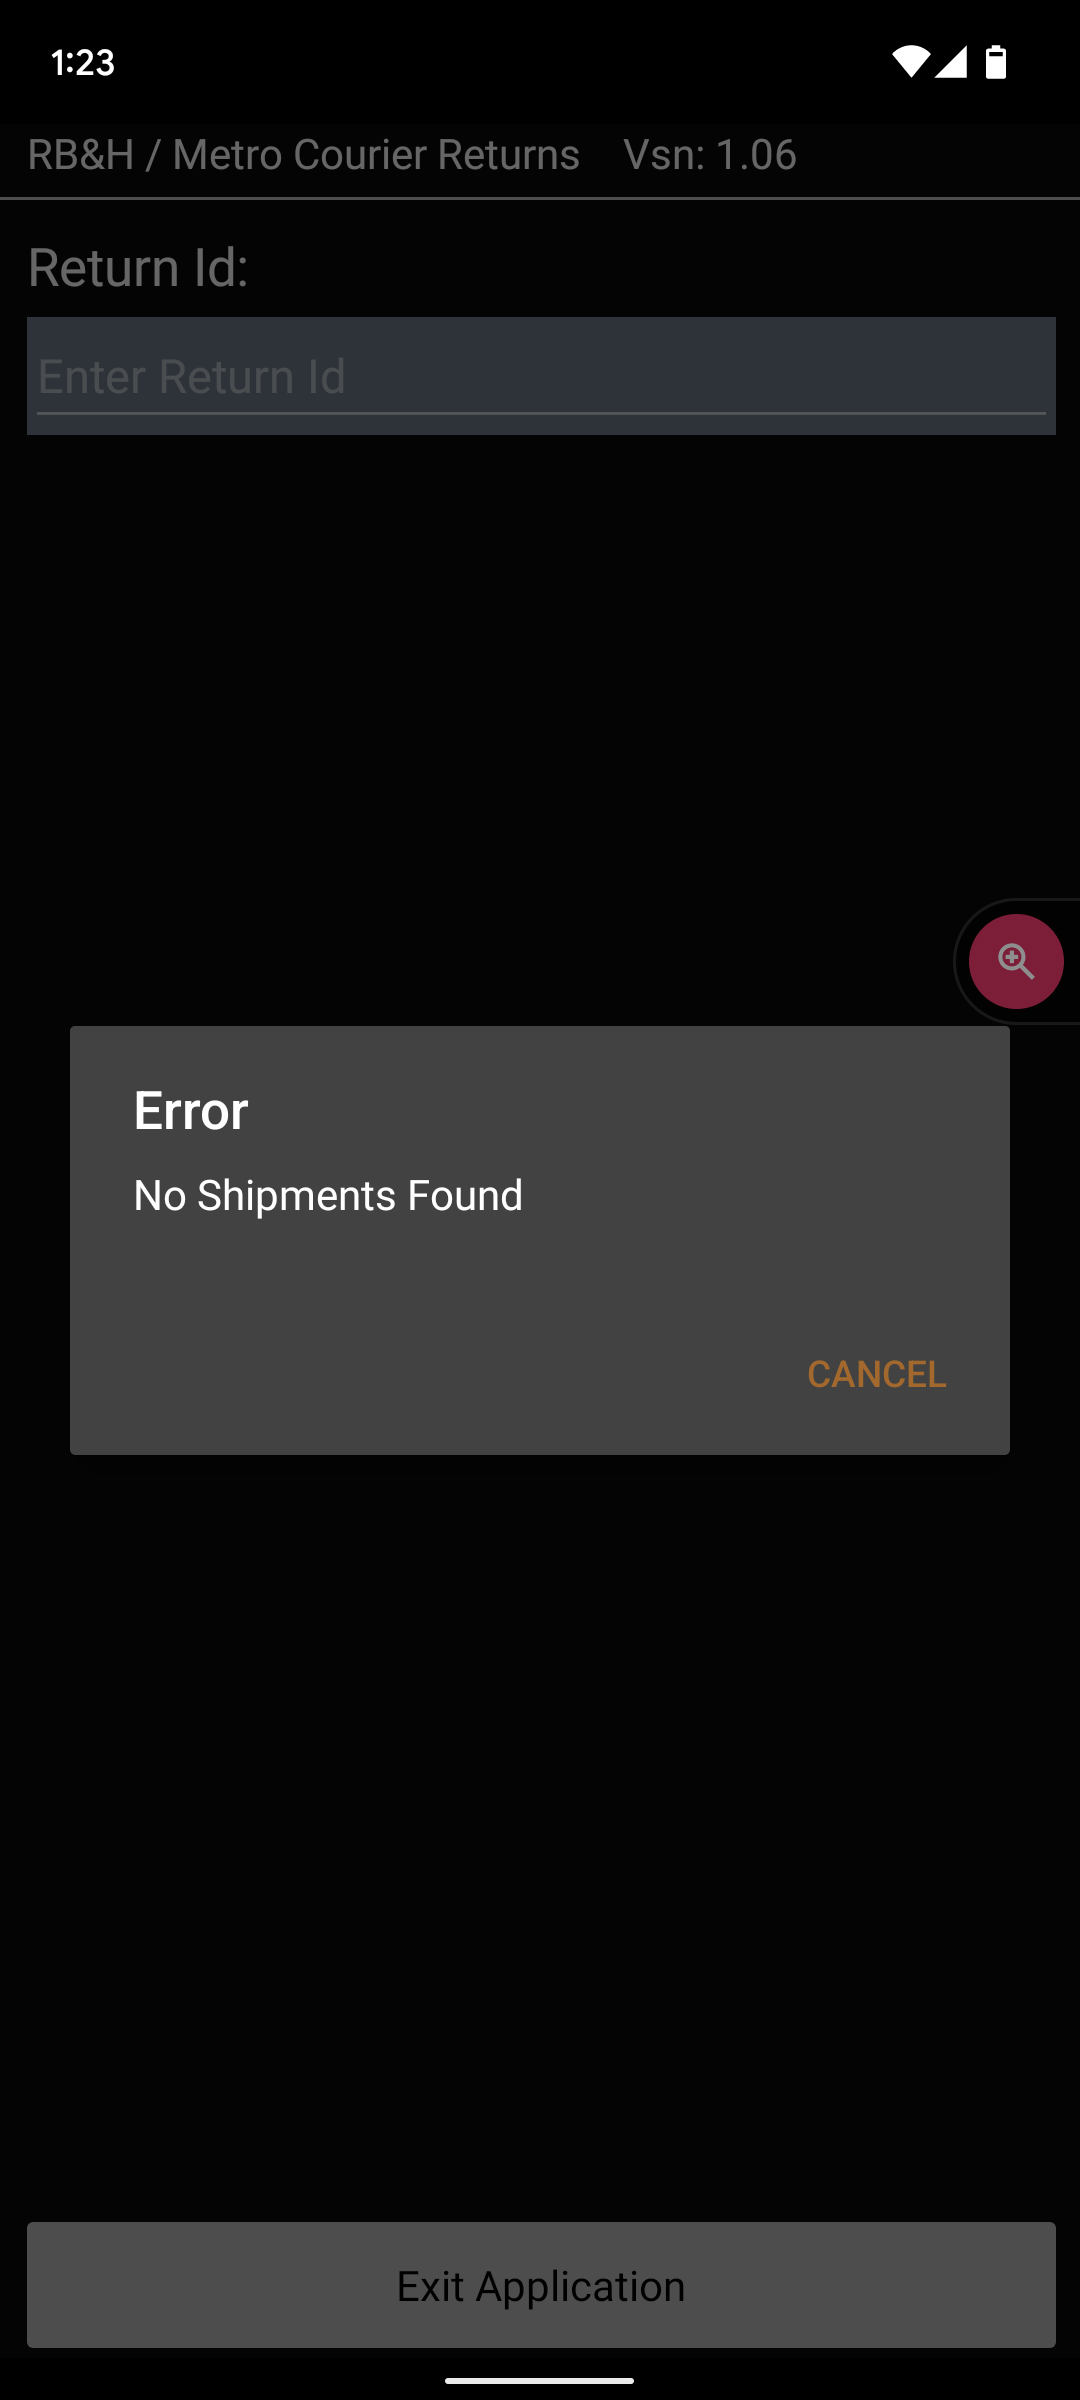
Then there are no shipments that match that Return ID.
Please enter in the Return ID again.
If you still see this message, put the shipment aside and contact your supervisor.
If shipments were successfully found, you will see this screen.

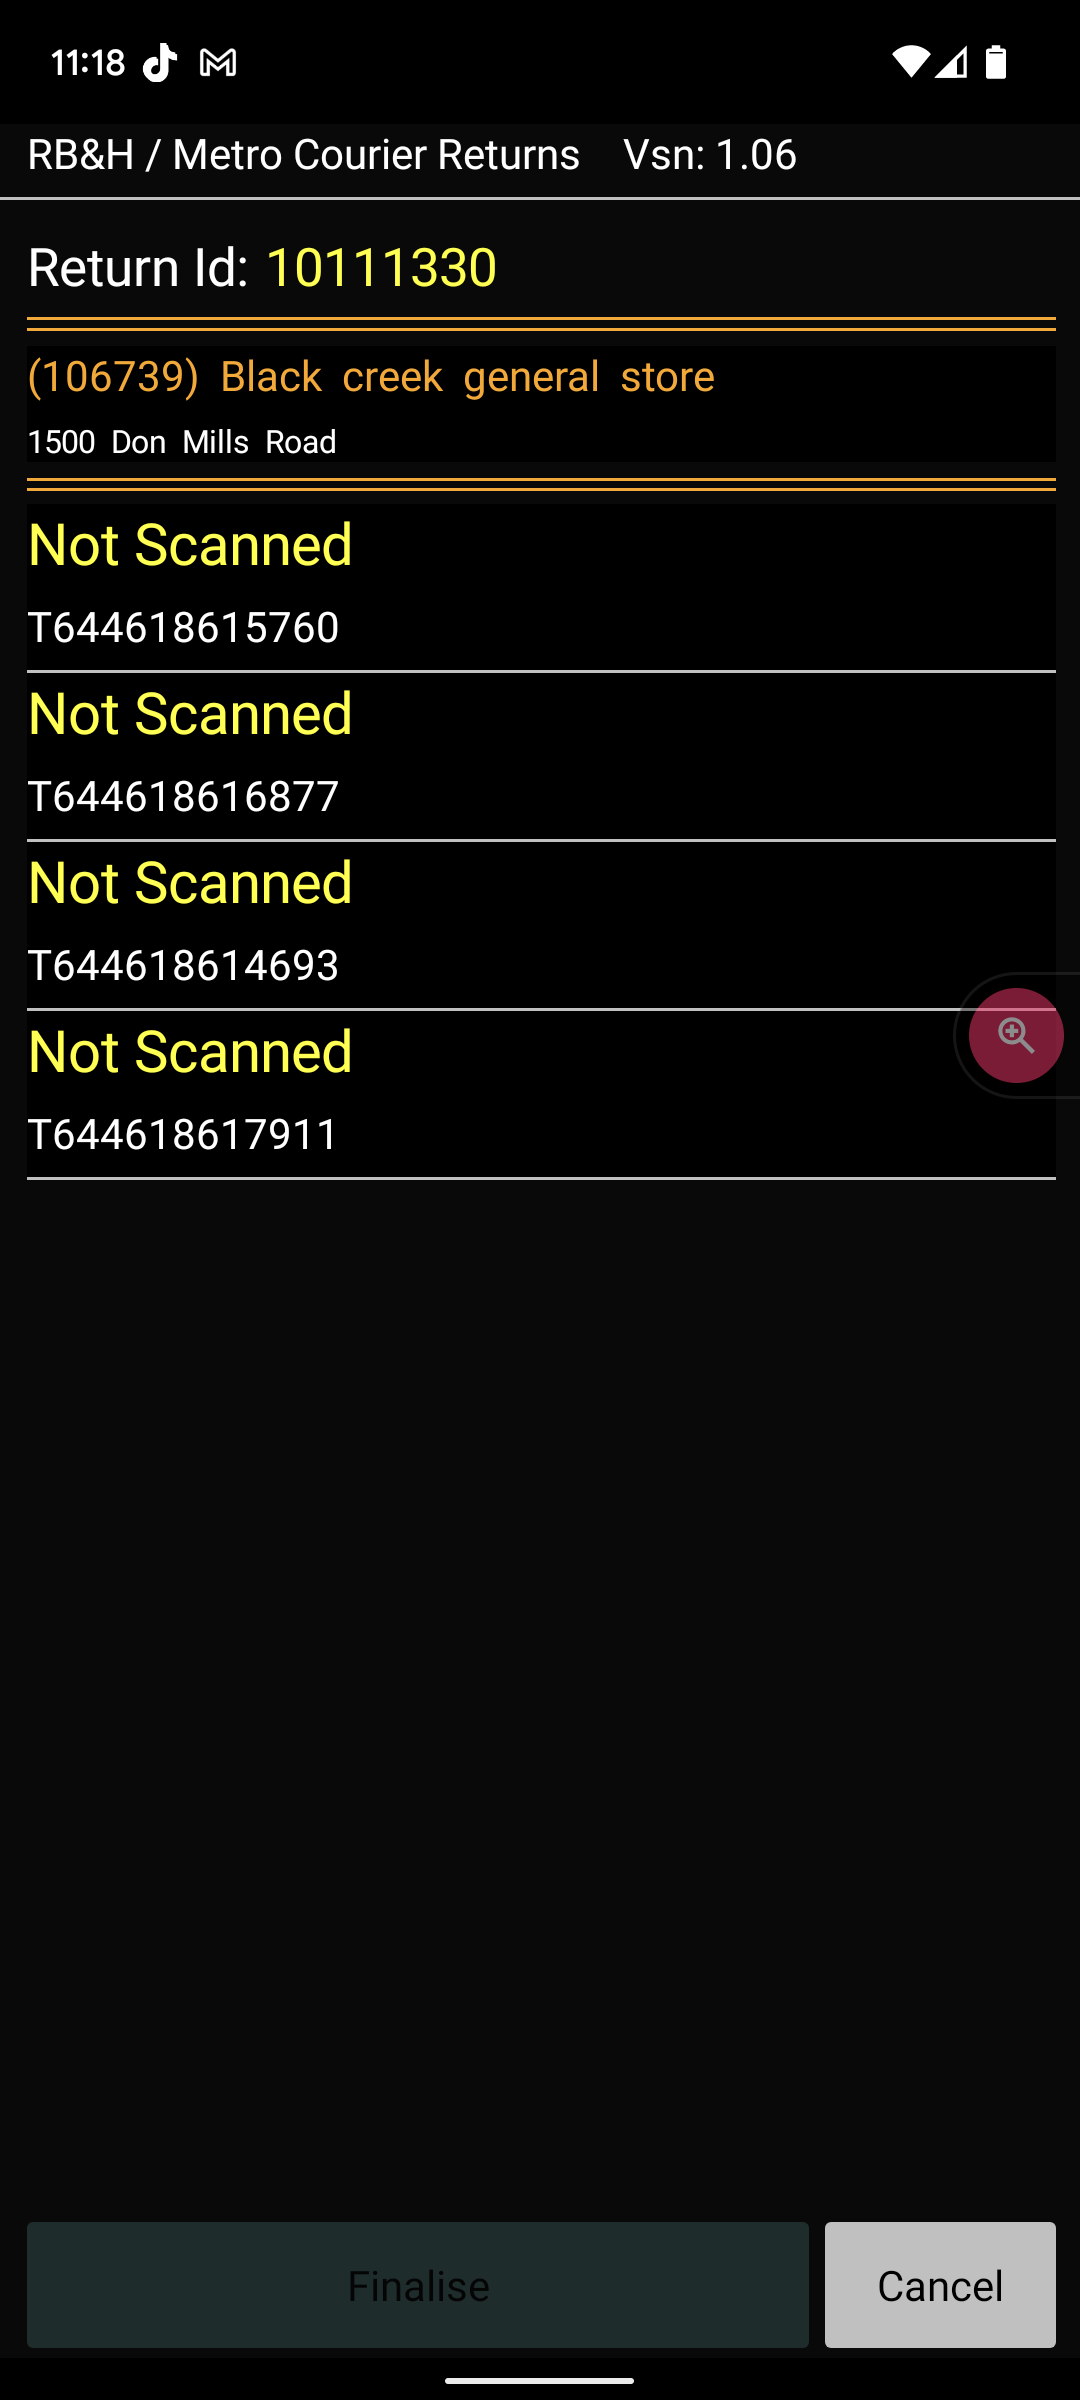
Affix a Return Barcode onto one shipment.
Then tap one of the shipments on the app.
You will then see this pop up

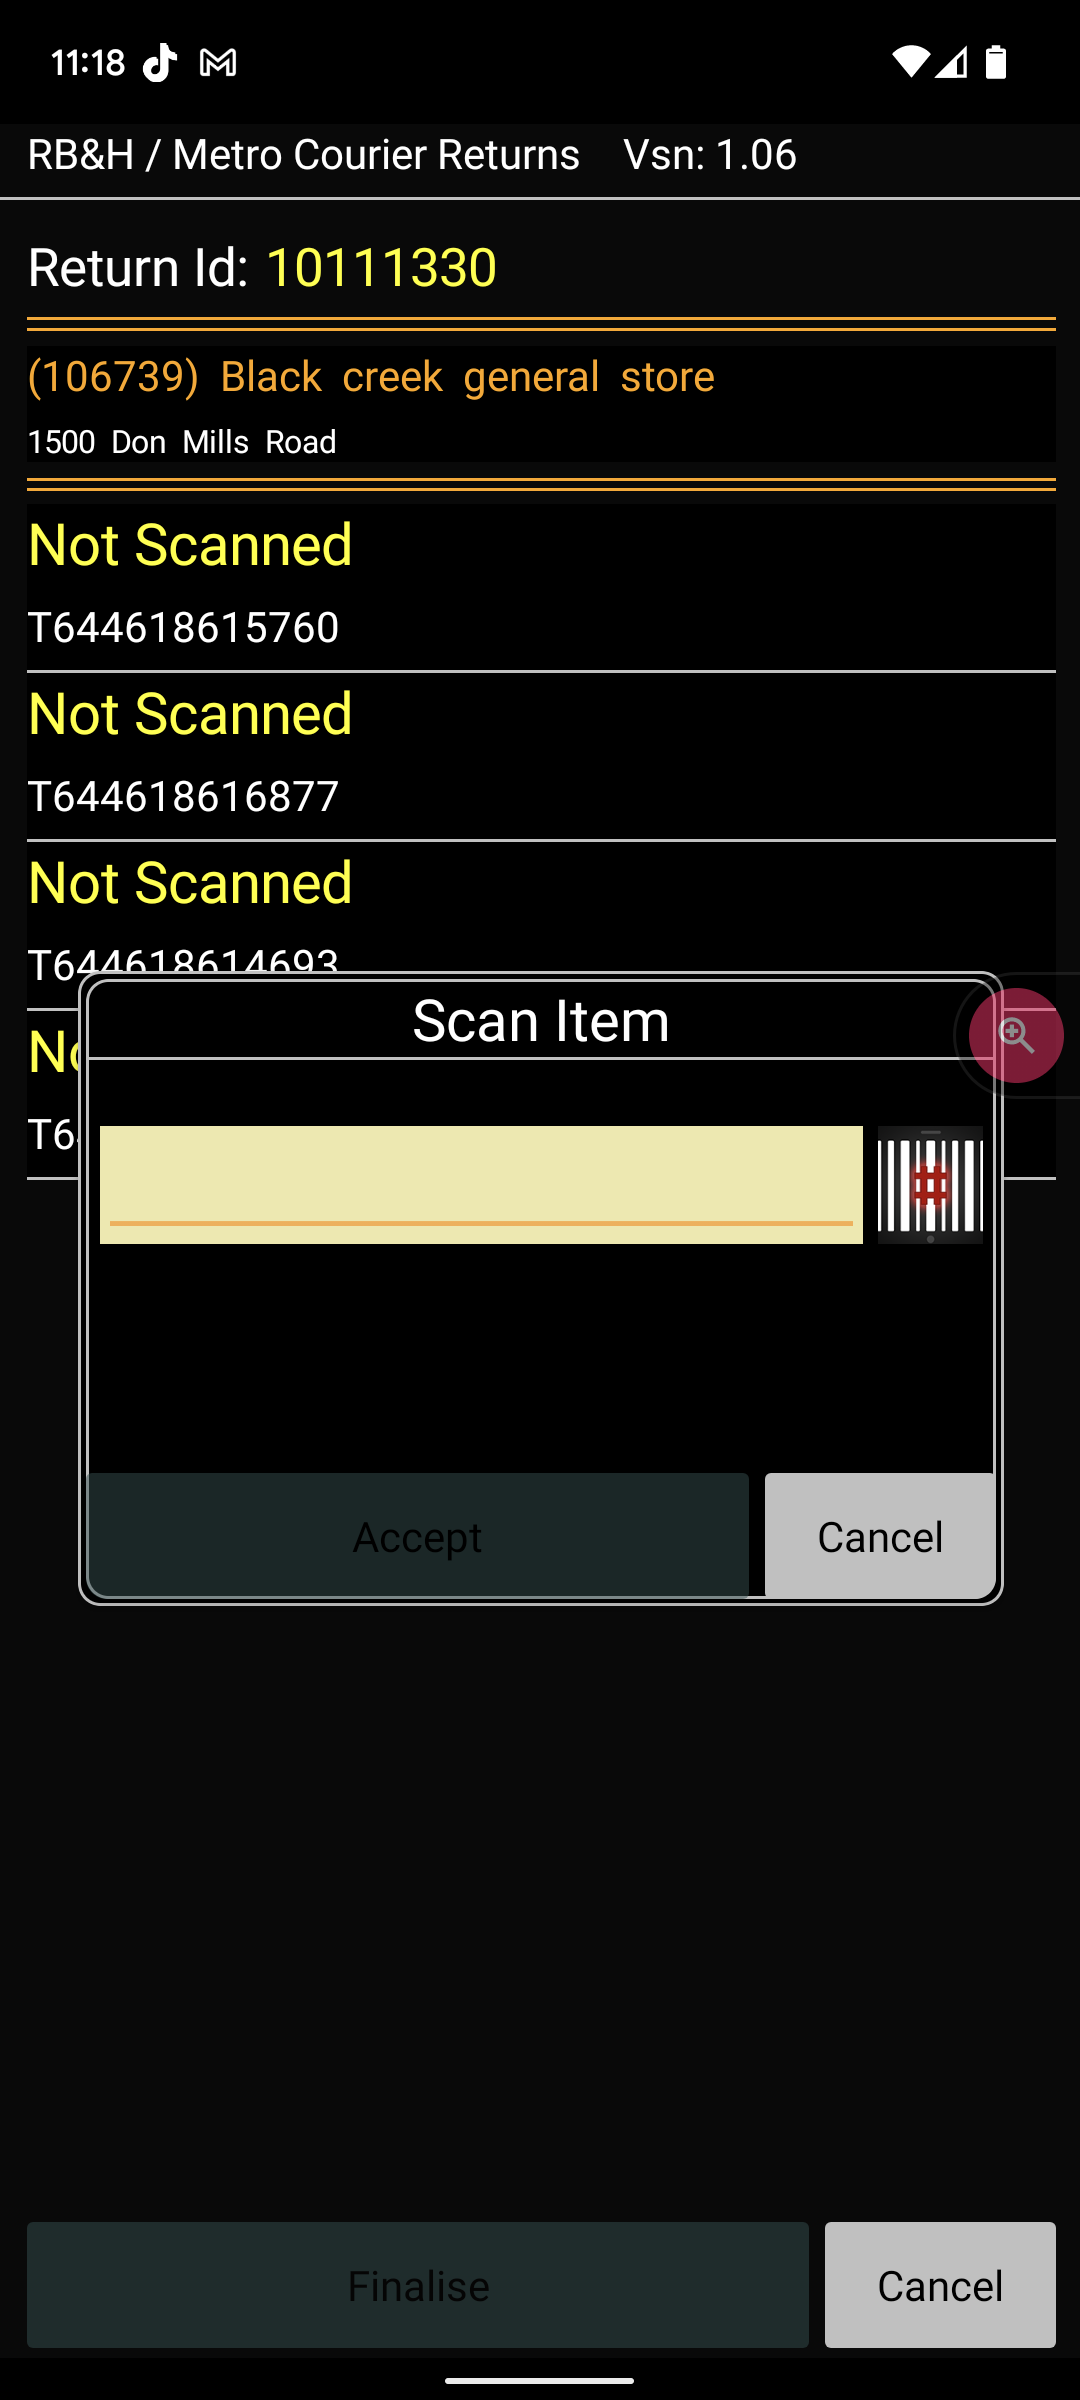
Scan the barcode you affixed onto the shipment in point 9 above.
That barcode will appear in the pop up.

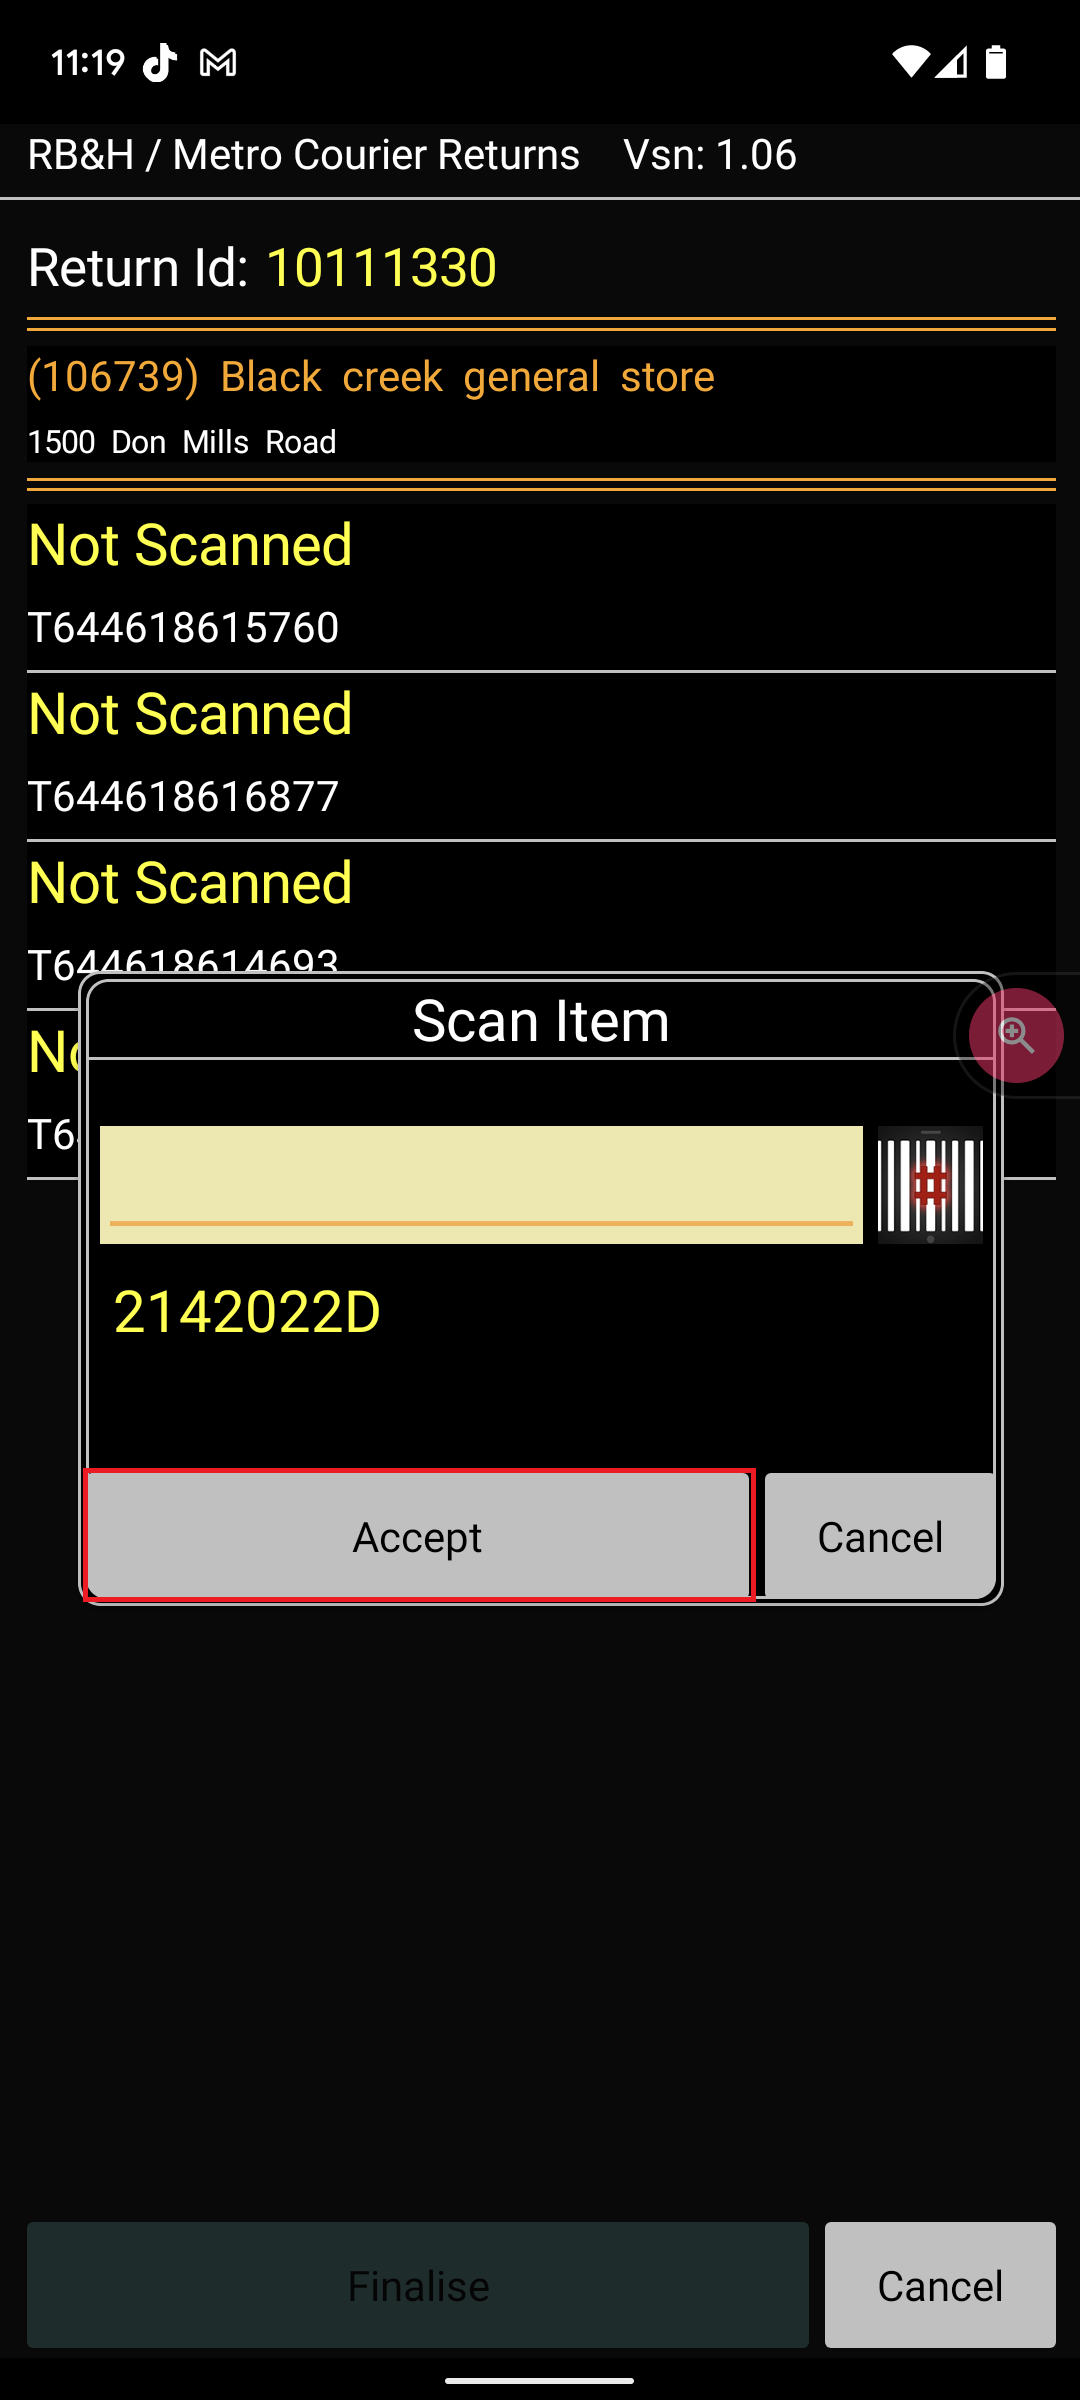
Click “Accept”
The scanned shipment will appear in blue.

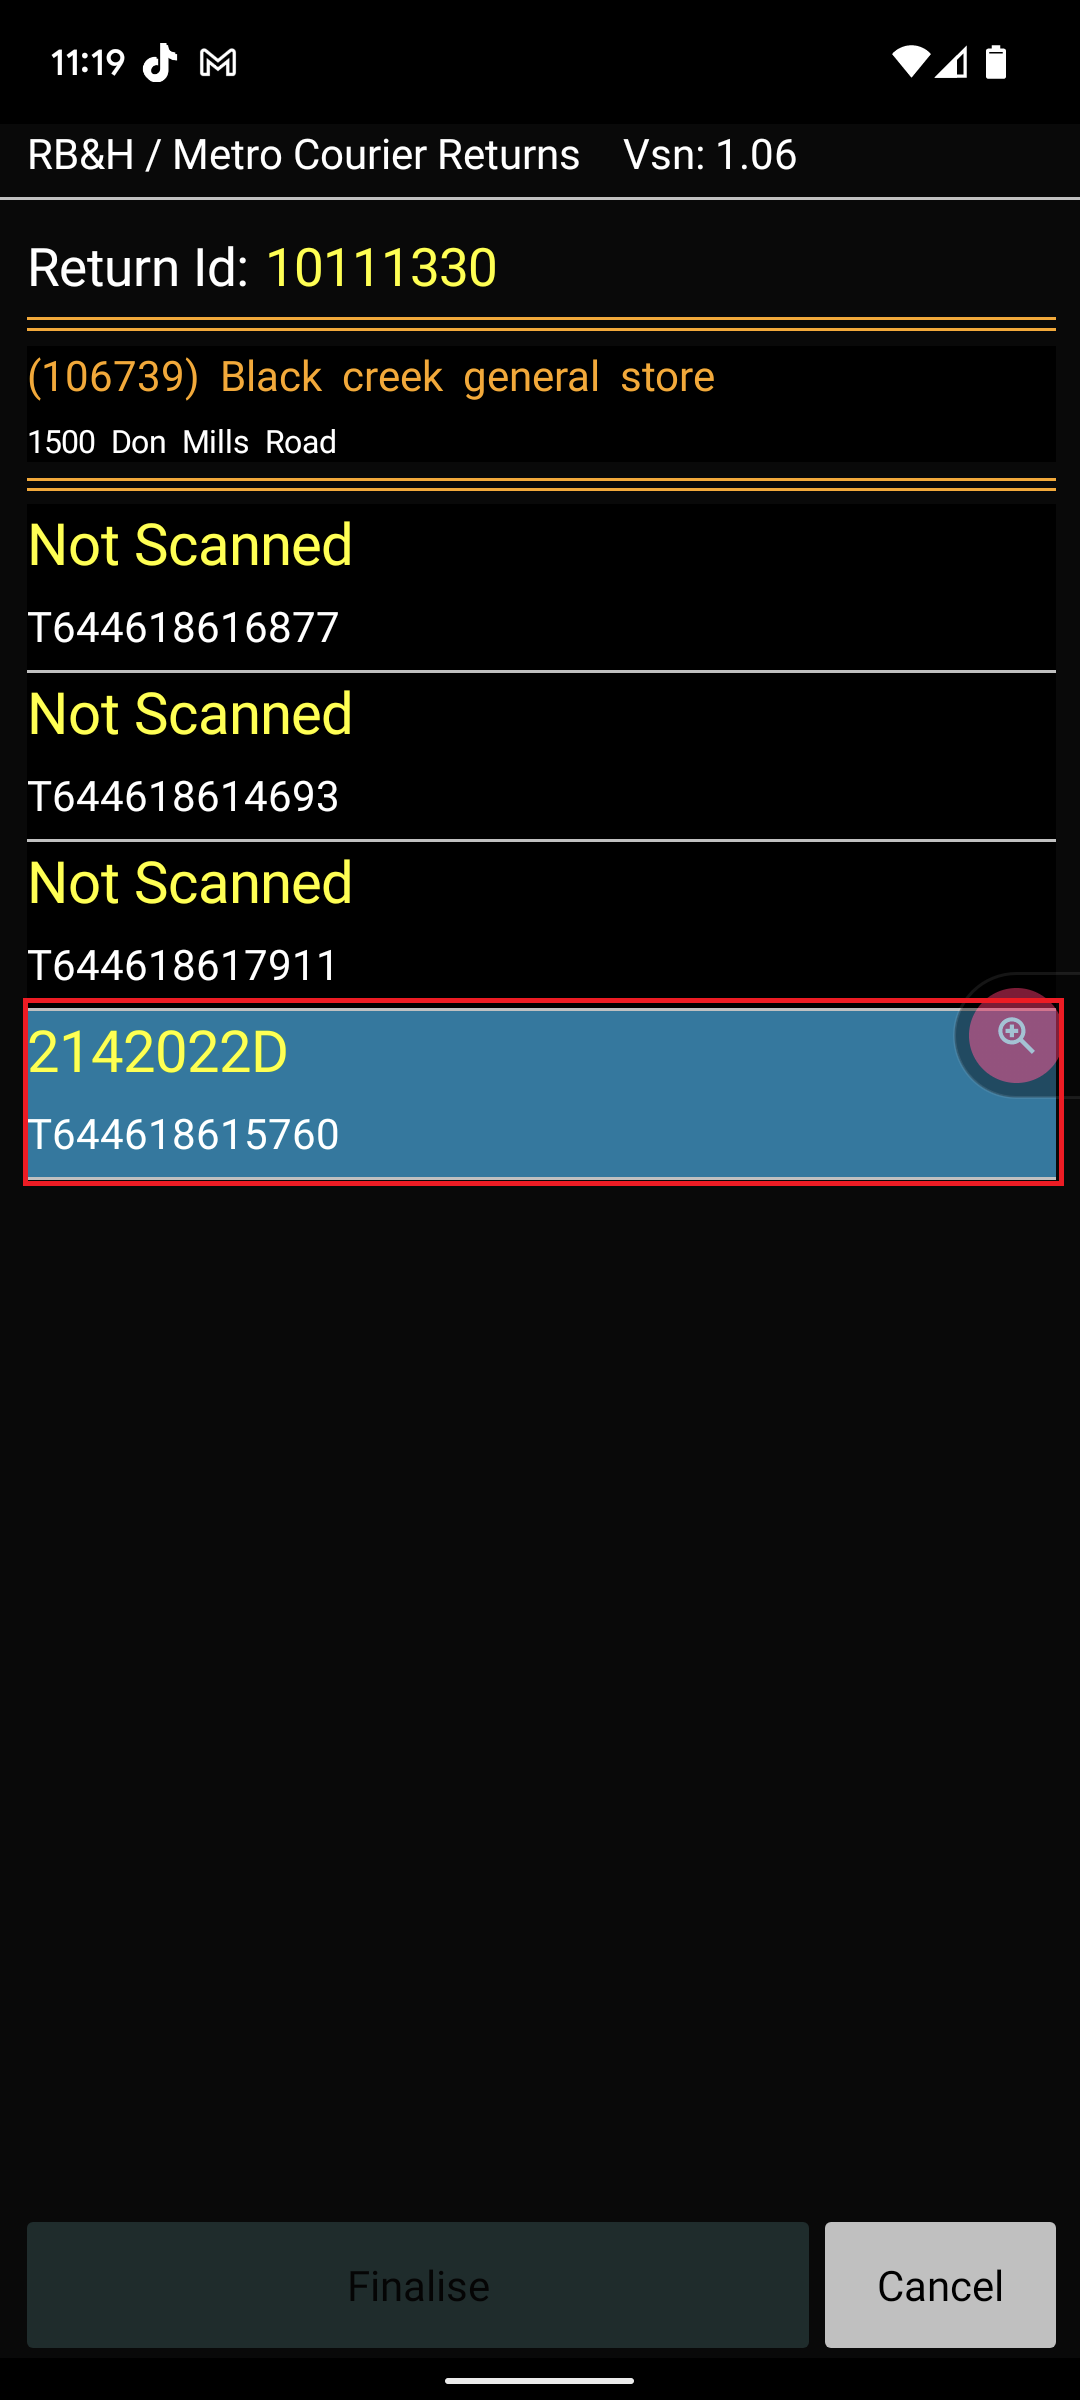
Repeat steps 9 to 15 above for each package in the CWD Shipment.
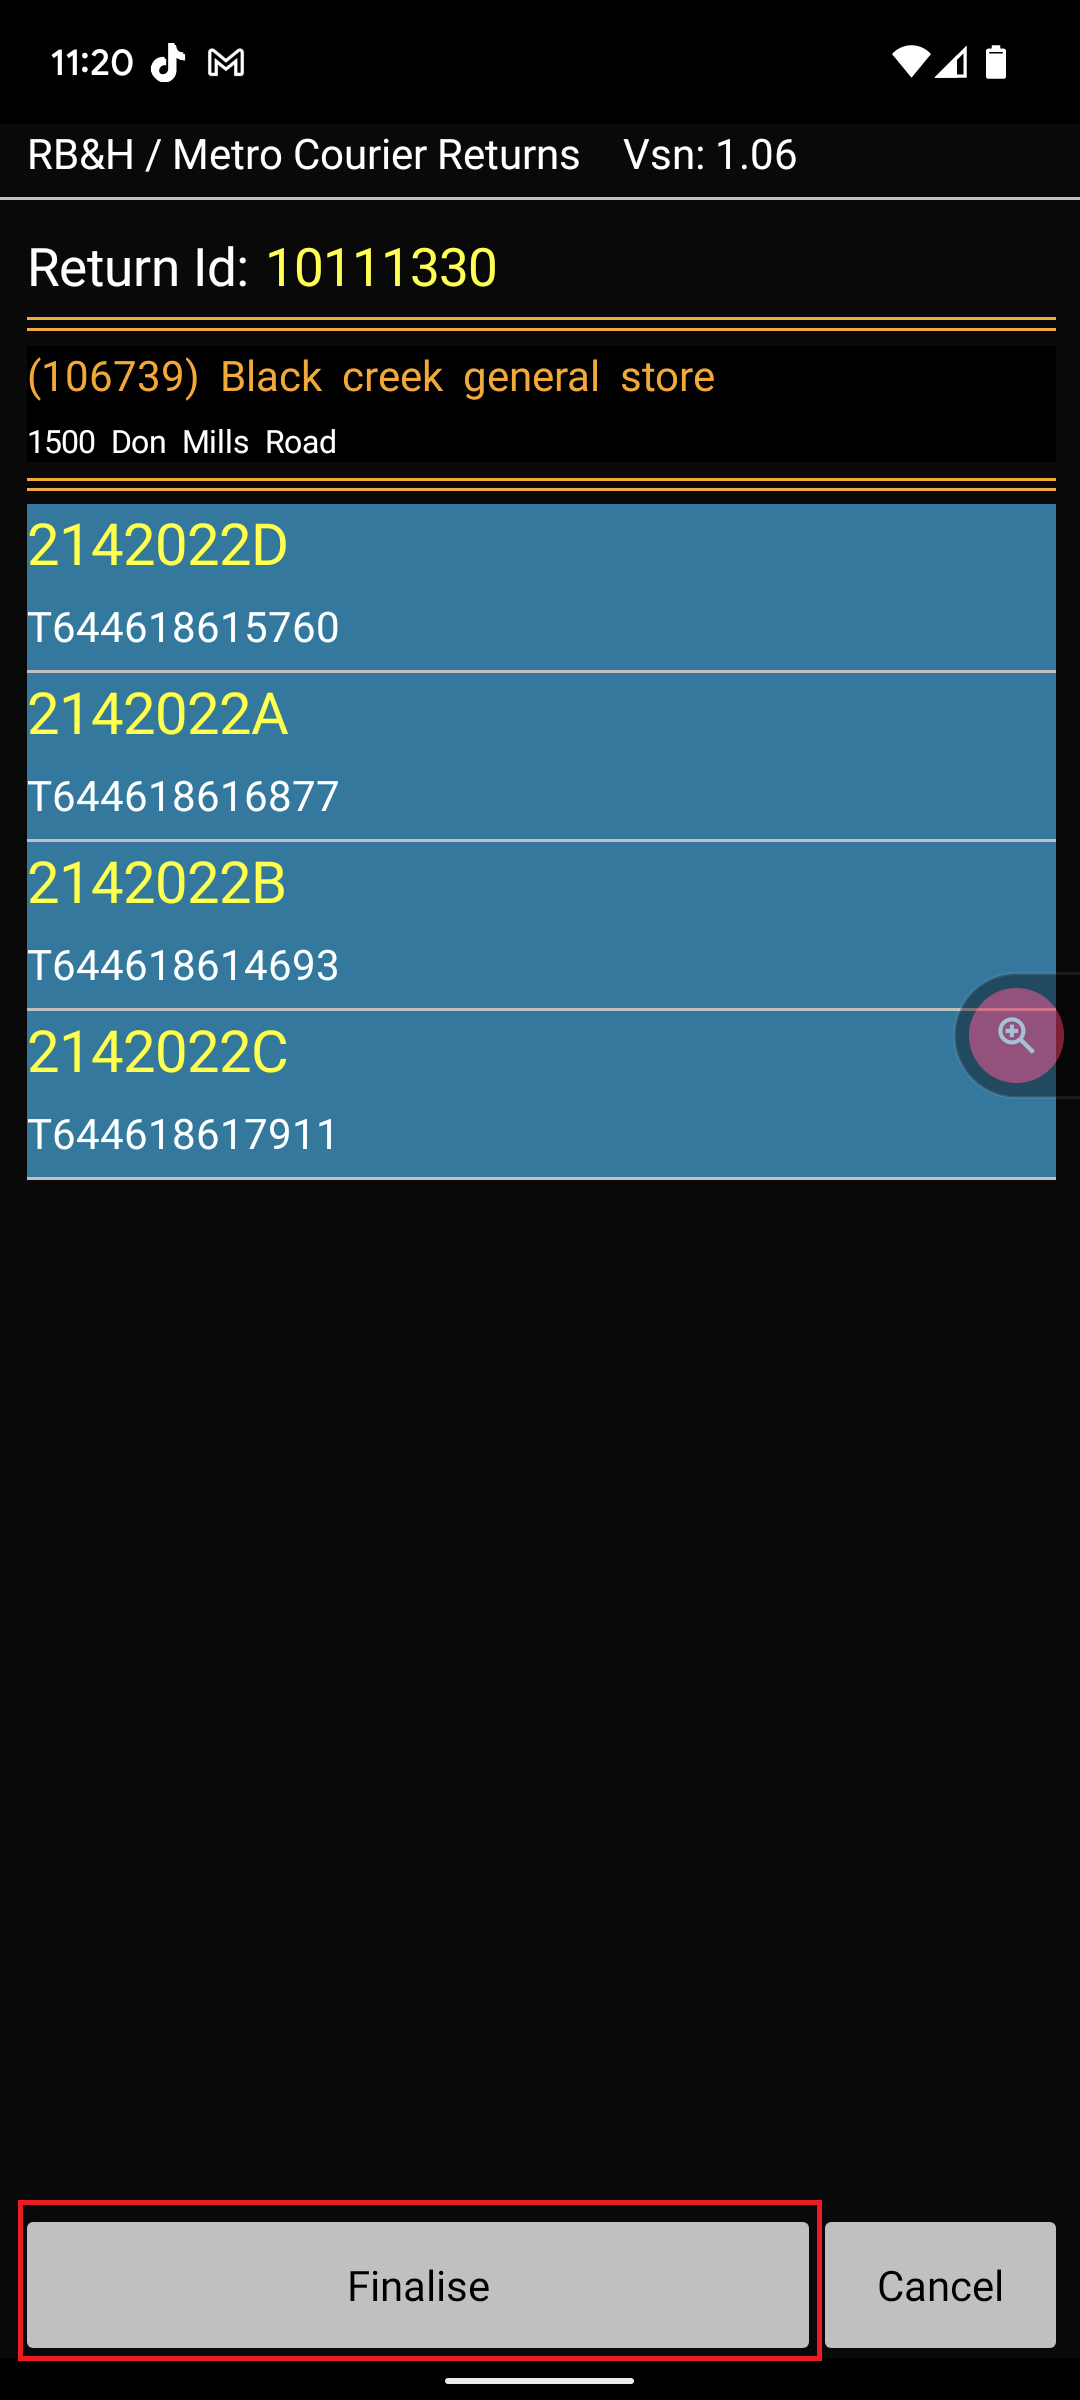
When all packages have been scanned, all shipments will appear in blue.

If you are missing a package in the shipment, click cancel and put the shipment aside until all packages are available.
If all shipments are blue, click the “Finalise” located on the bottom of the screen.
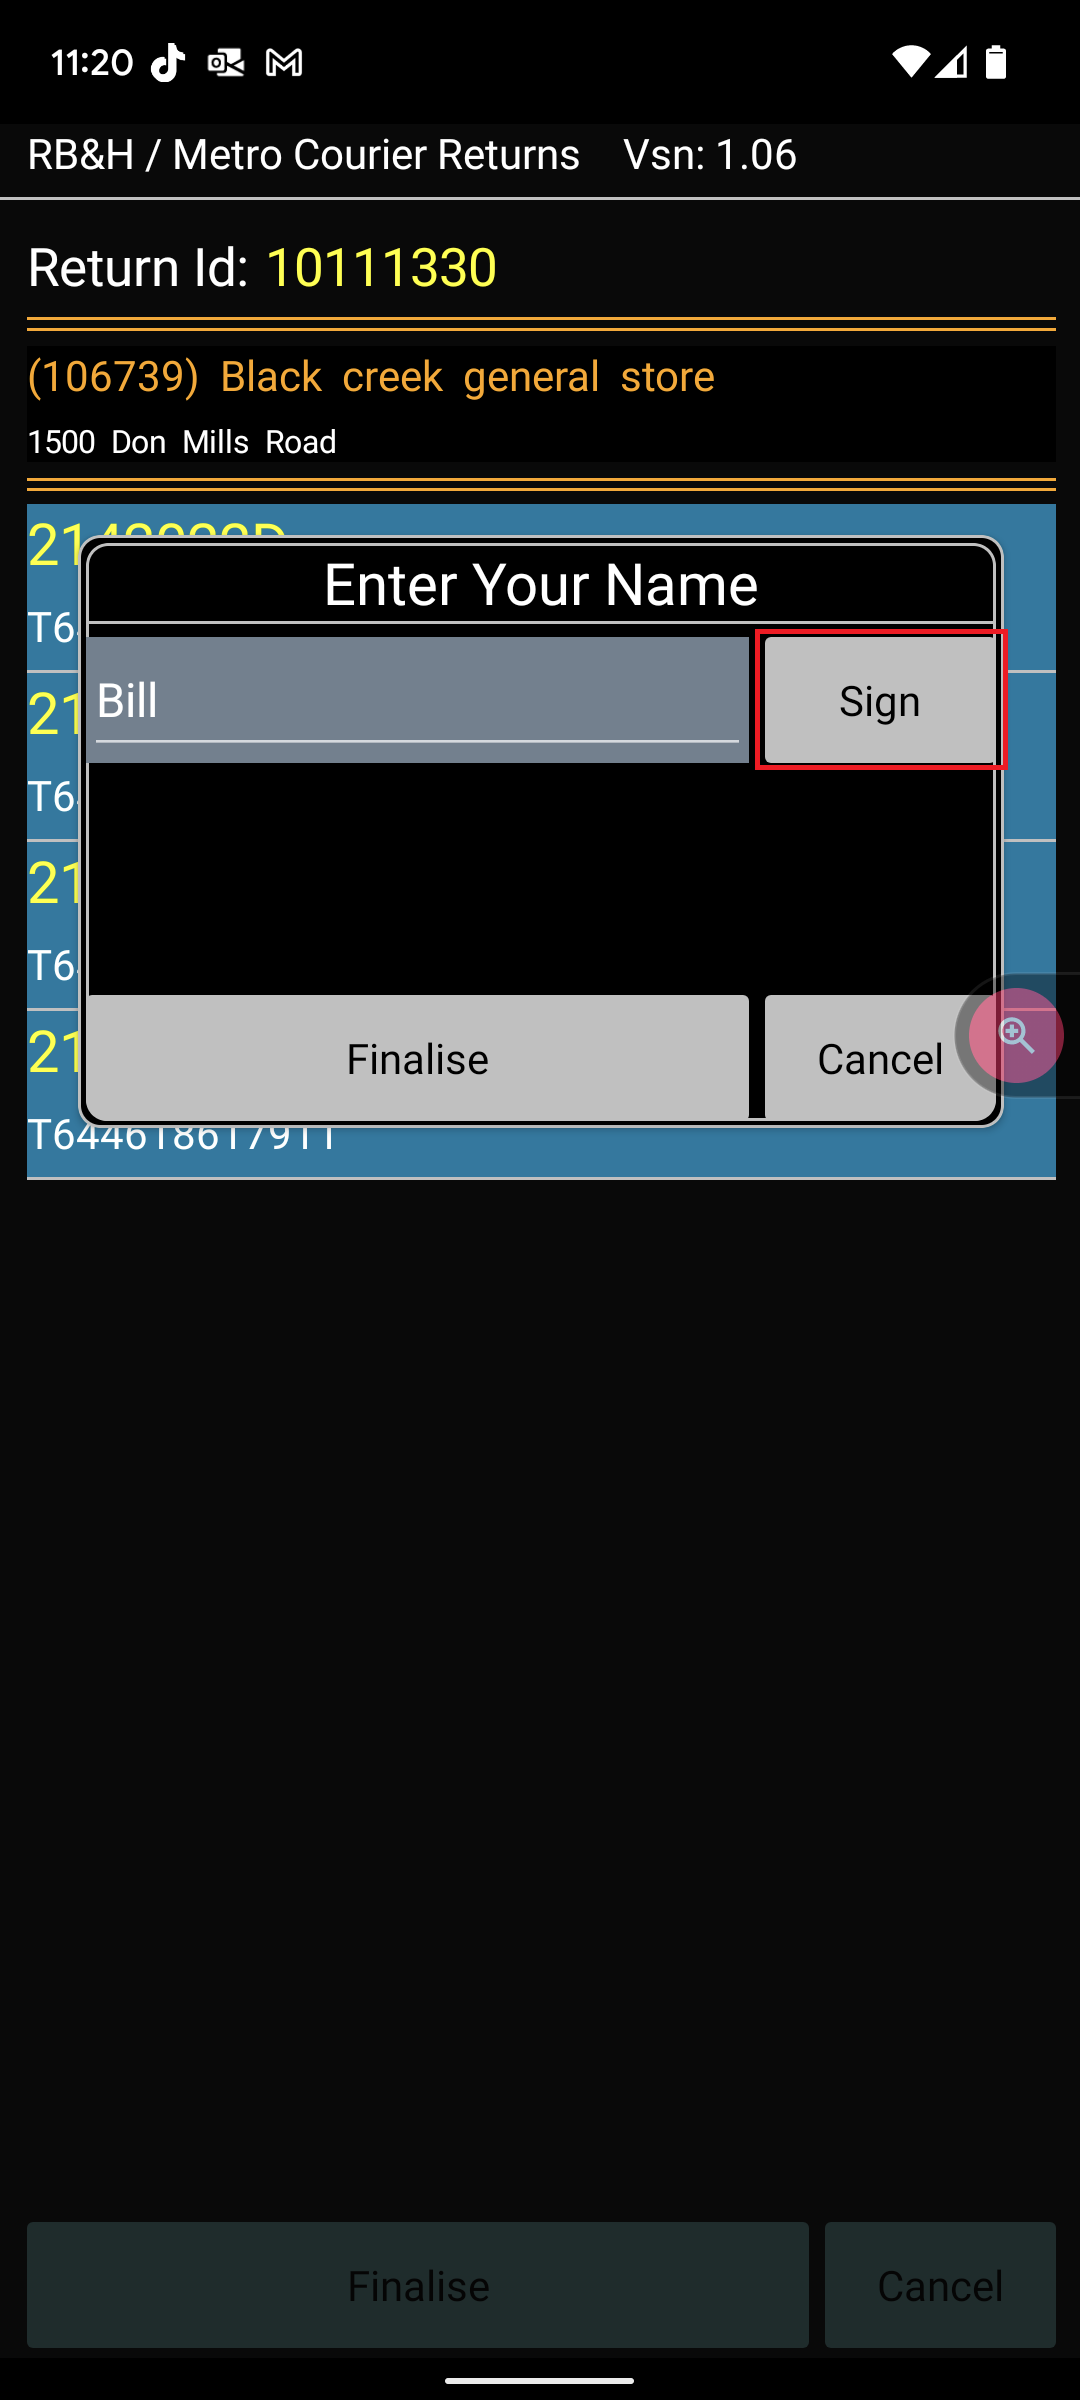
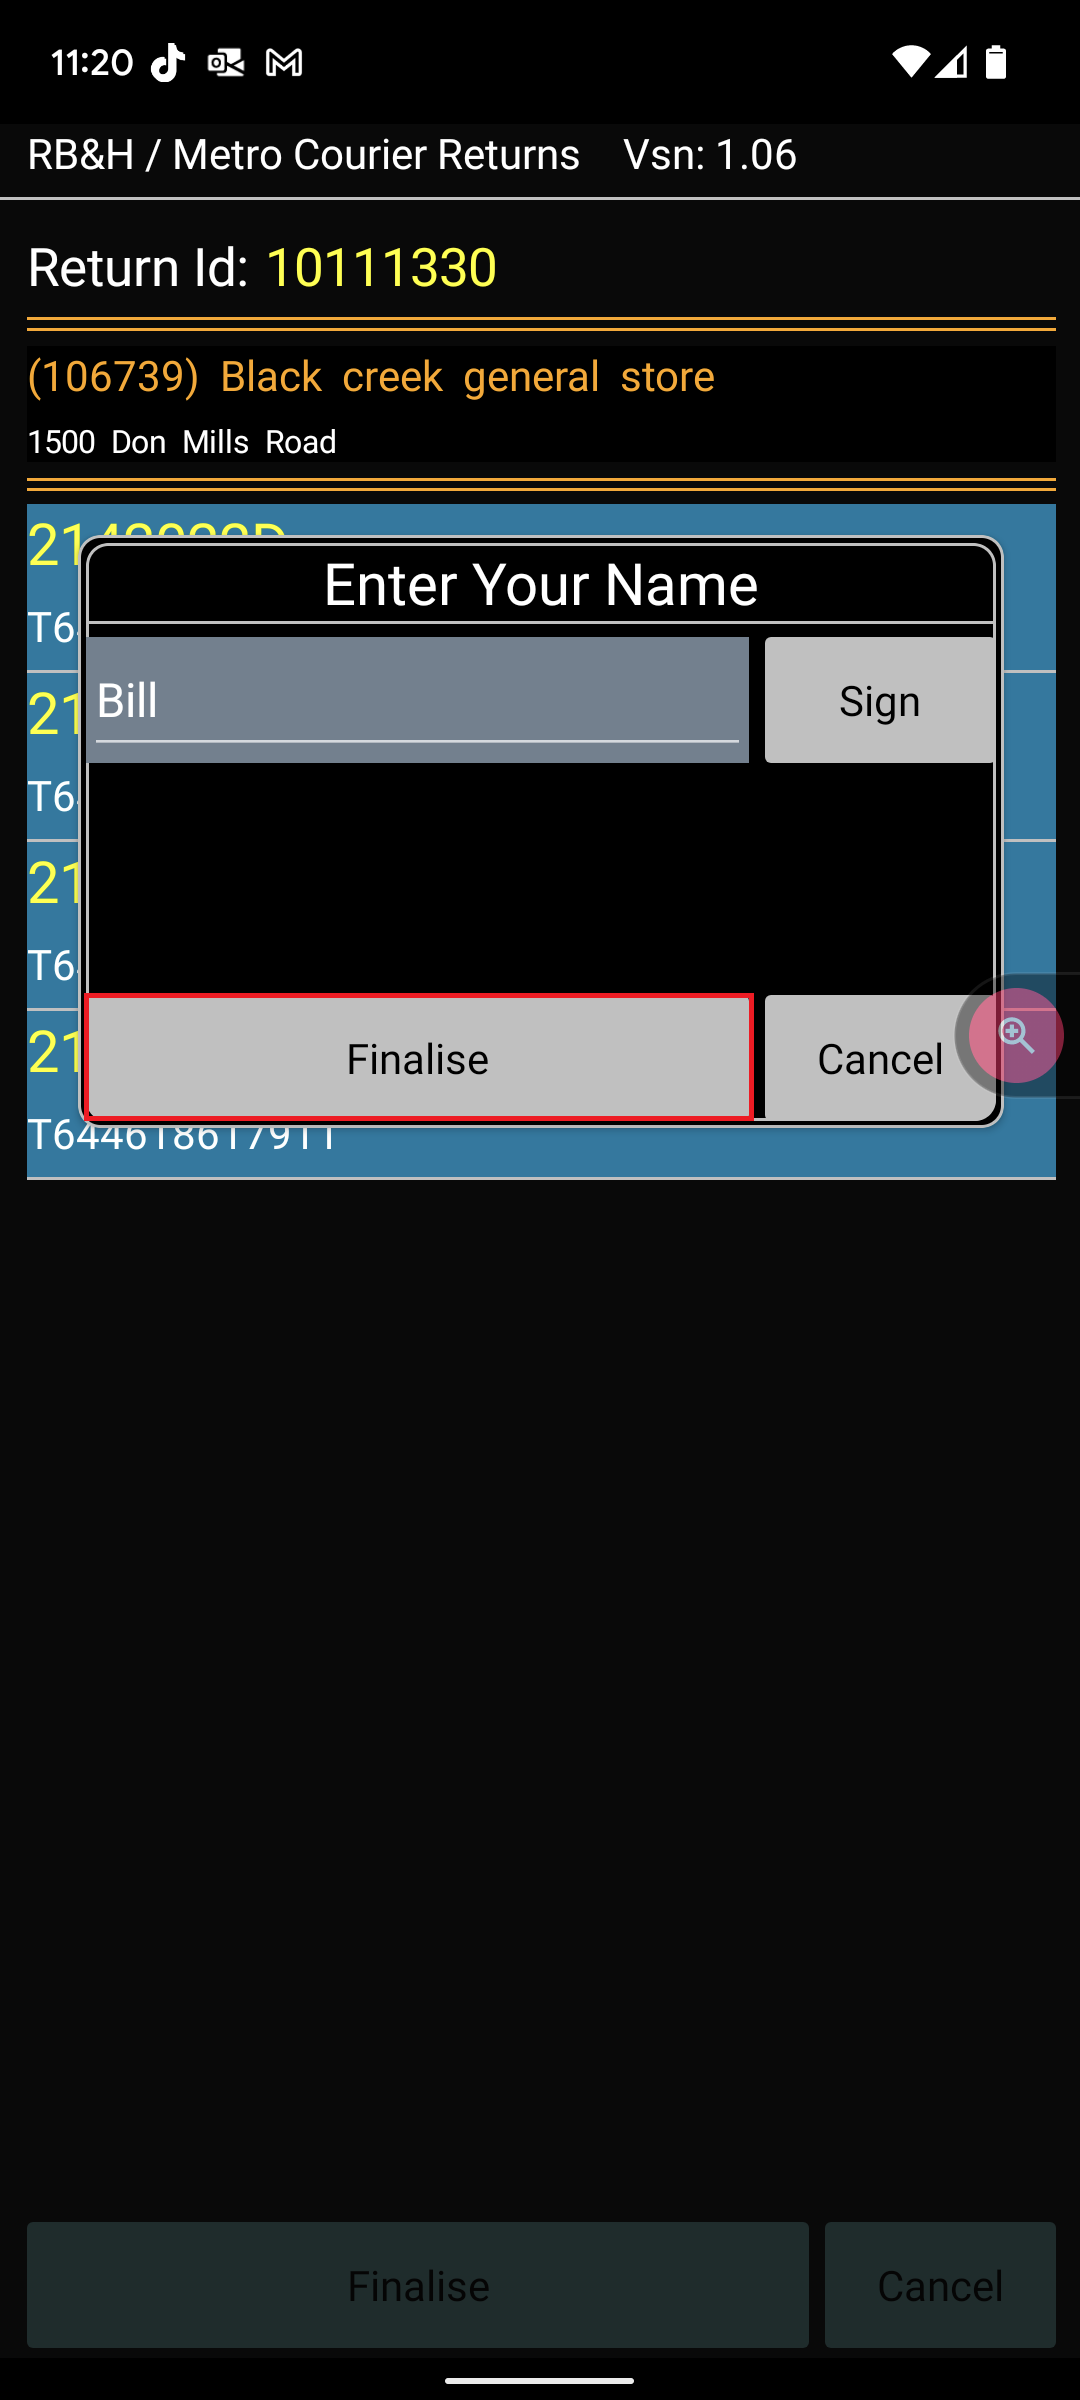
On the next pop up, enter in your name

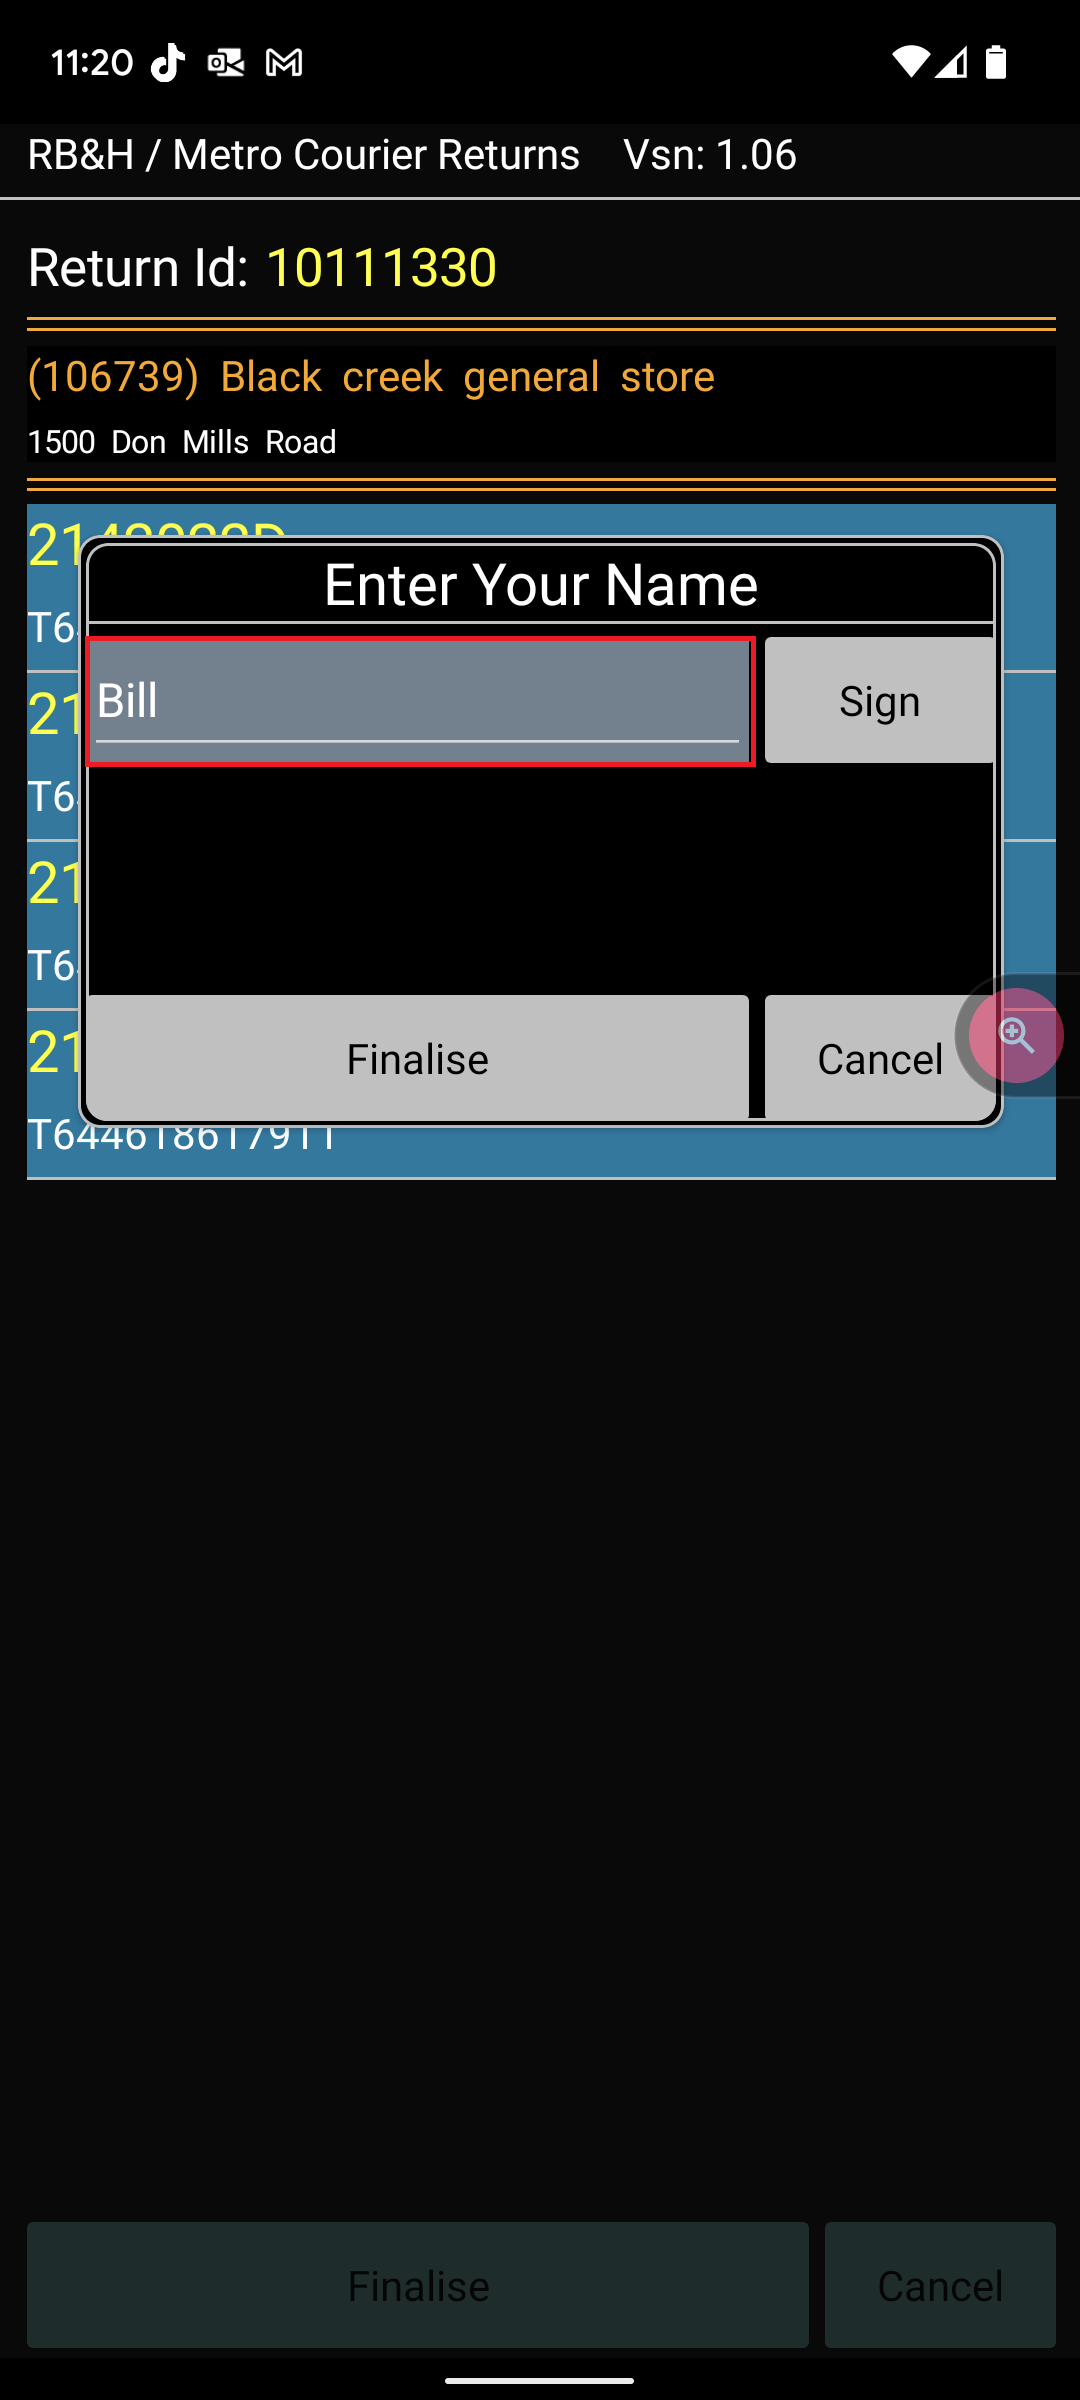
Then click on the “sign” button

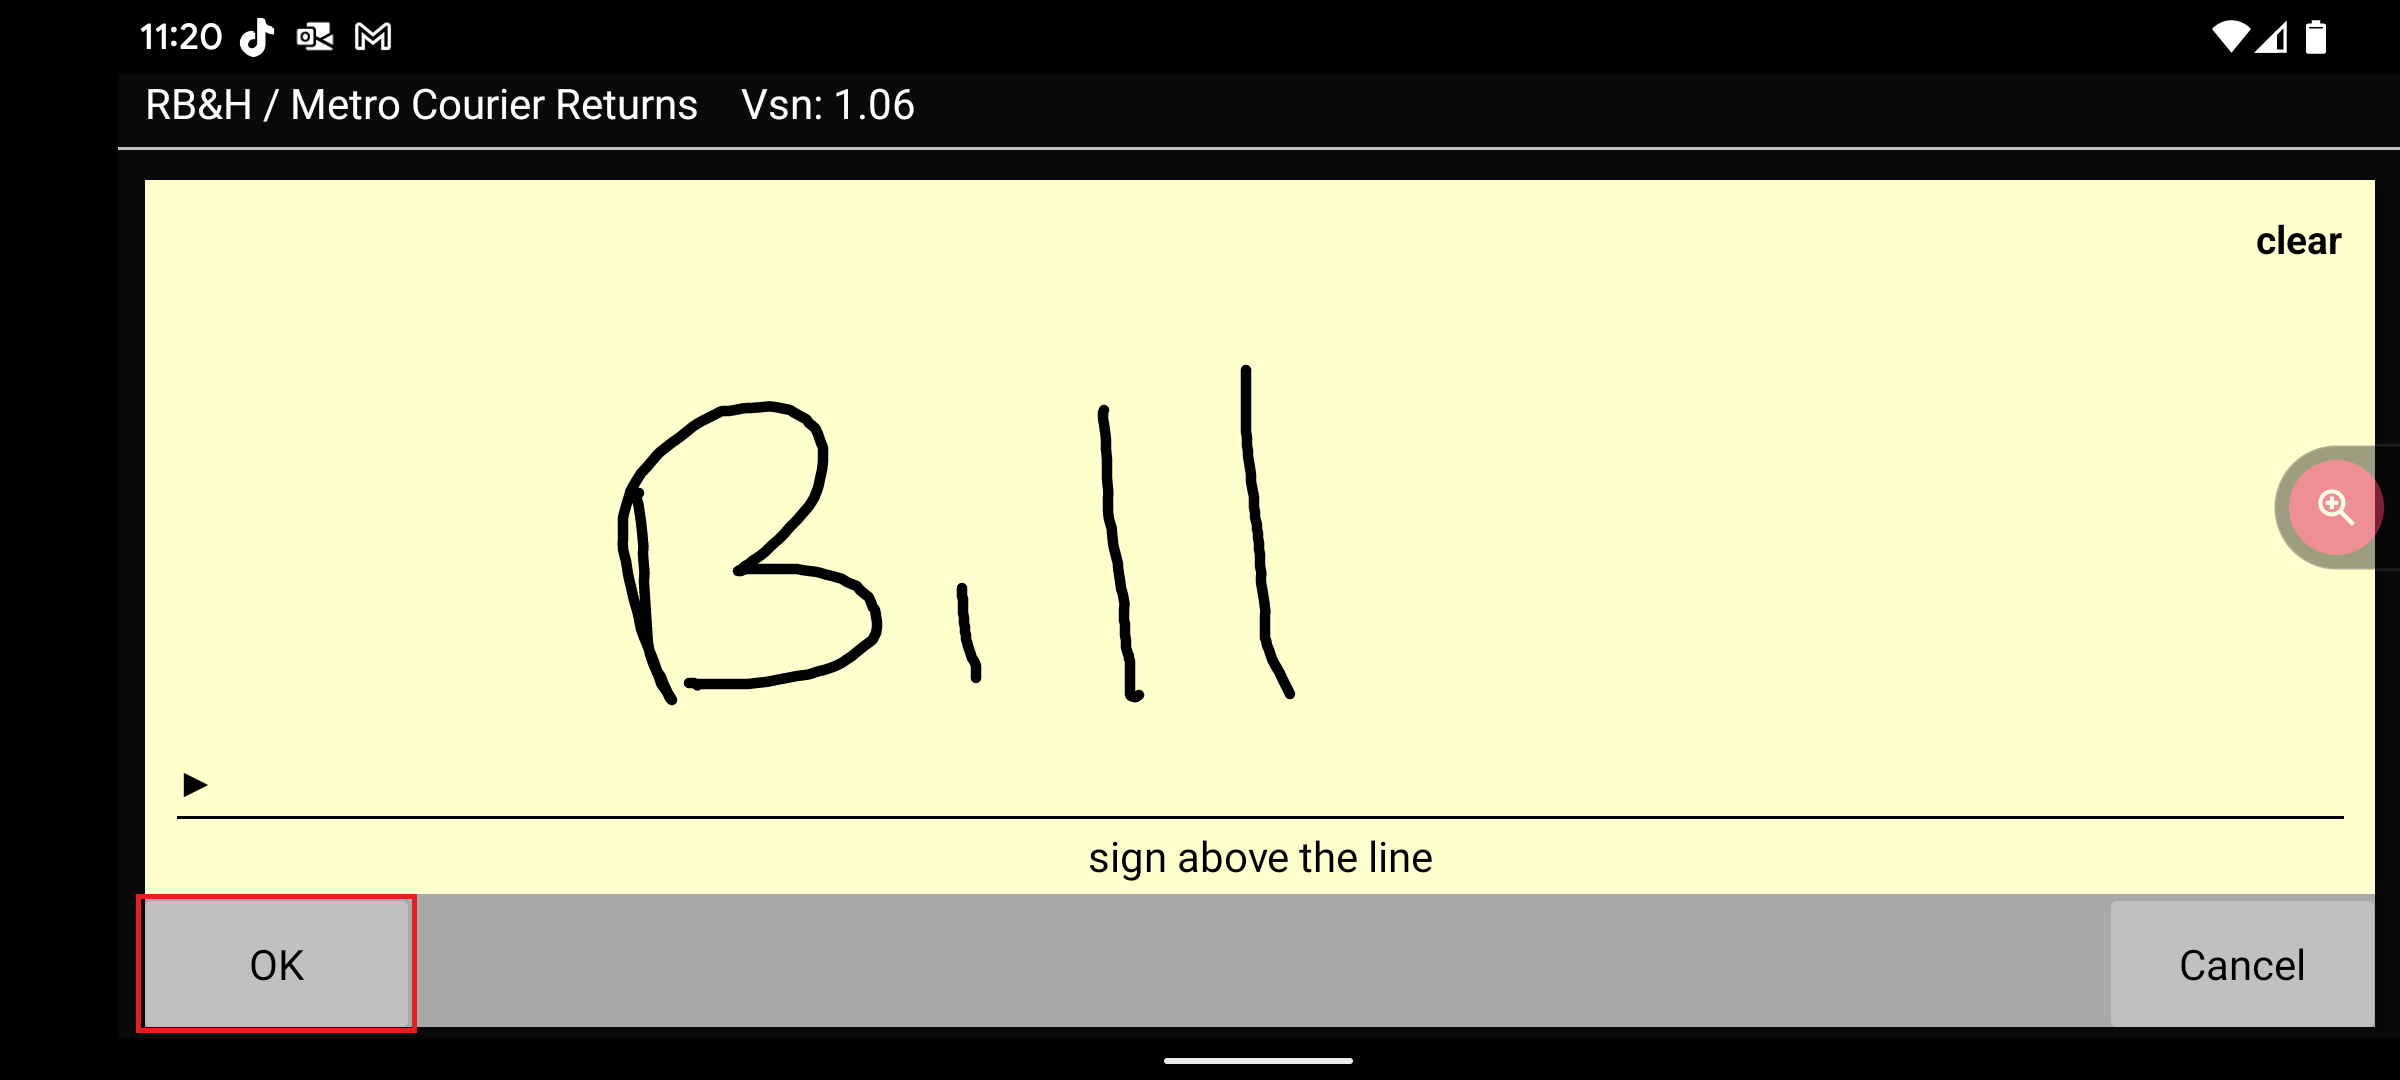
Sign your name onto the screen.

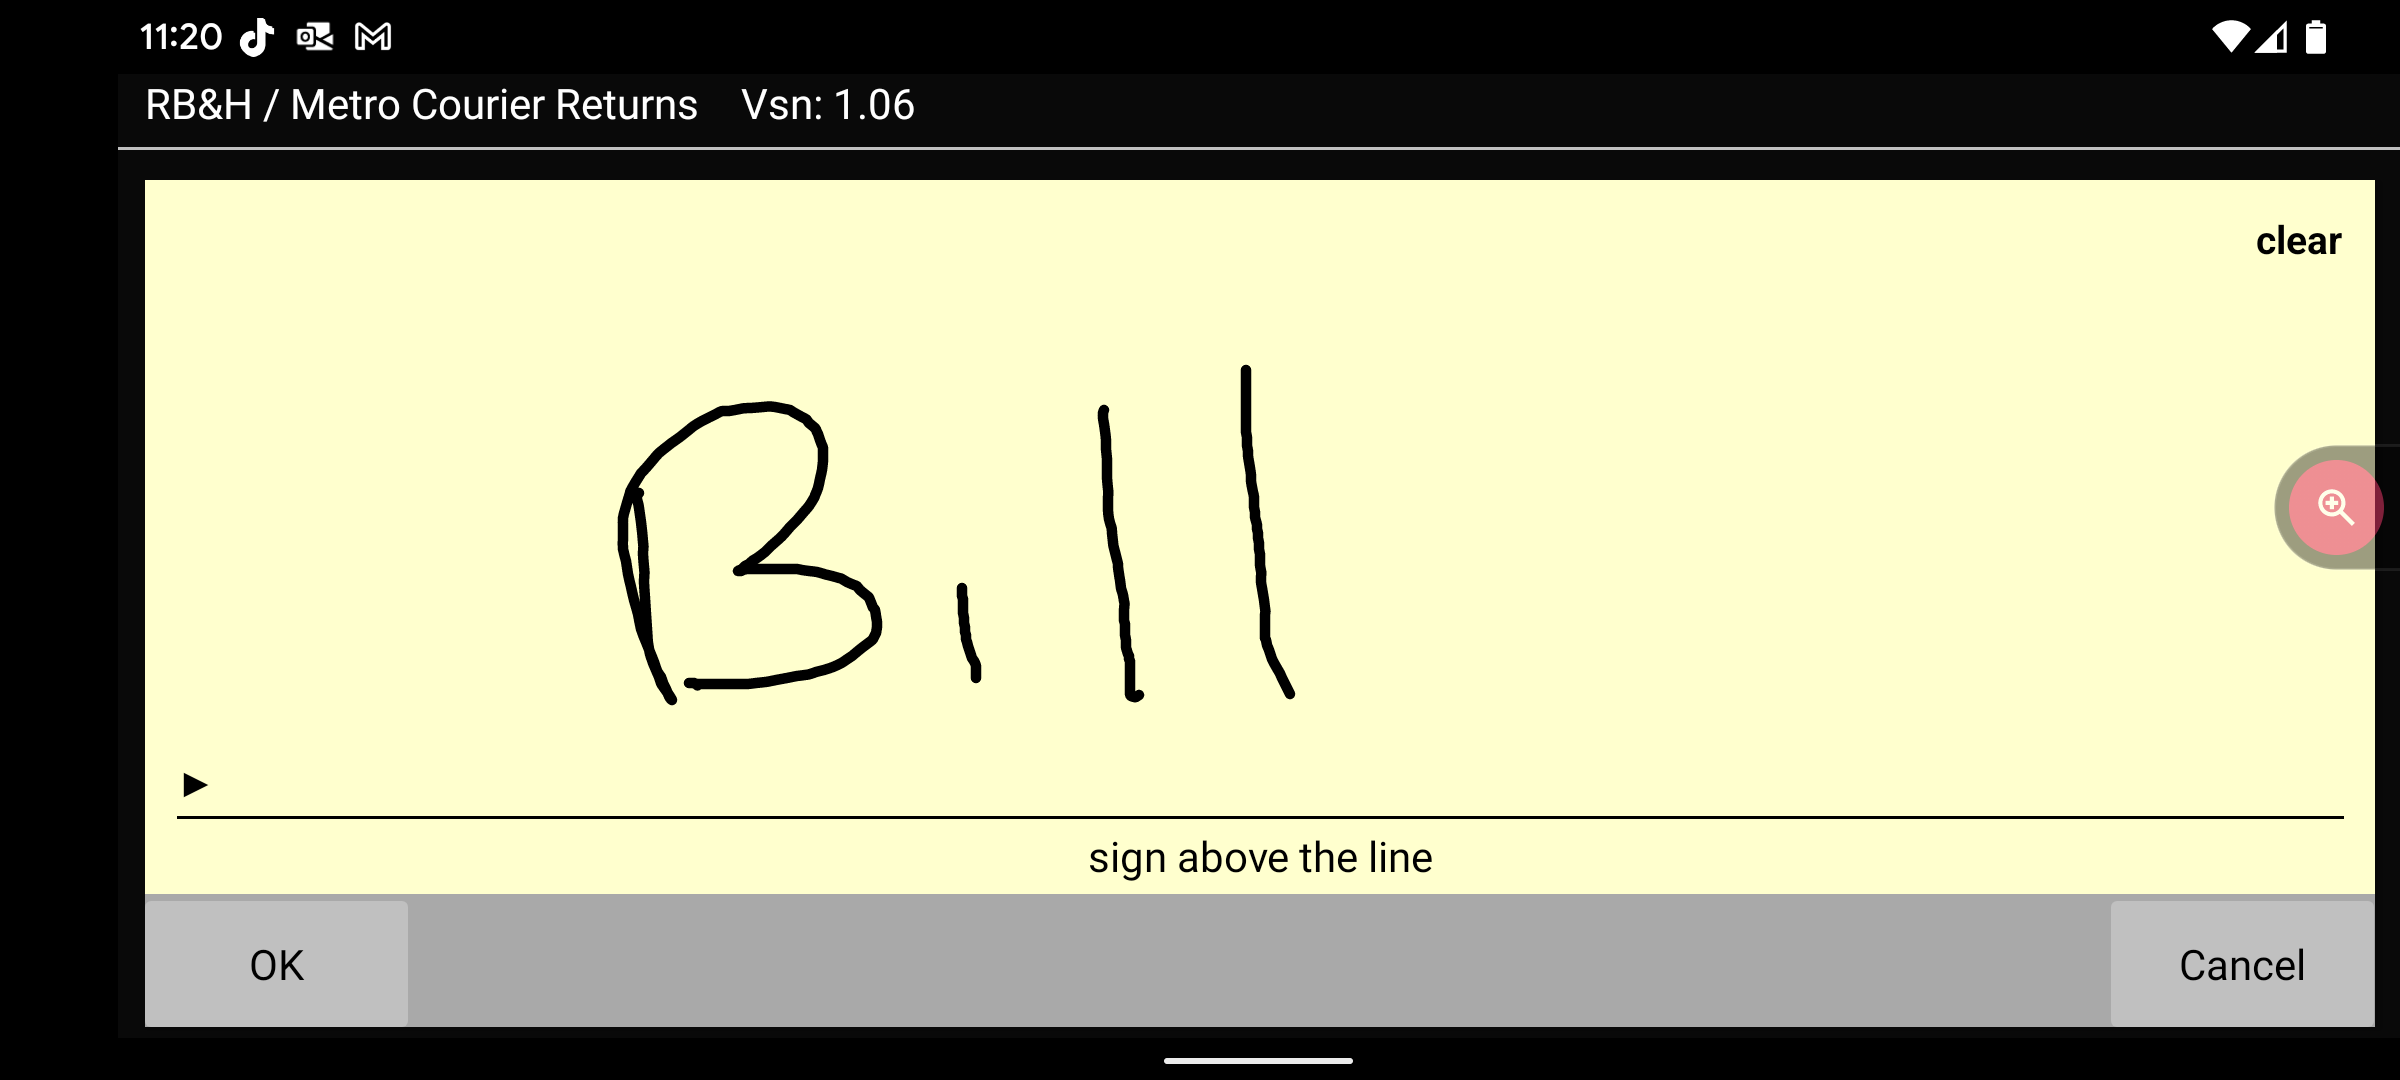
Then click the “ok” button.

Then click on “Finalise” button.

You are now done. You can repeat for each CWD Shipment.
...